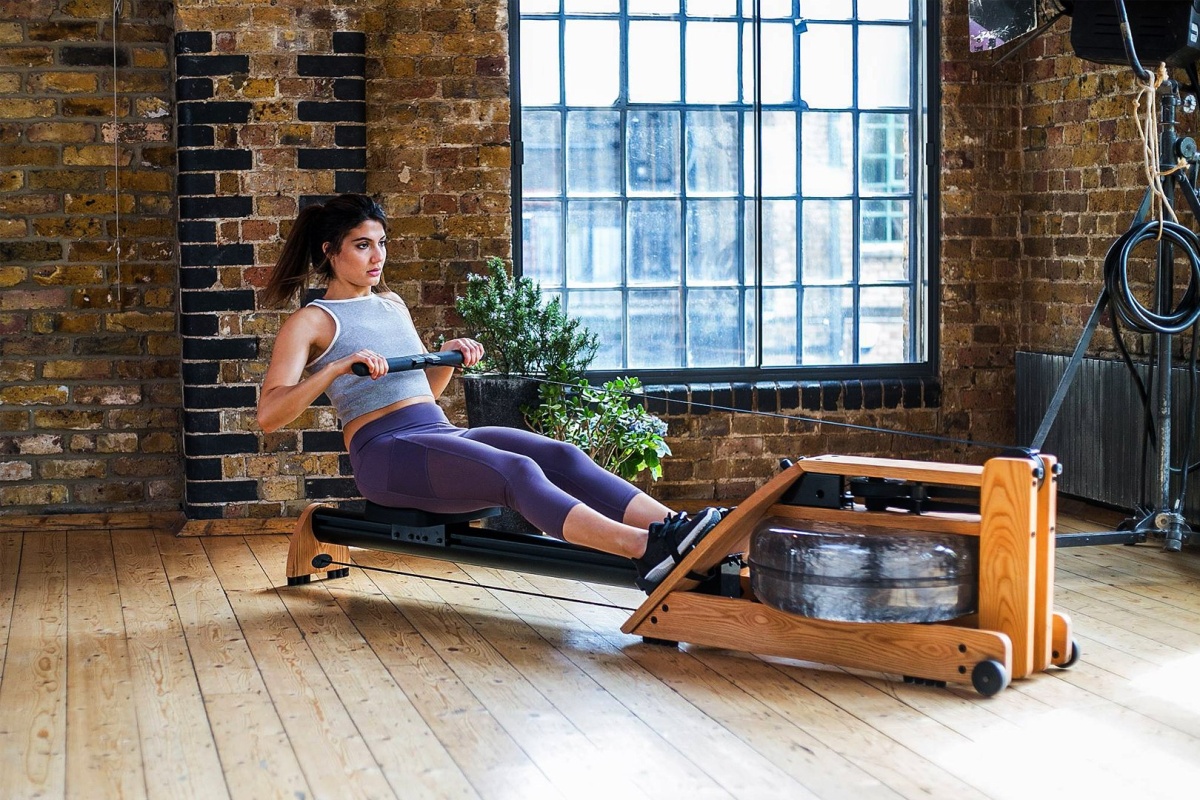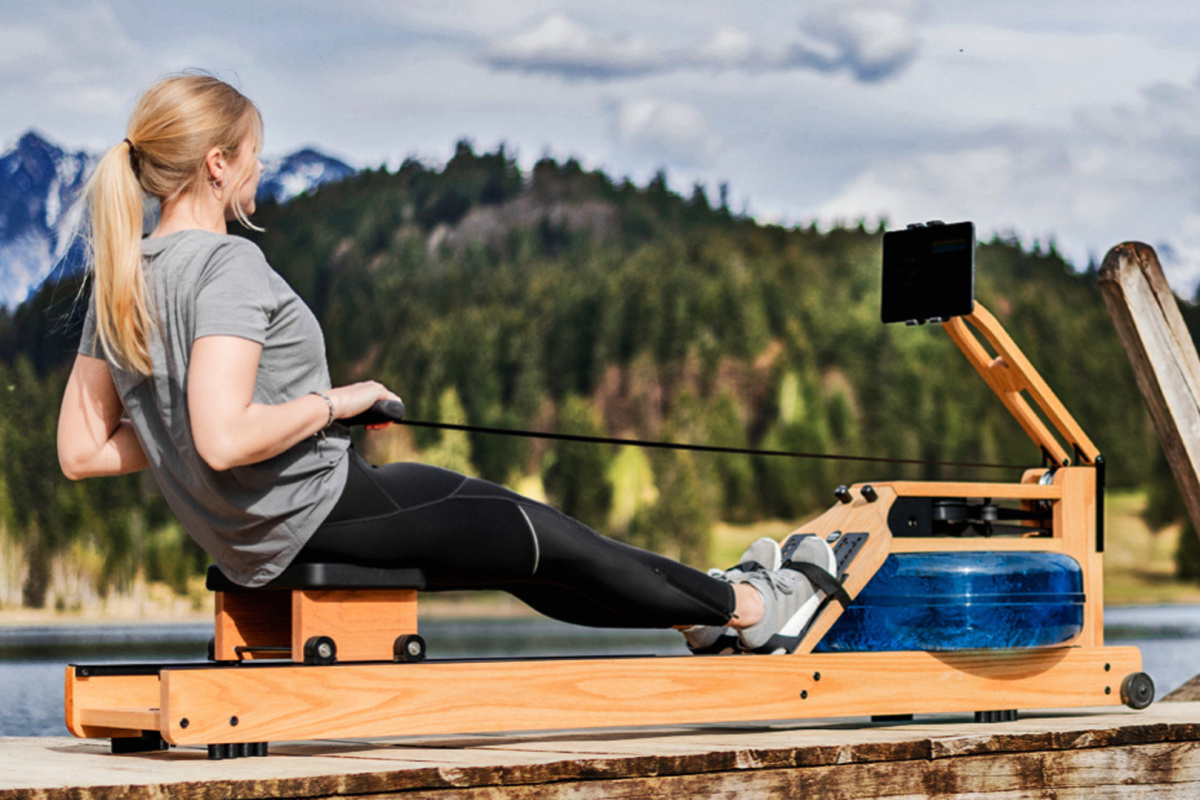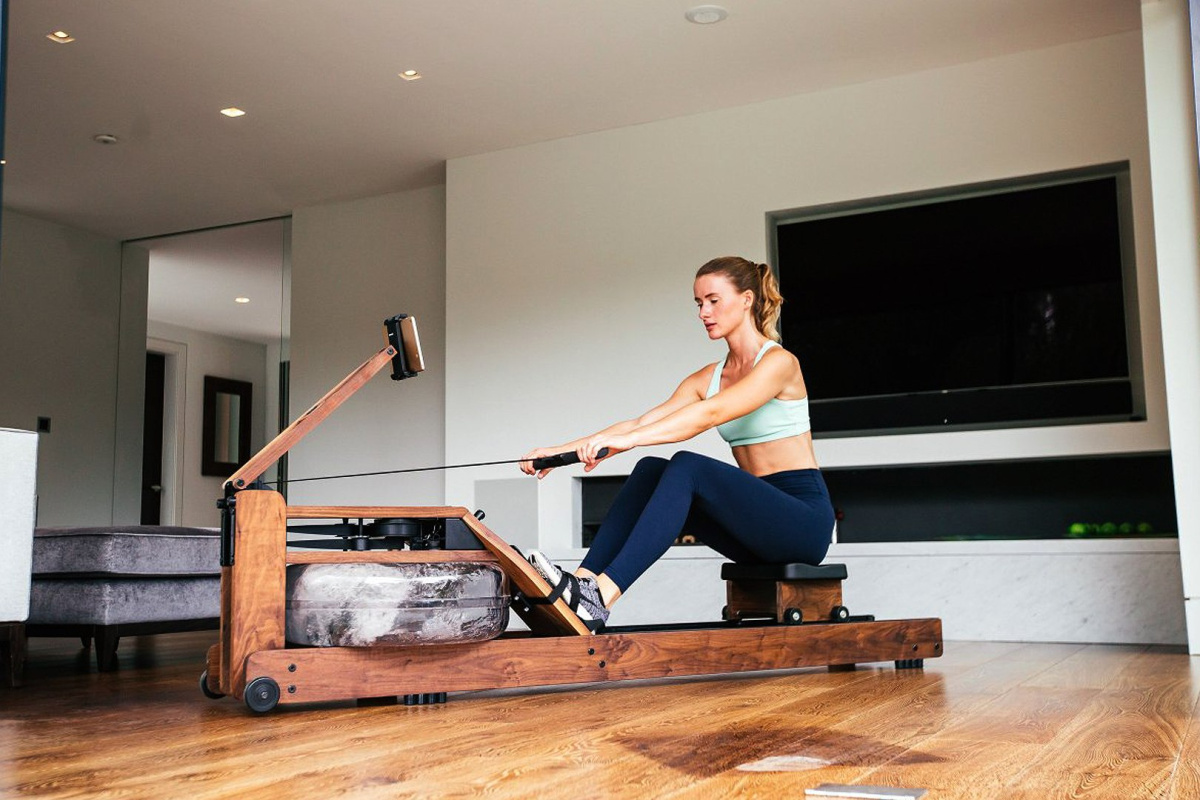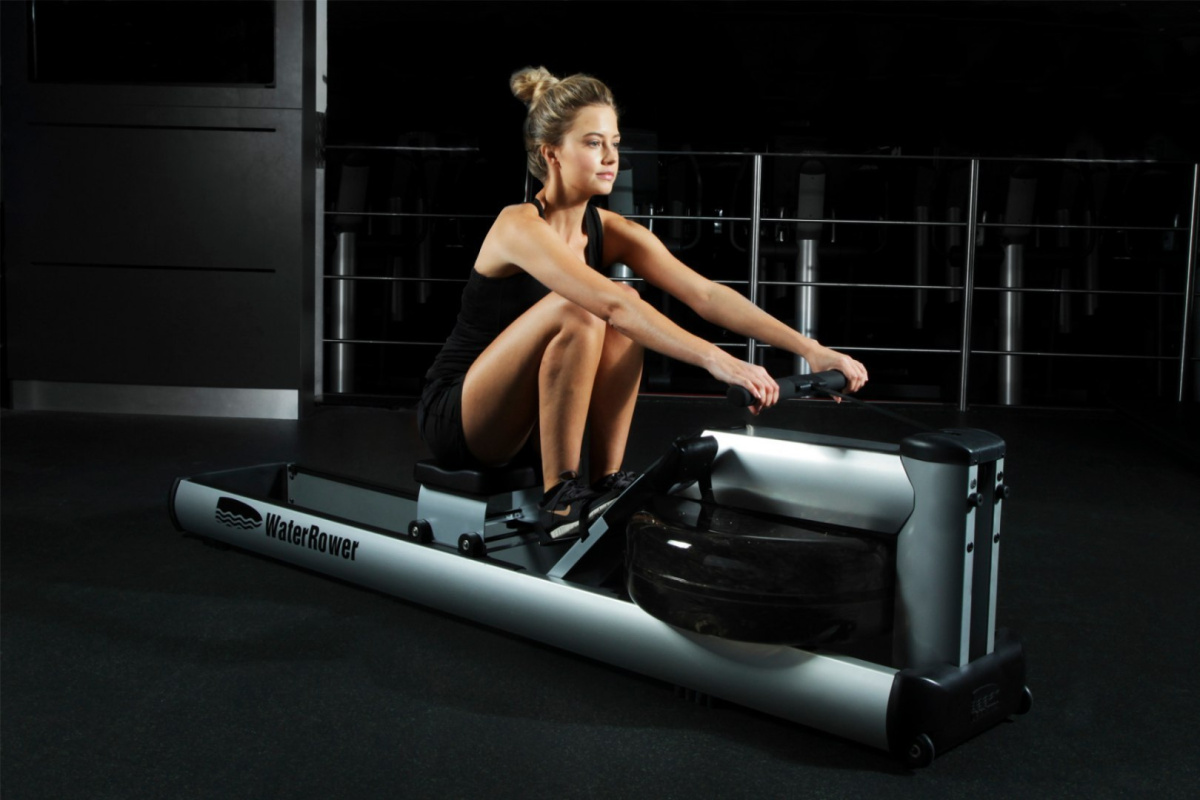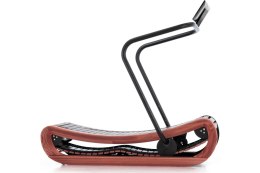
What is SmartRow?
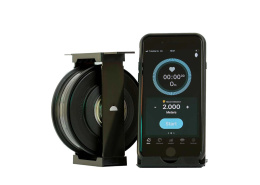
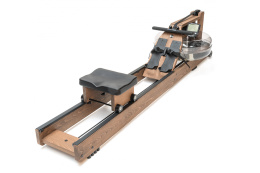
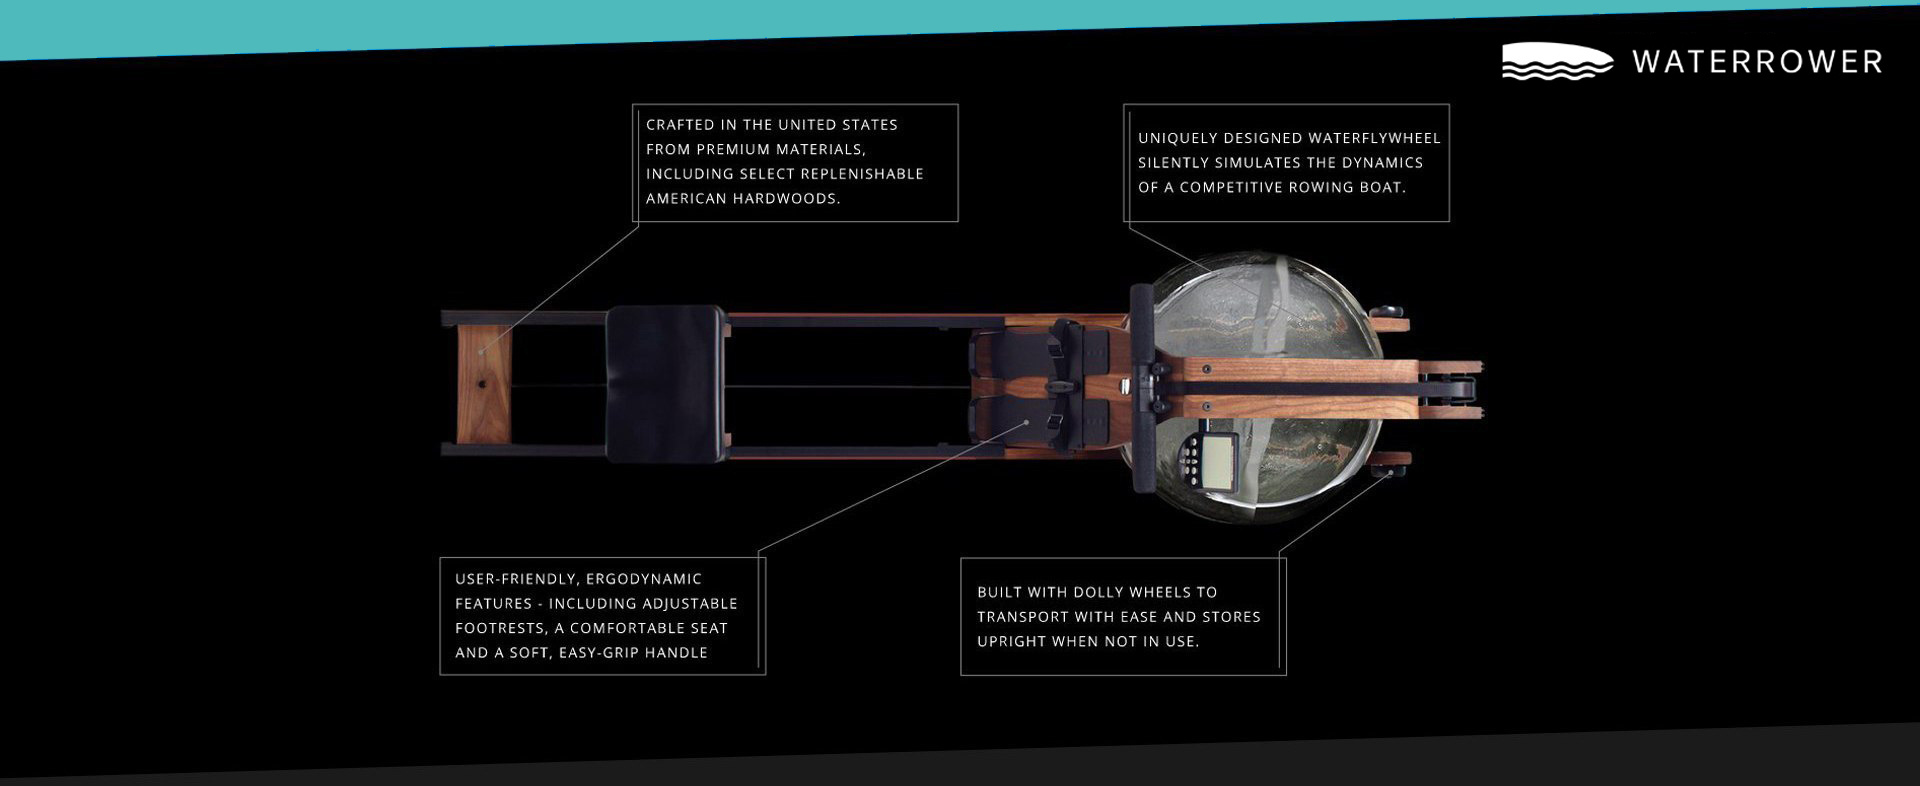
The SmartRow module (roller) is a separate measurement system designed for WaterRower rowing machines. Thanks to it, we introduce more accurate measurement in our rowing ergometer, which is carried out directly. Neither the water level in the rowing machine's tank nor the force of the water against the paddles is taken into account when measuring and calculating data by the SmartRow.What will I gain by installing SmartRow?
First of all, for the operation of the SmartRow module you need:- of course the SmartRow module (you can buy it here: SmartRow module)
- a mobile device (smartphone or tablet) with Android or iOS.
- SmartRow application for the appropriate version of the system (download here: WaterRower rowing applications)
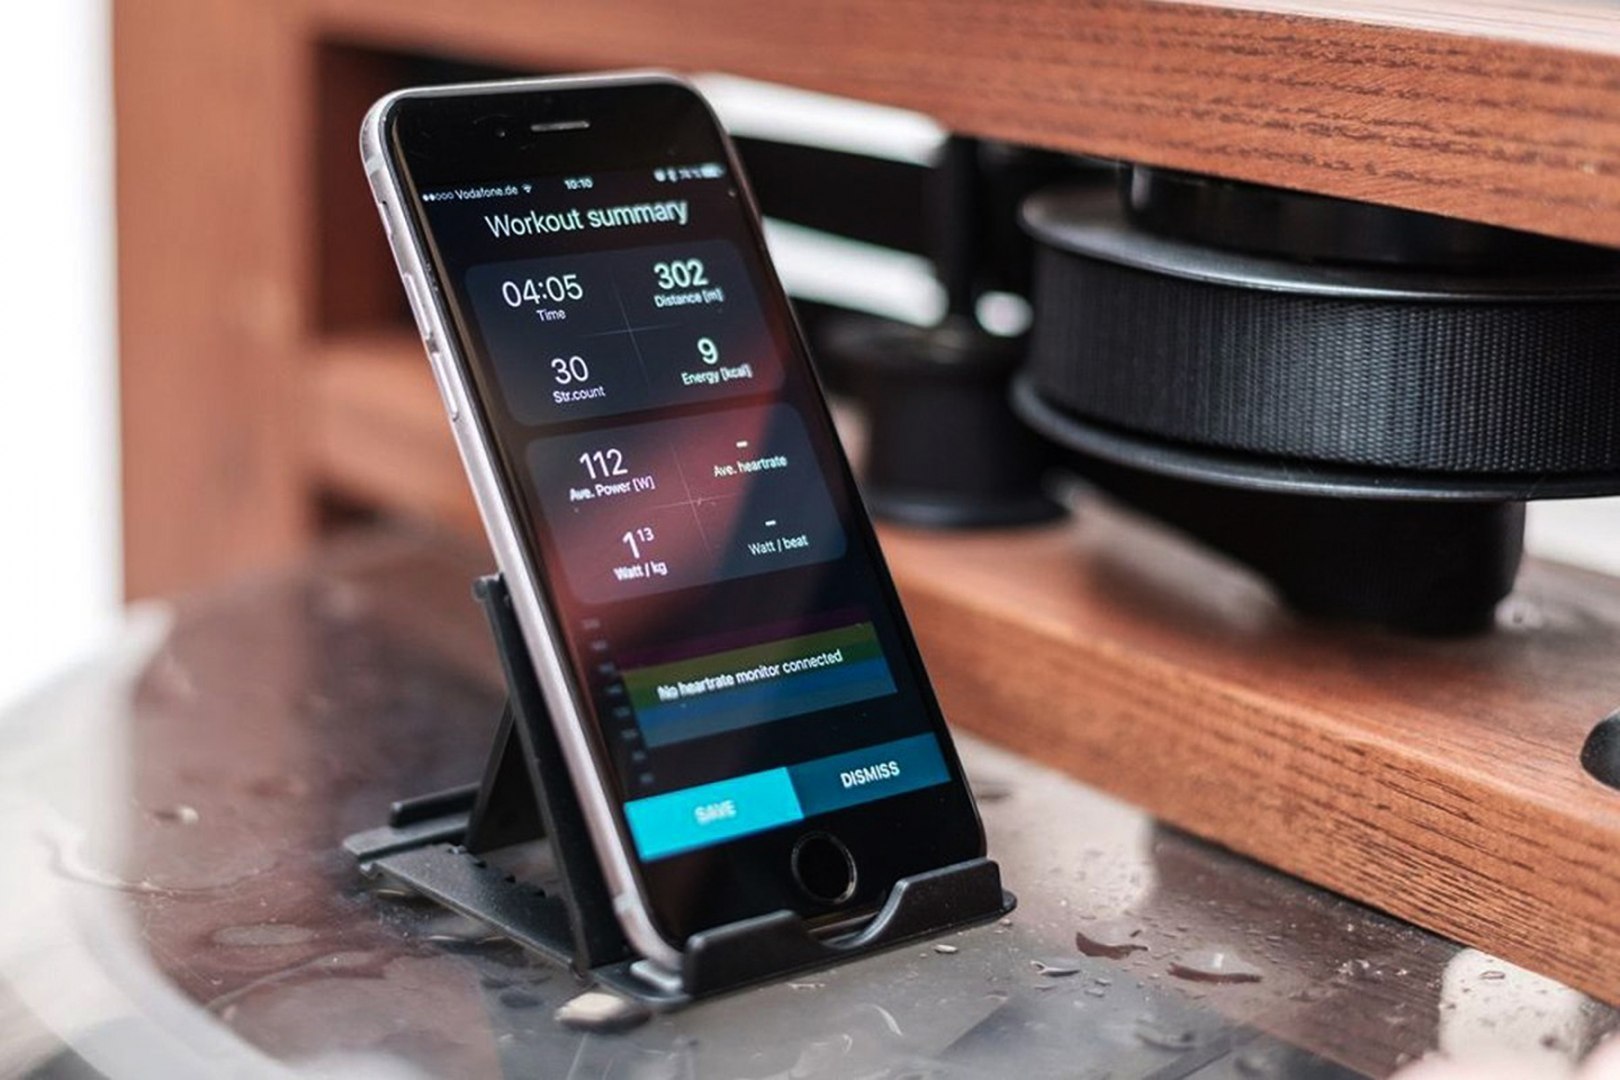
The SmartRow app allows you to pair your heart rate telemetry belts via bluetooth. In addition, after registering an account in the application, you have the option of saving your training and achievements in order to be able to view and compare them in the future.
In addition to these functionalities, you gain the opportunity to compete online with other WaterRower users from around the world and the so-called "live data".
SmartRow "live data" allows the most important training parameters to be displayed in real time. So we will see in real time such parameters as: strength or length of rowing presented in a clear graph.
We talked a bit about the SmartRow module, which allows for some nice functionalities, but for more information, please visit: WaterRower rowing applications for rowing boats and we will take care of the assembly.
We are assembling SmartRow!
As many of you have probably seen, the manufacturer provides a video showing the assembly of the SmartRow module.The above video, however, shows the assembly of SmartRow in the second version, if you bought the module right after the manufacturer introduced it, you will probably be interested in the video below. The mounting of the first SmartRow module was designed in a slightly different way, so its mounting was different.
As the first version of the SmartRow module is no longer available for sale, we will present some tips that will facilitate and speed up the installation of the SmartRow in the second version.
If you have questions about the first SmartRow module and the video turned out to be insufficient knowledge, please contact us by phone: Contact.
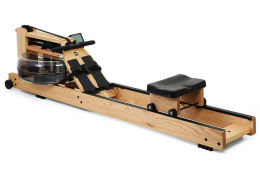
Let's start! The first step is to disconnect the bungee cord and unscrew the two screws from the metal profile fastening the rails with the rowing machine's body in order to release the vertical board holding the rowing machine's body.
We use a 13 mm open ended or ring spanner. As you also noticed, we mount the SmartRow on the unfolded rowing machine, you can also do this on the folded rowing machine.
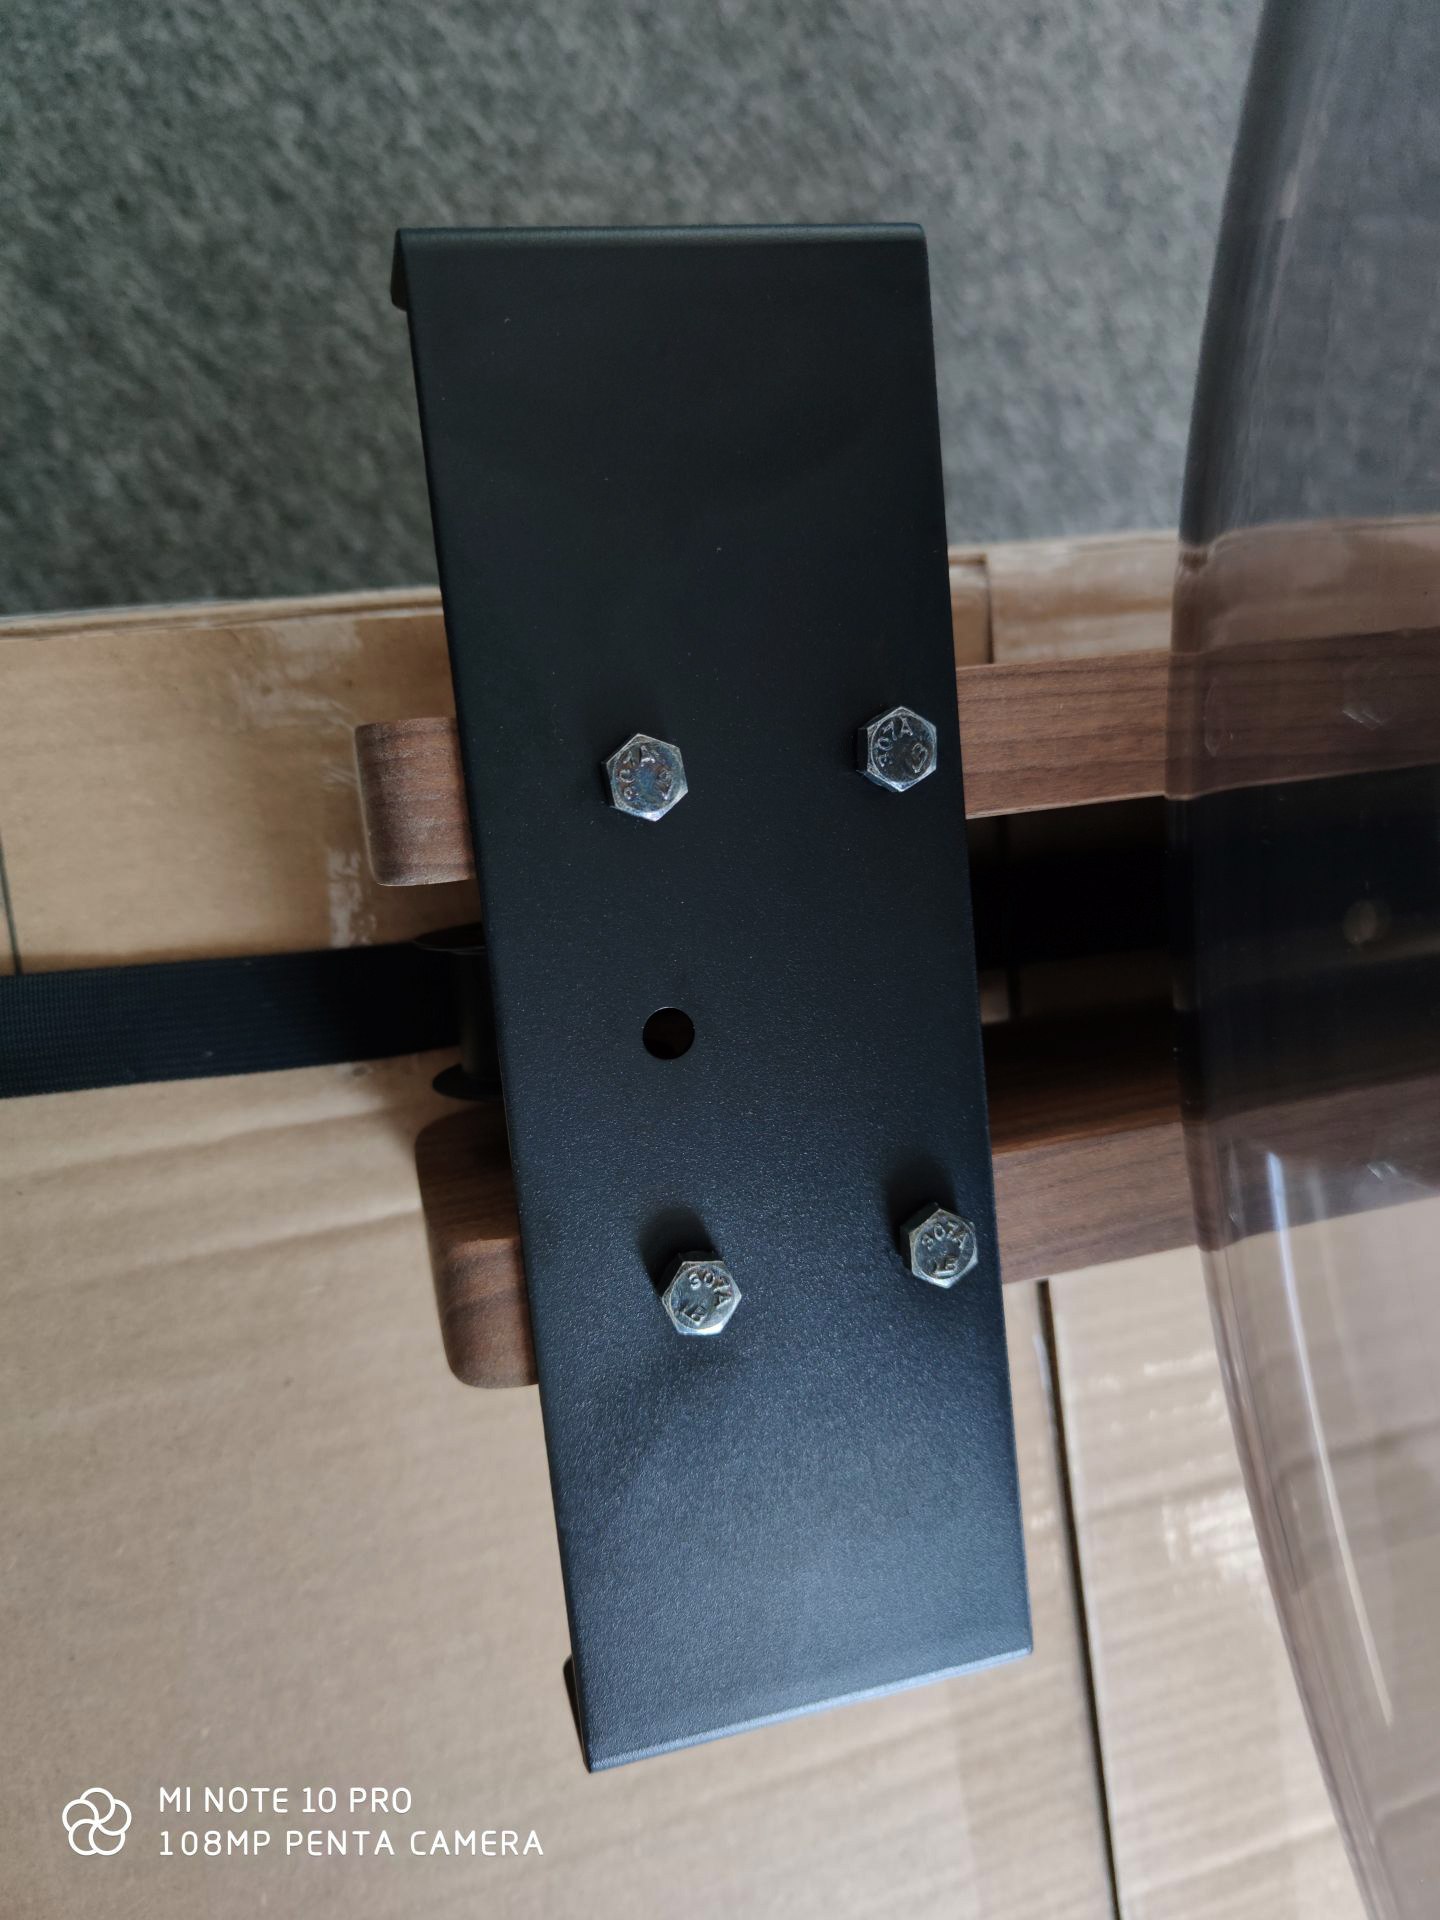
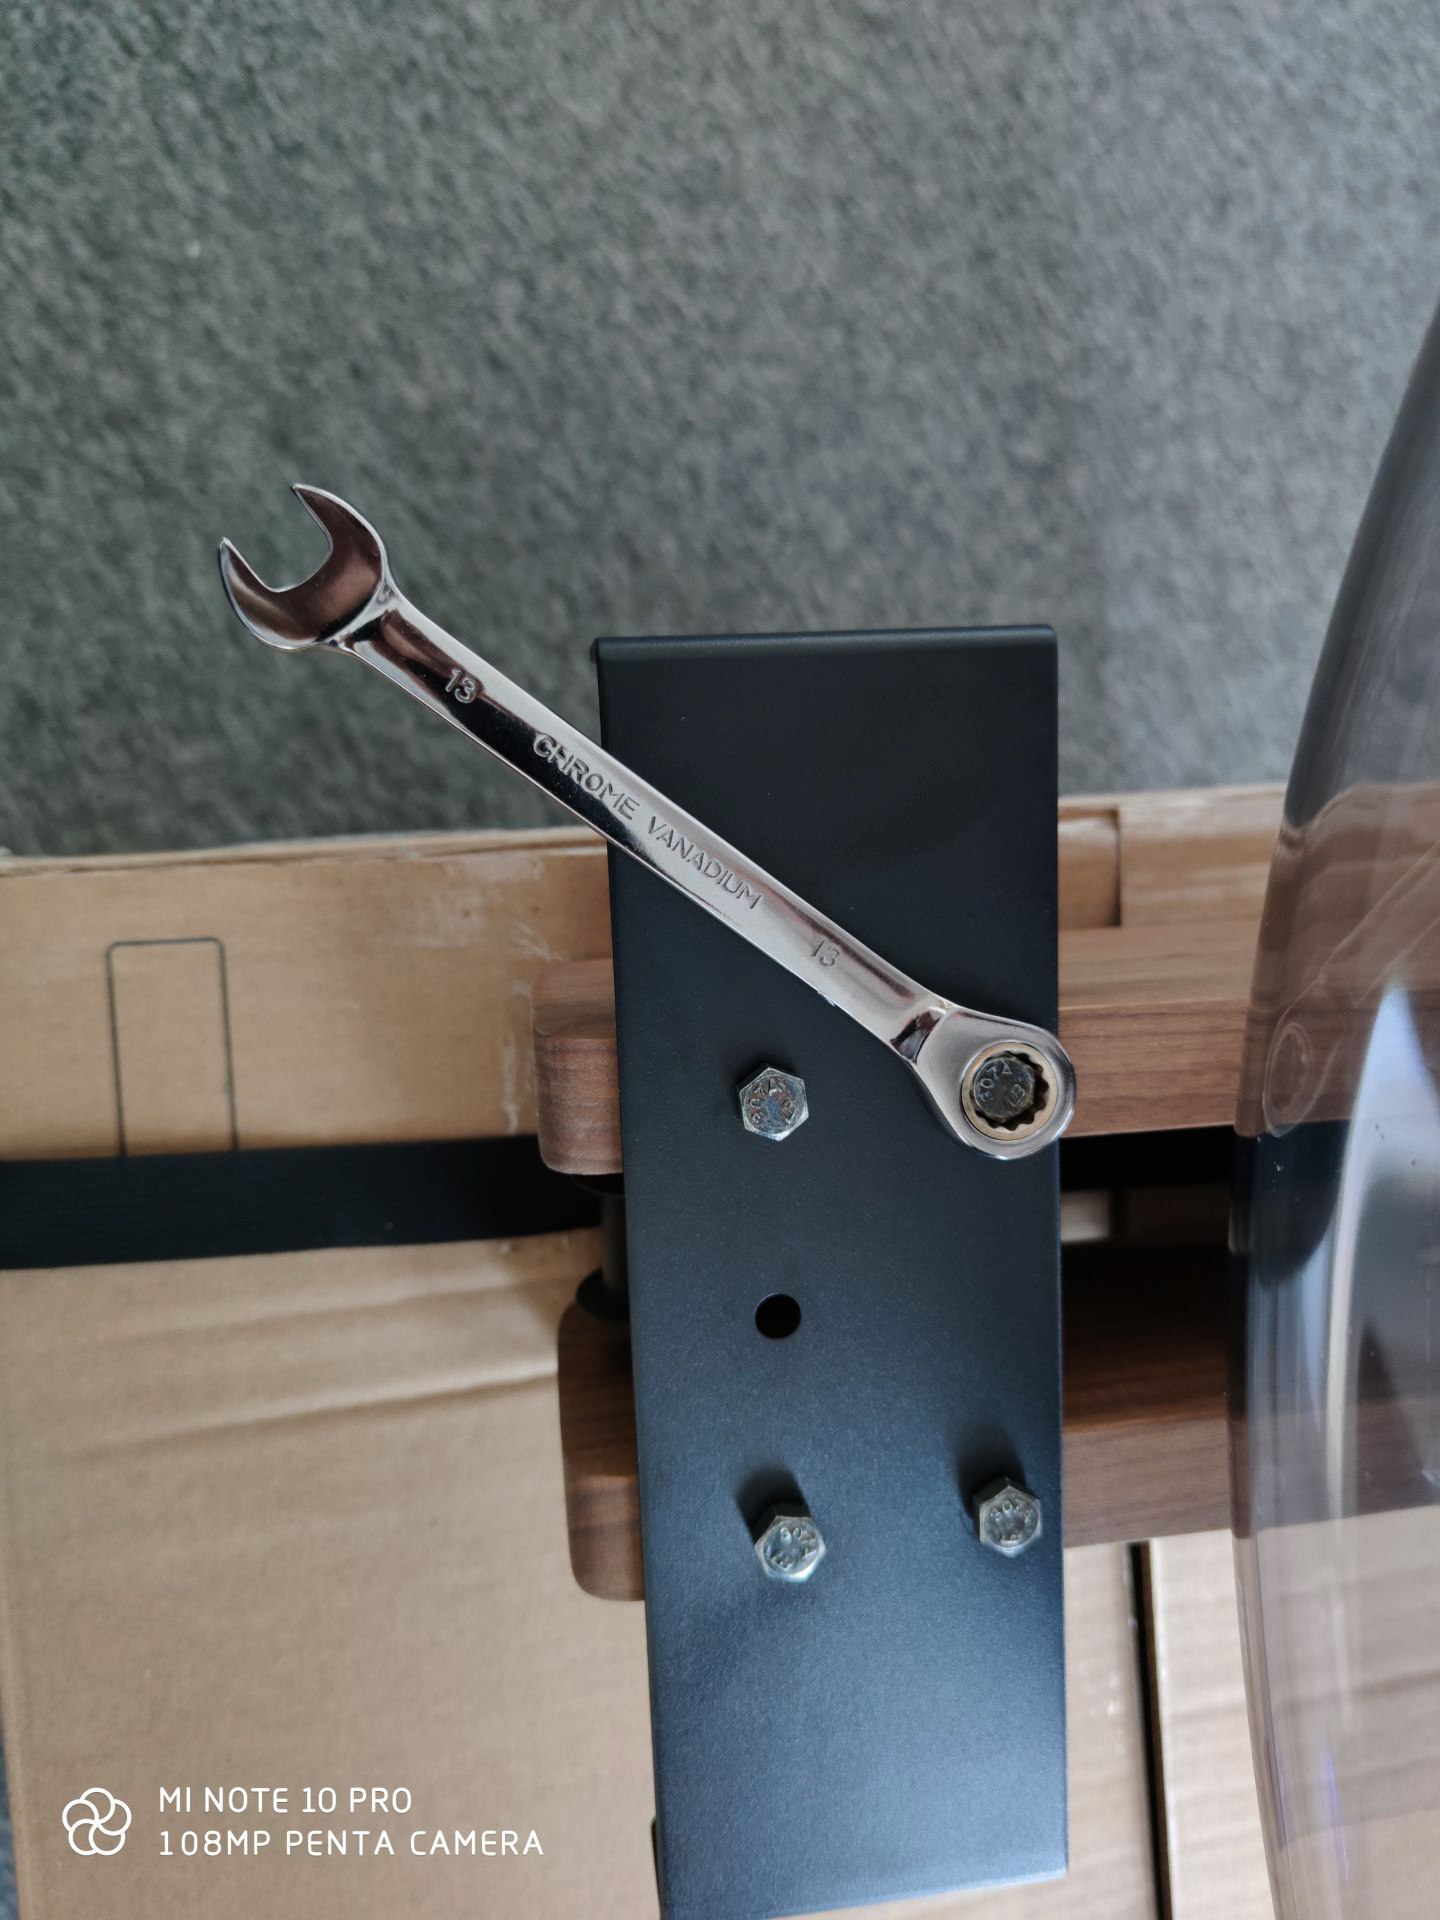
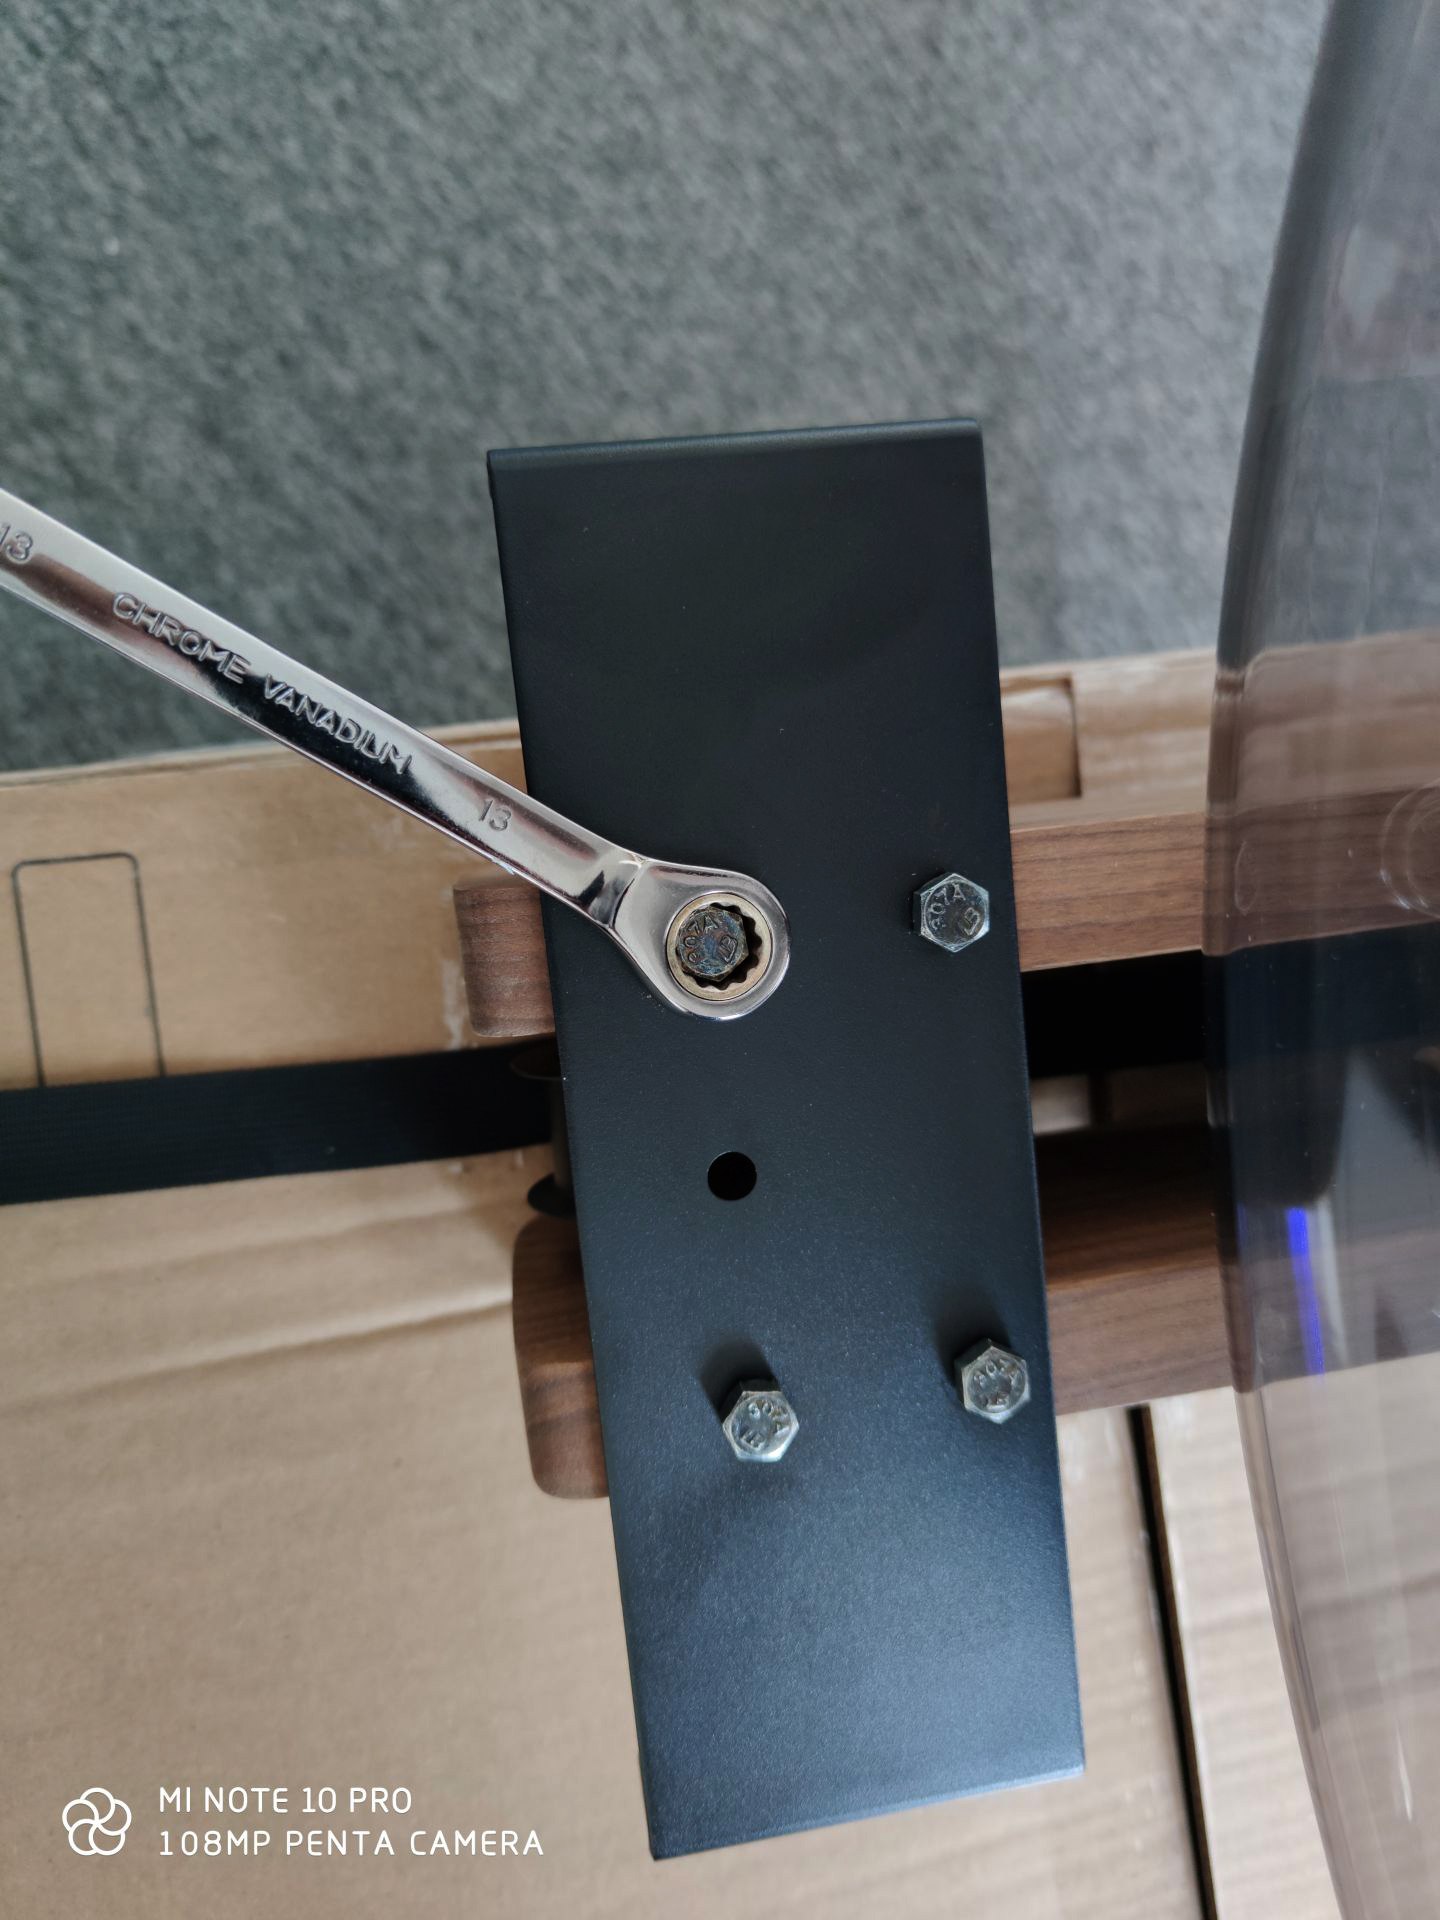
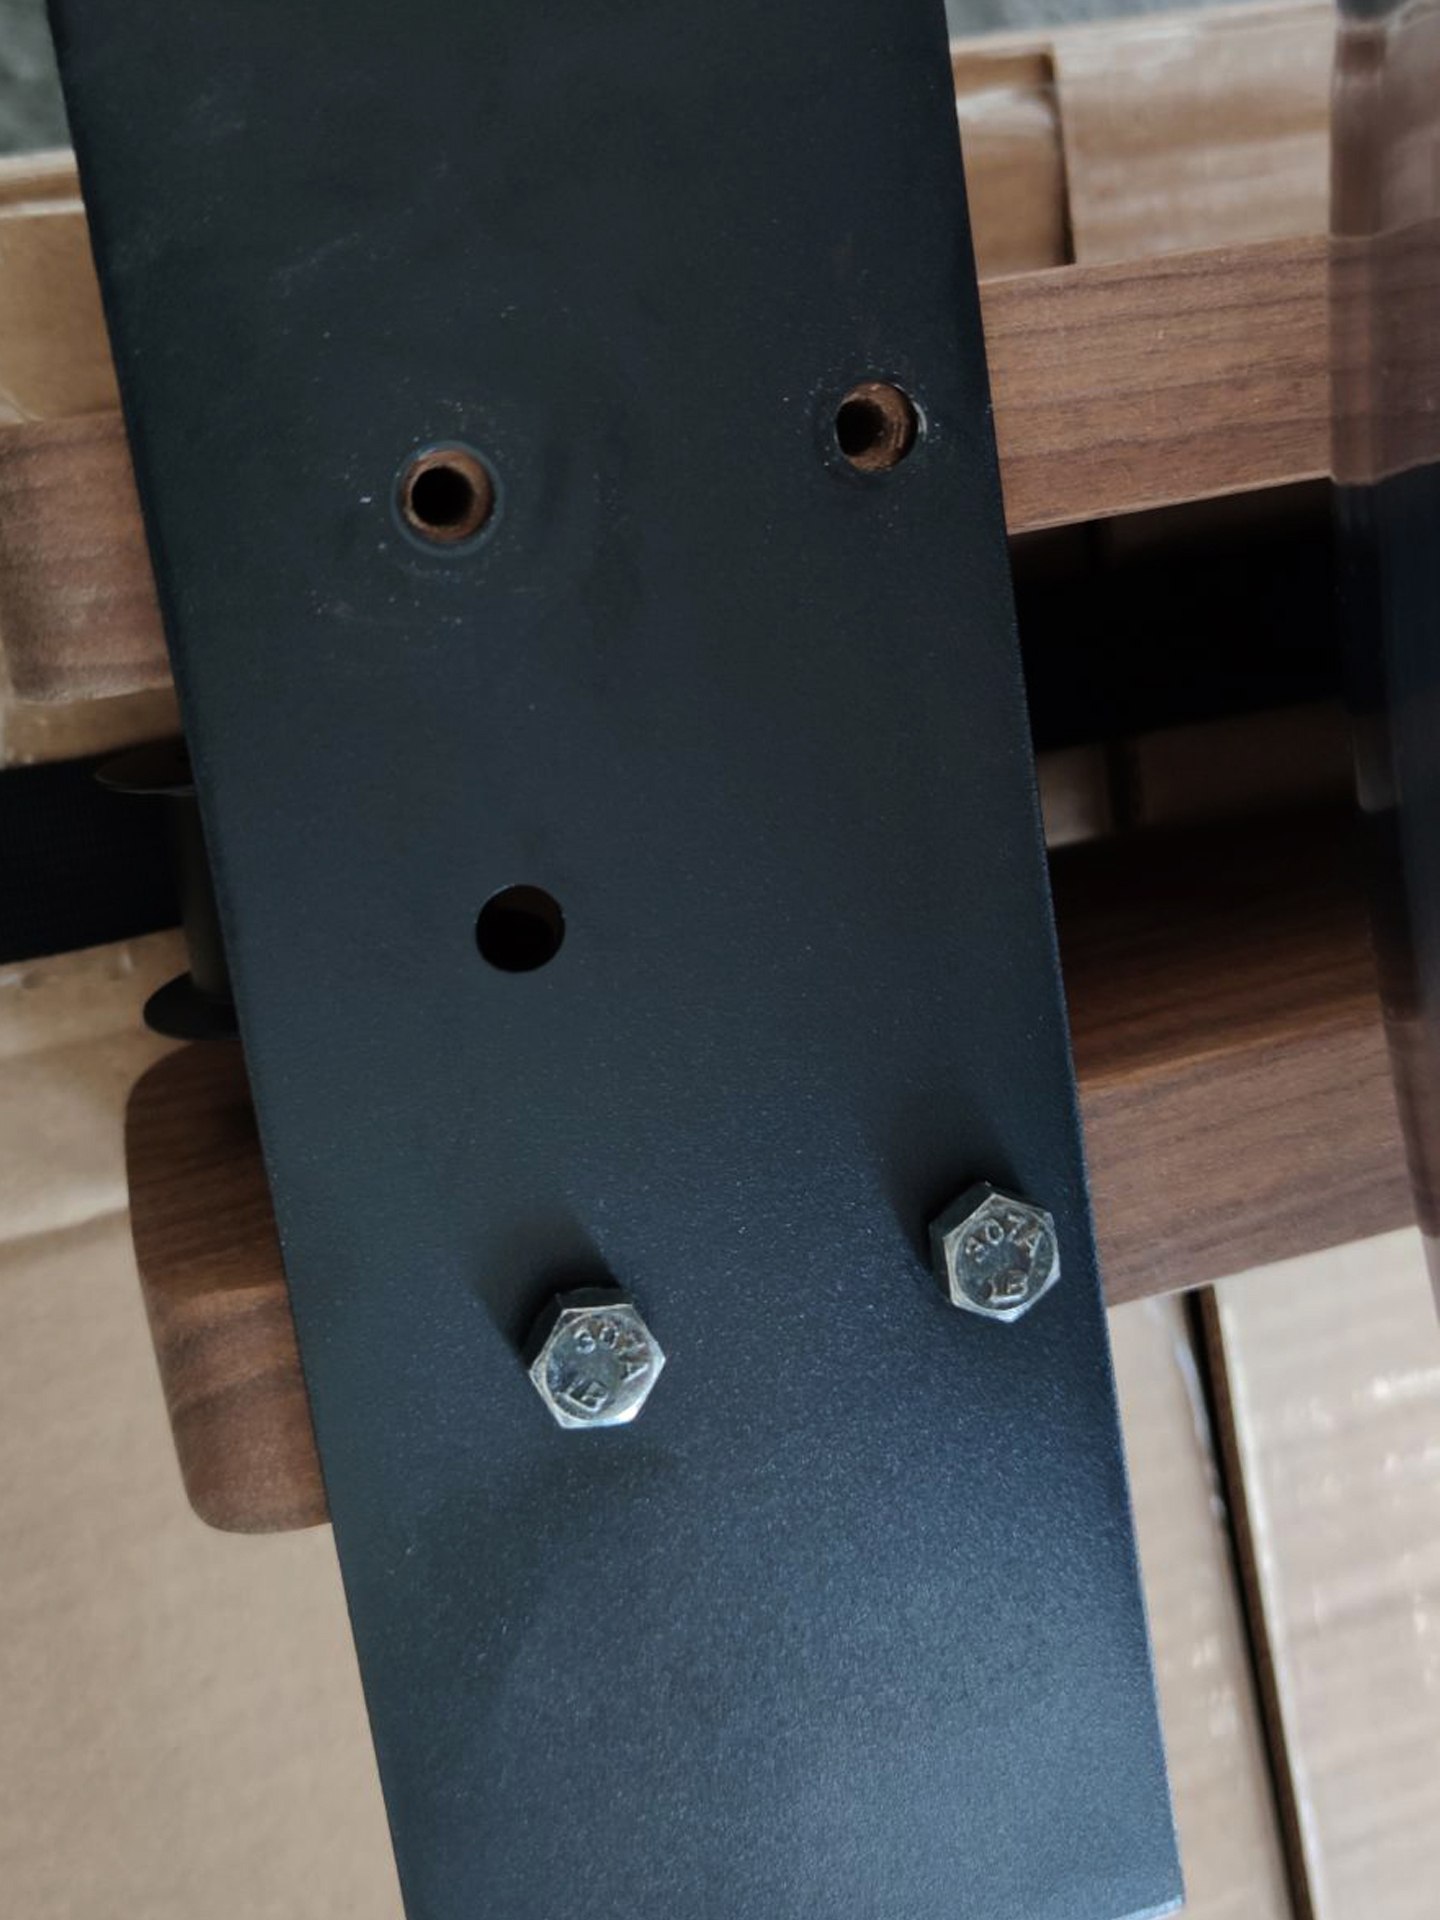
Now it's time to unscrew the Allen screws holding the vertical plank of the body. We use here an Allen key that comes complete with the rowing machine. The screws are quite long and there is a barrel nut at the end.
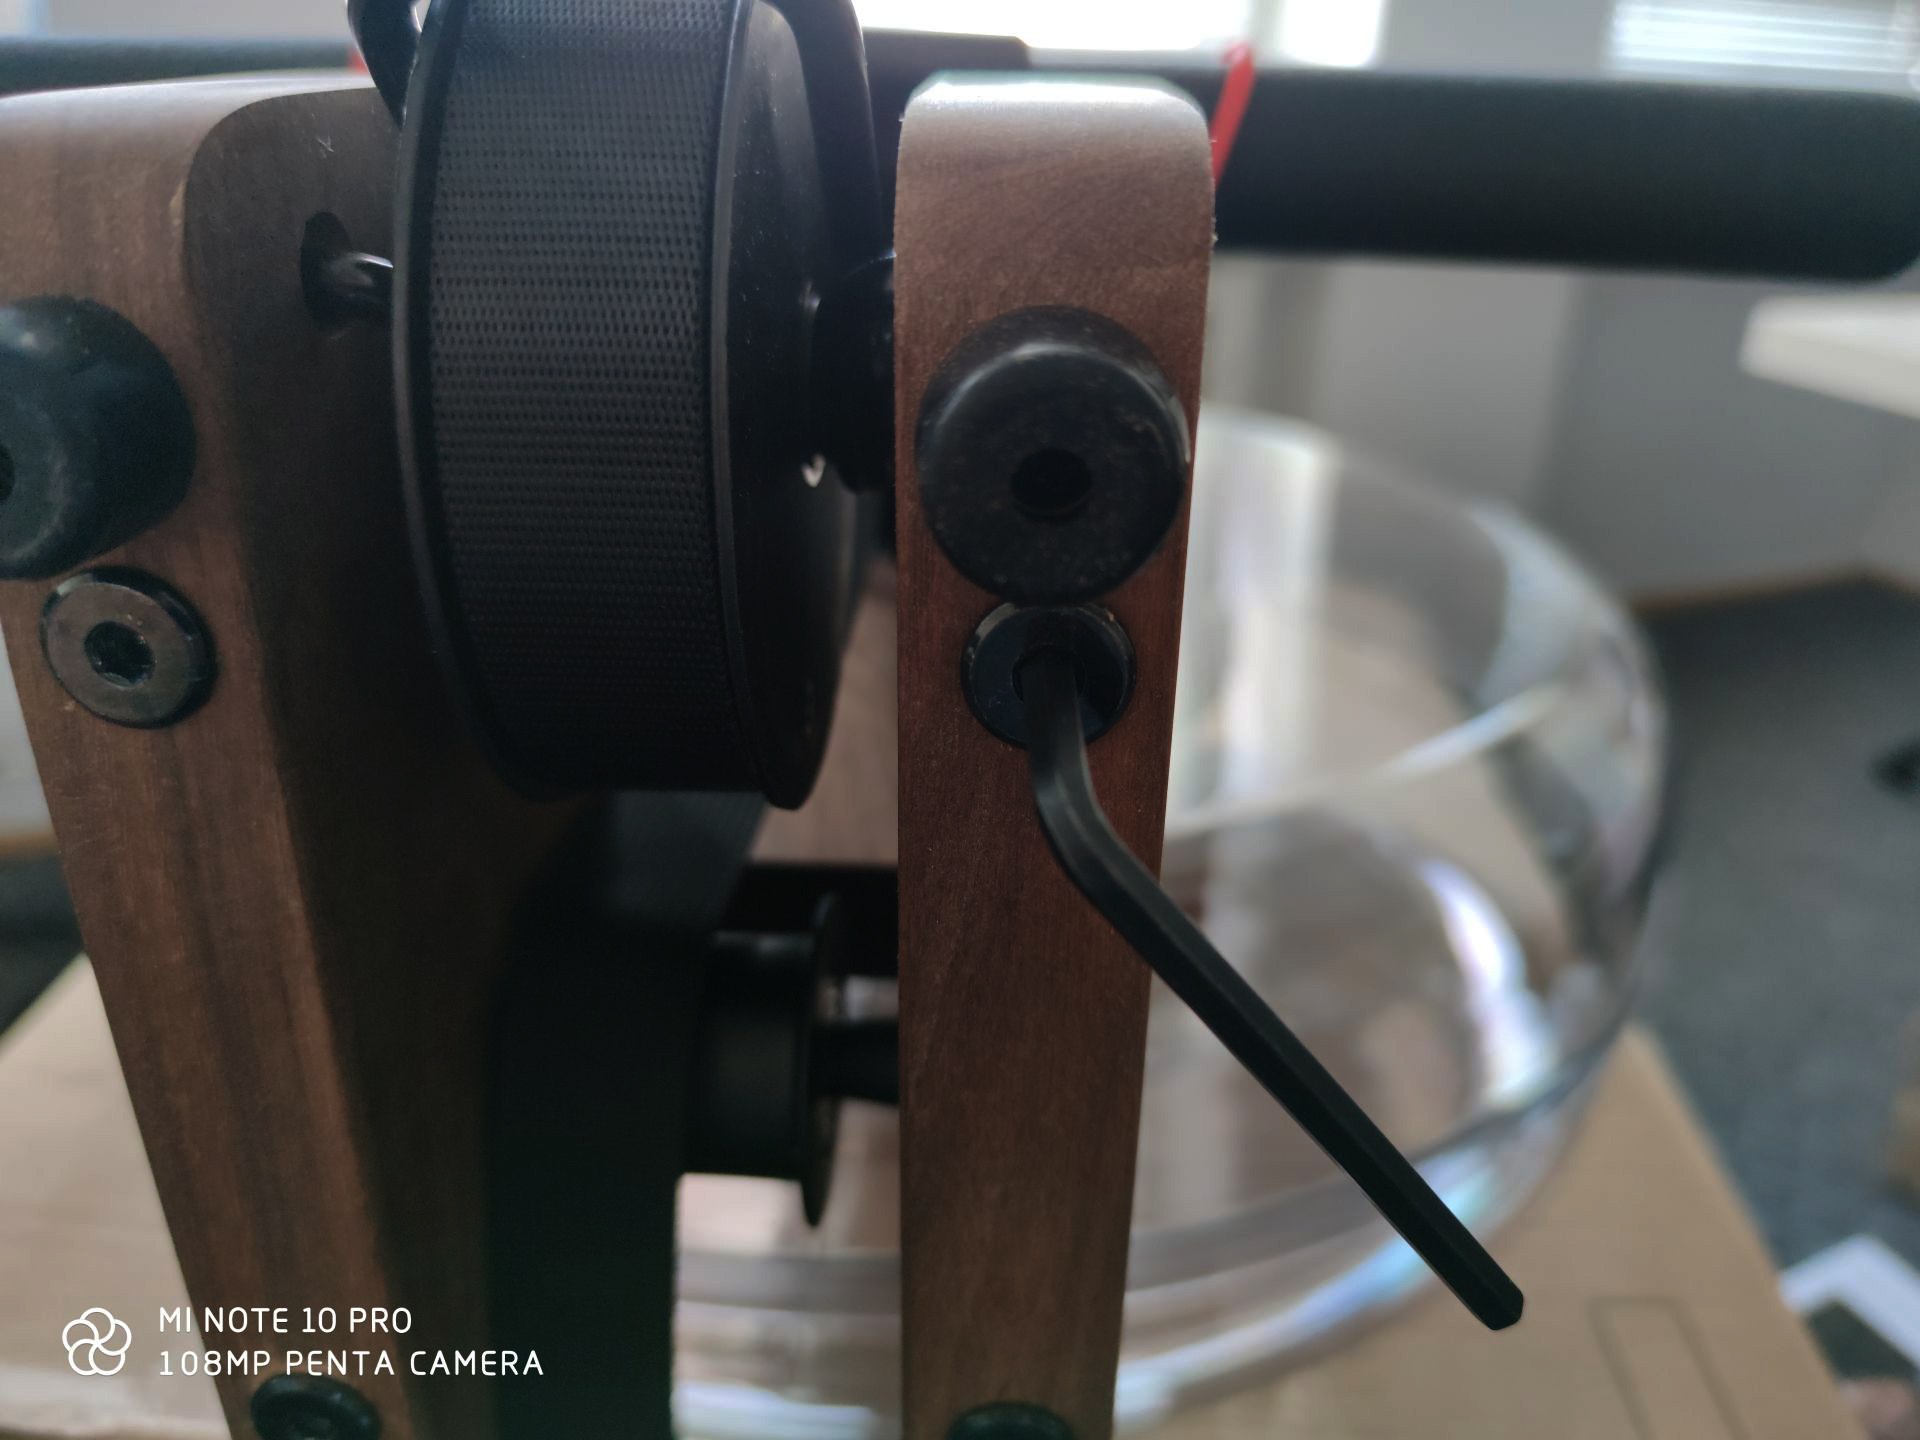
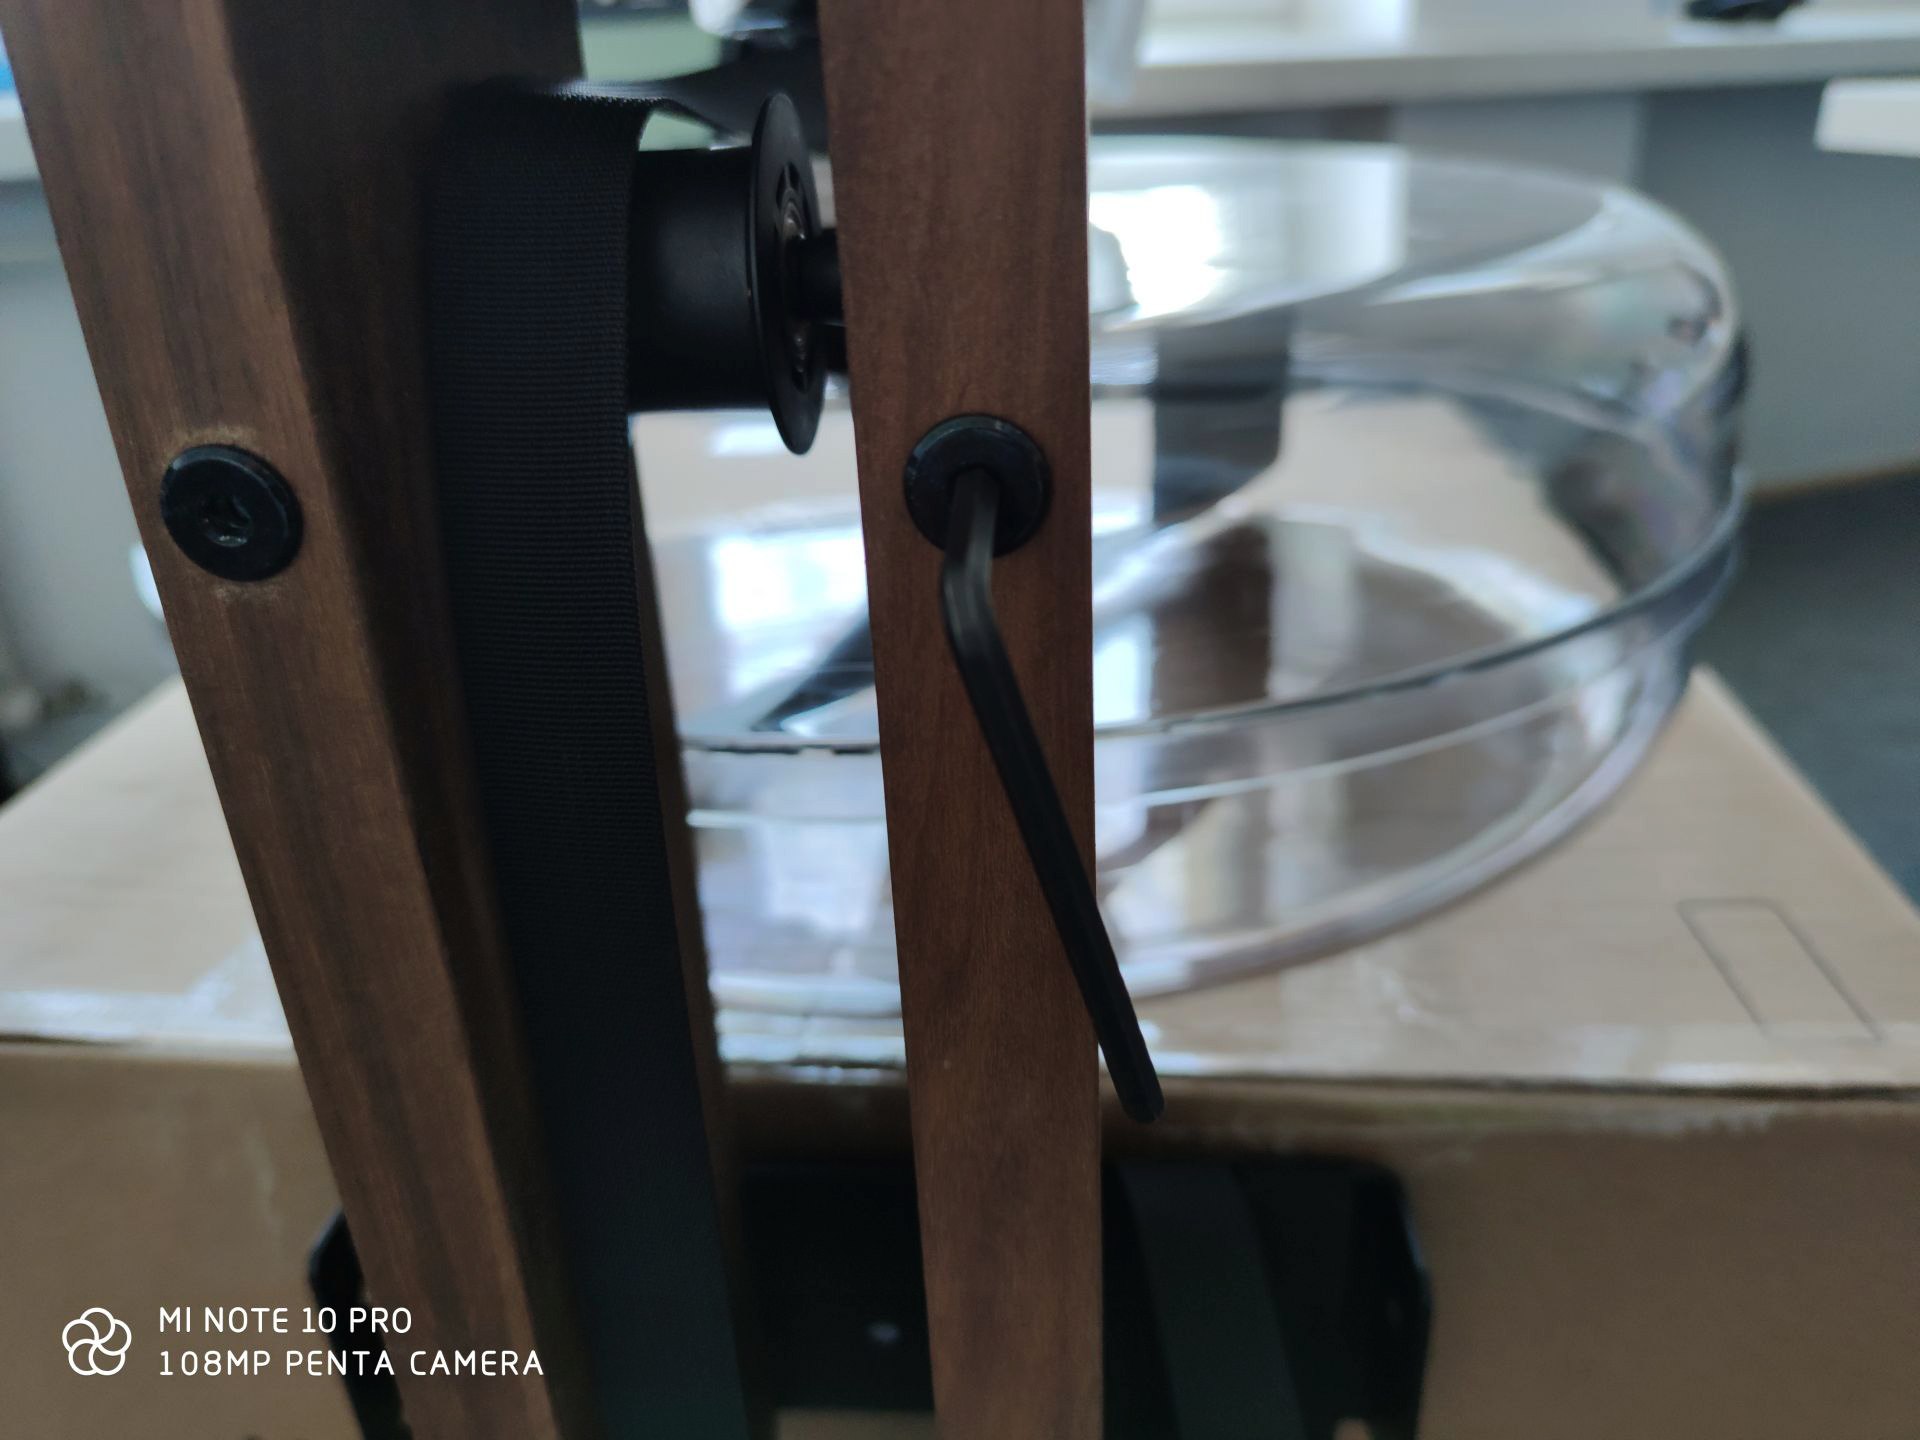
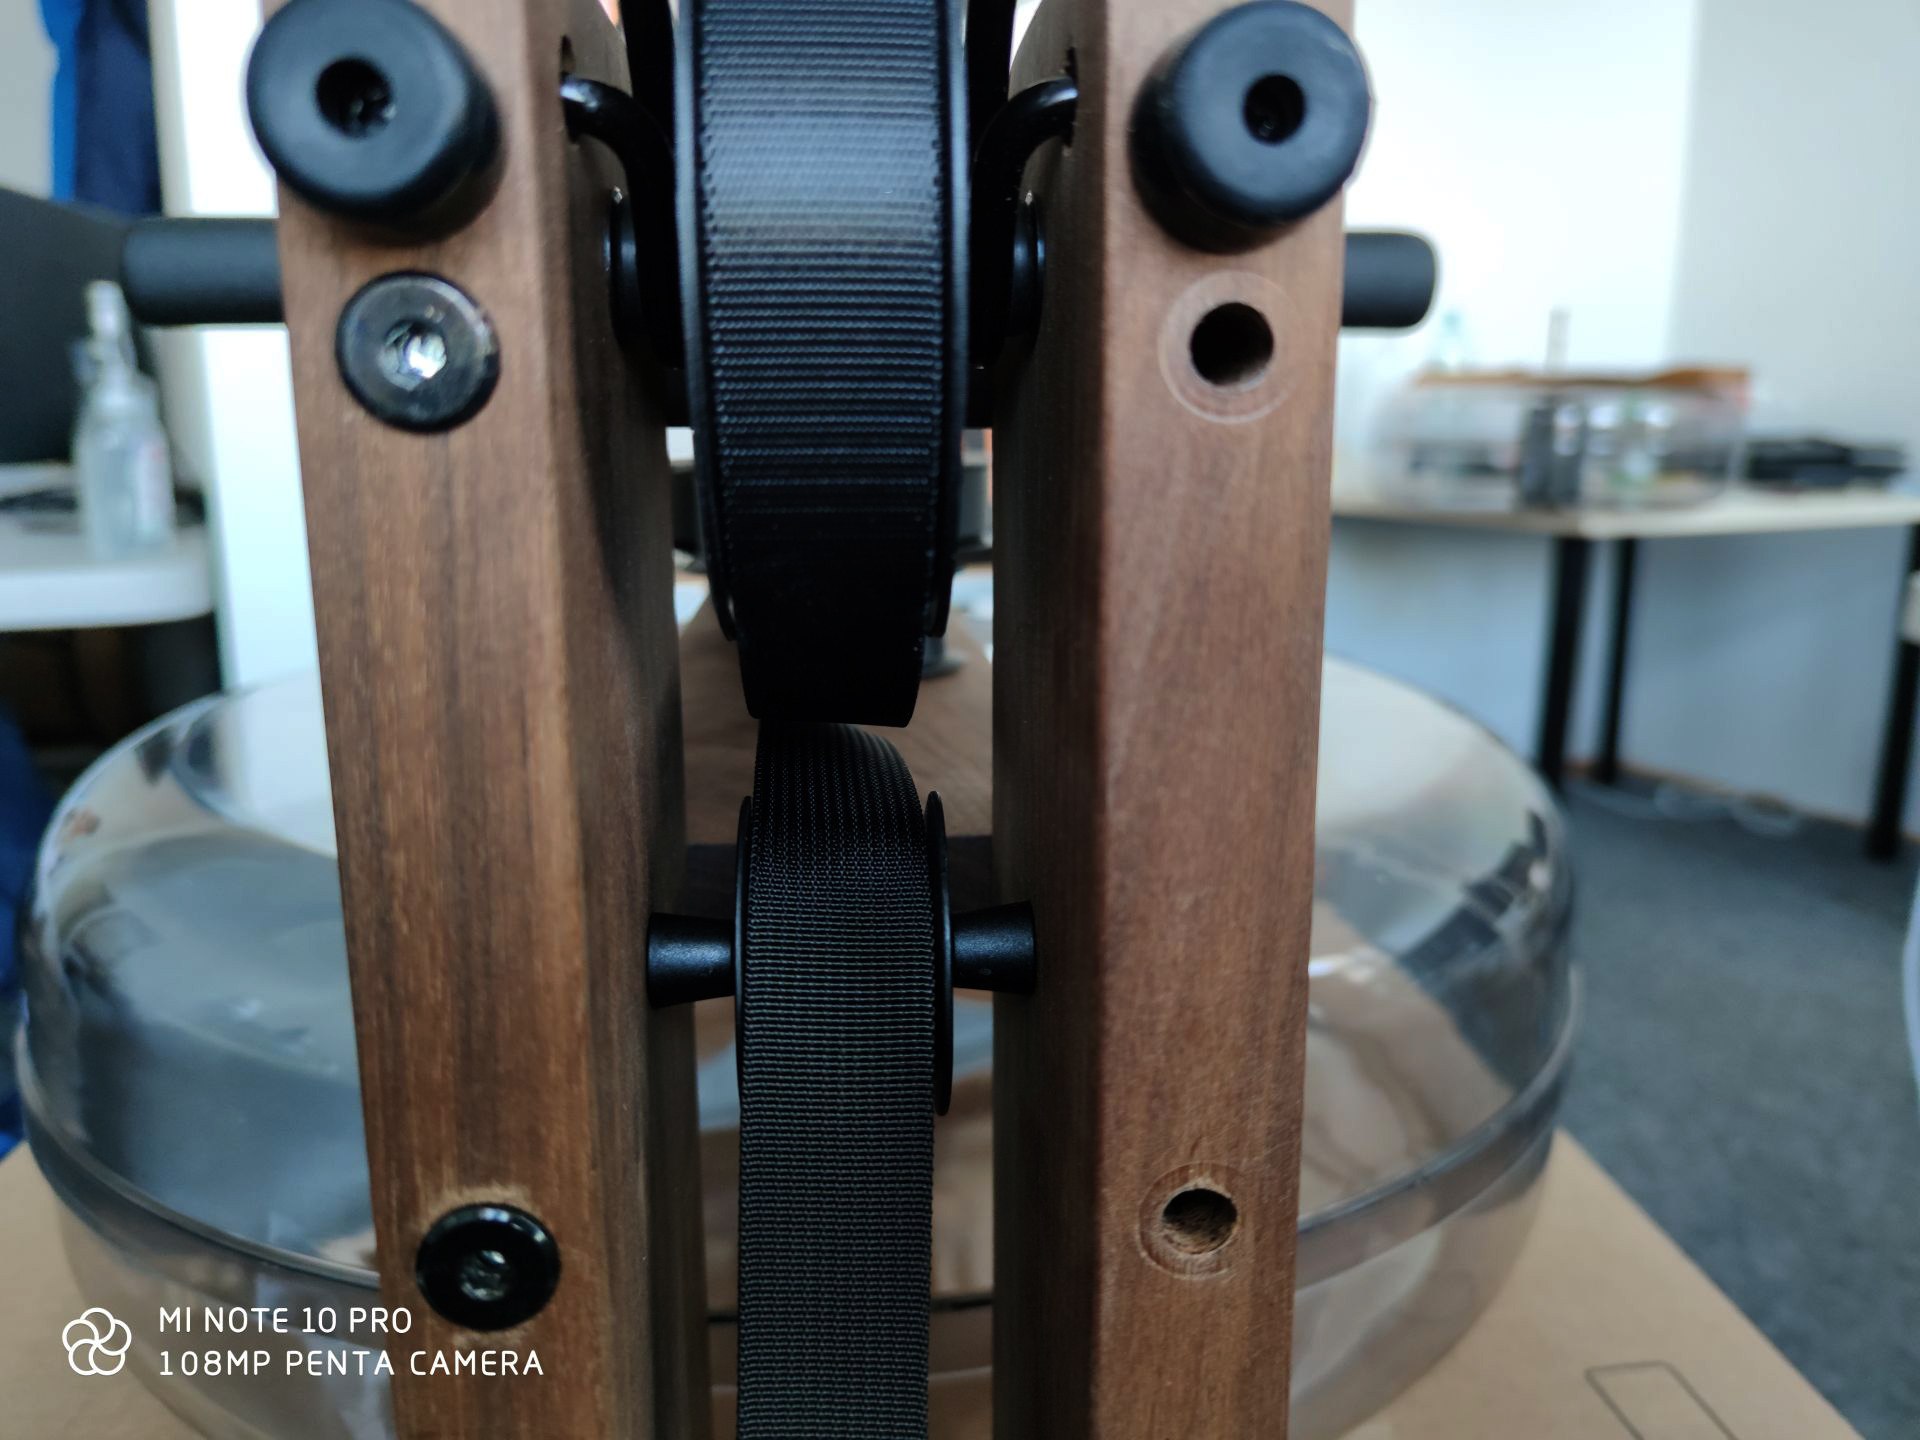
Then gently disassemble the board holding the rowing machine's body and take it out completely. We make sure that the rollers with sleeves do not fall out, if necessary, we hold them while disassembling the board.
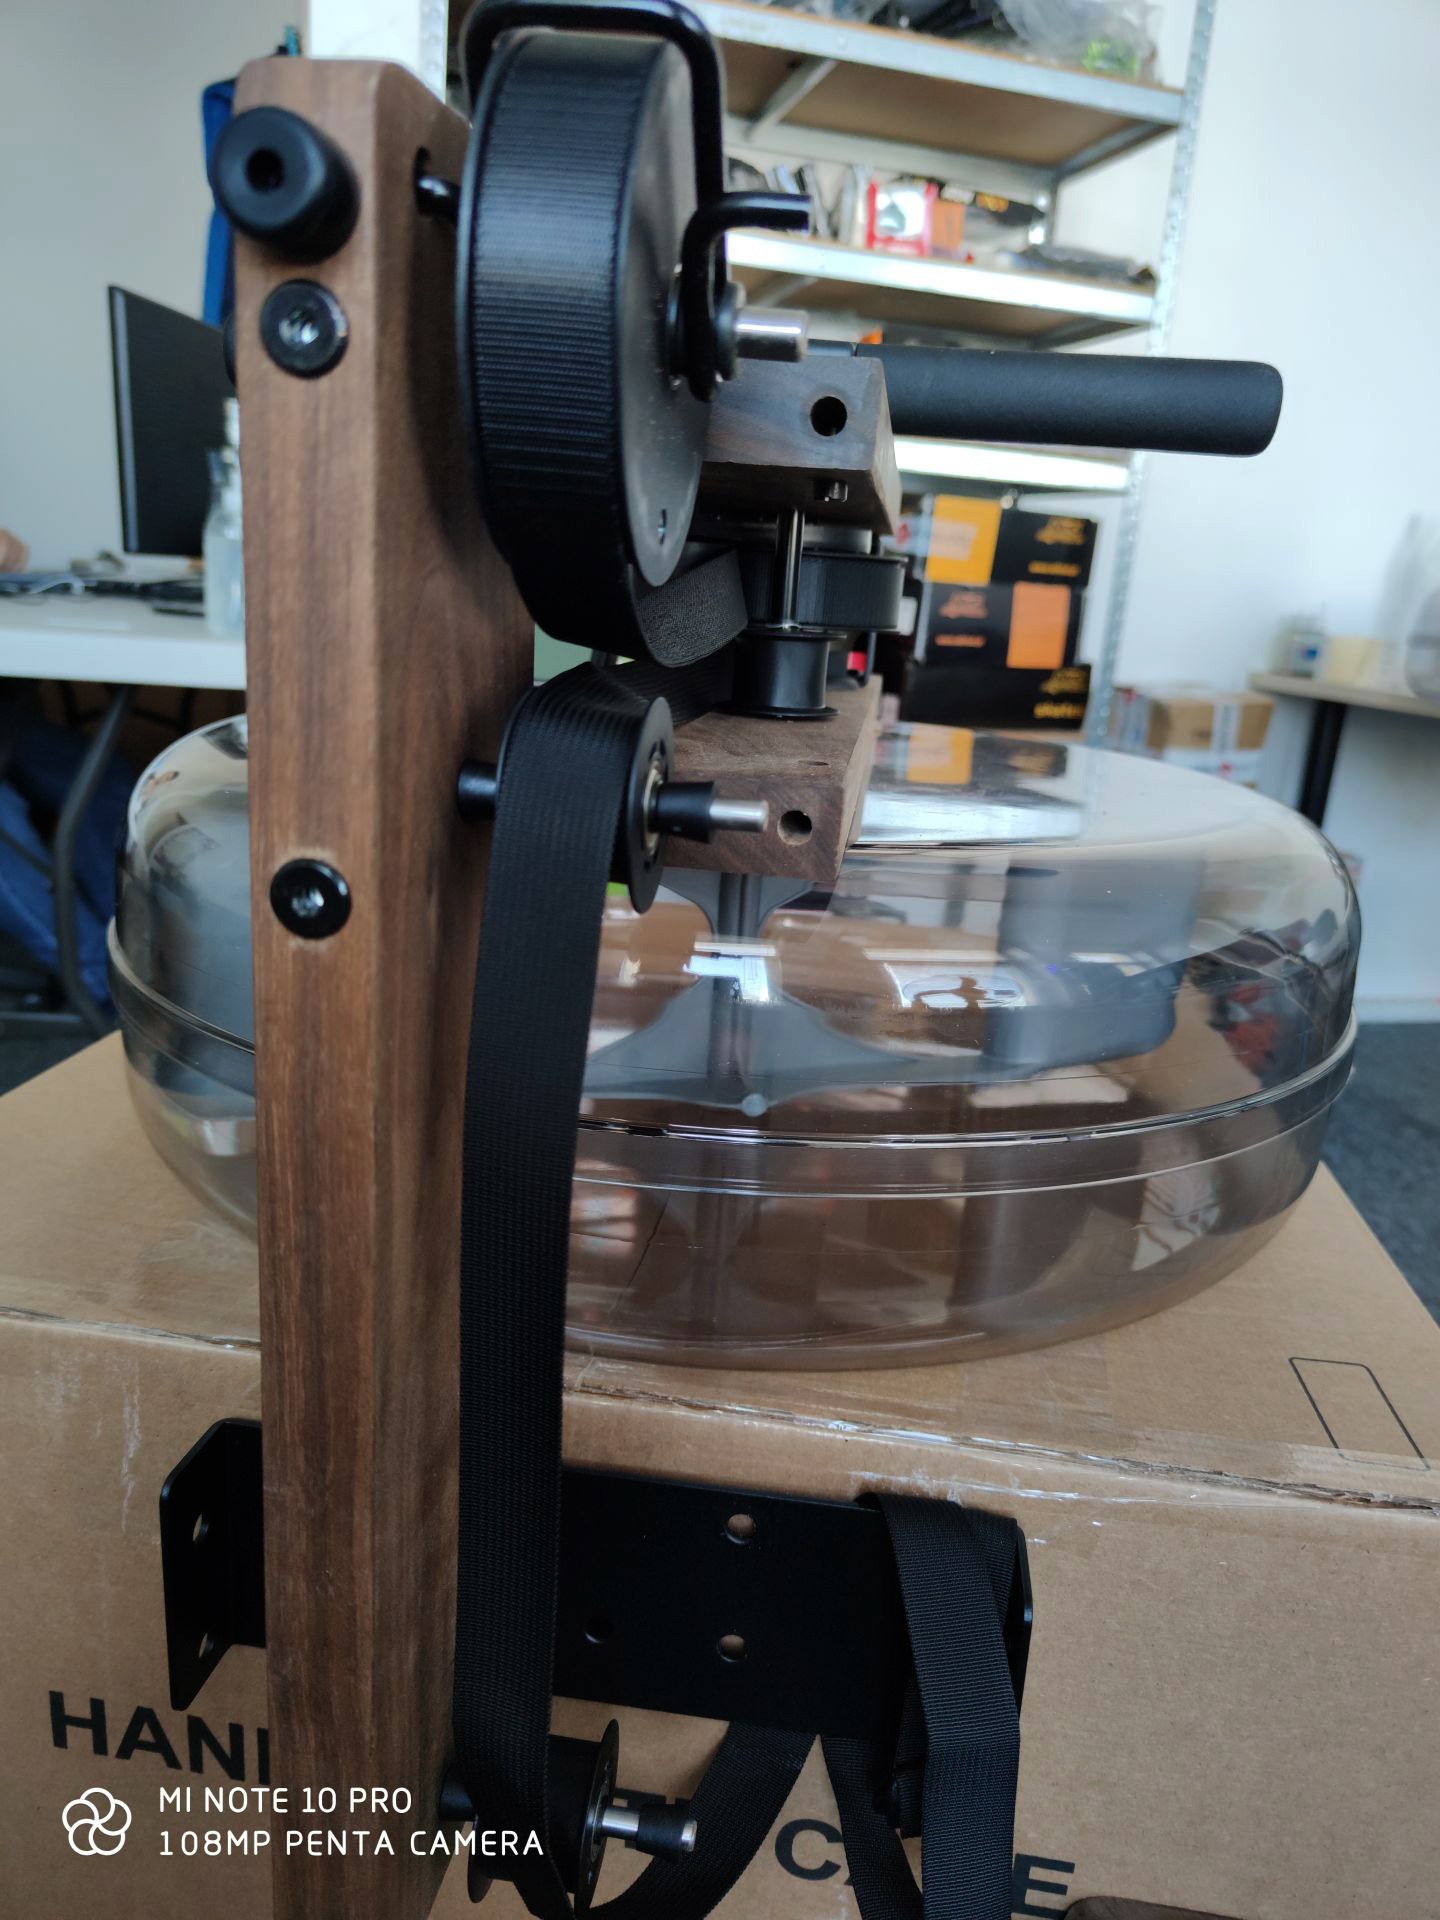

Now remove the main roller and slide the sleeve out of it to disassemble the transmission belt lock and free the roller completely.
In this way, you do not need to remove the transmission belt from the clutch! Therefore, this method is faster, easier and after putting everything together, we do not have to re-run the tape.
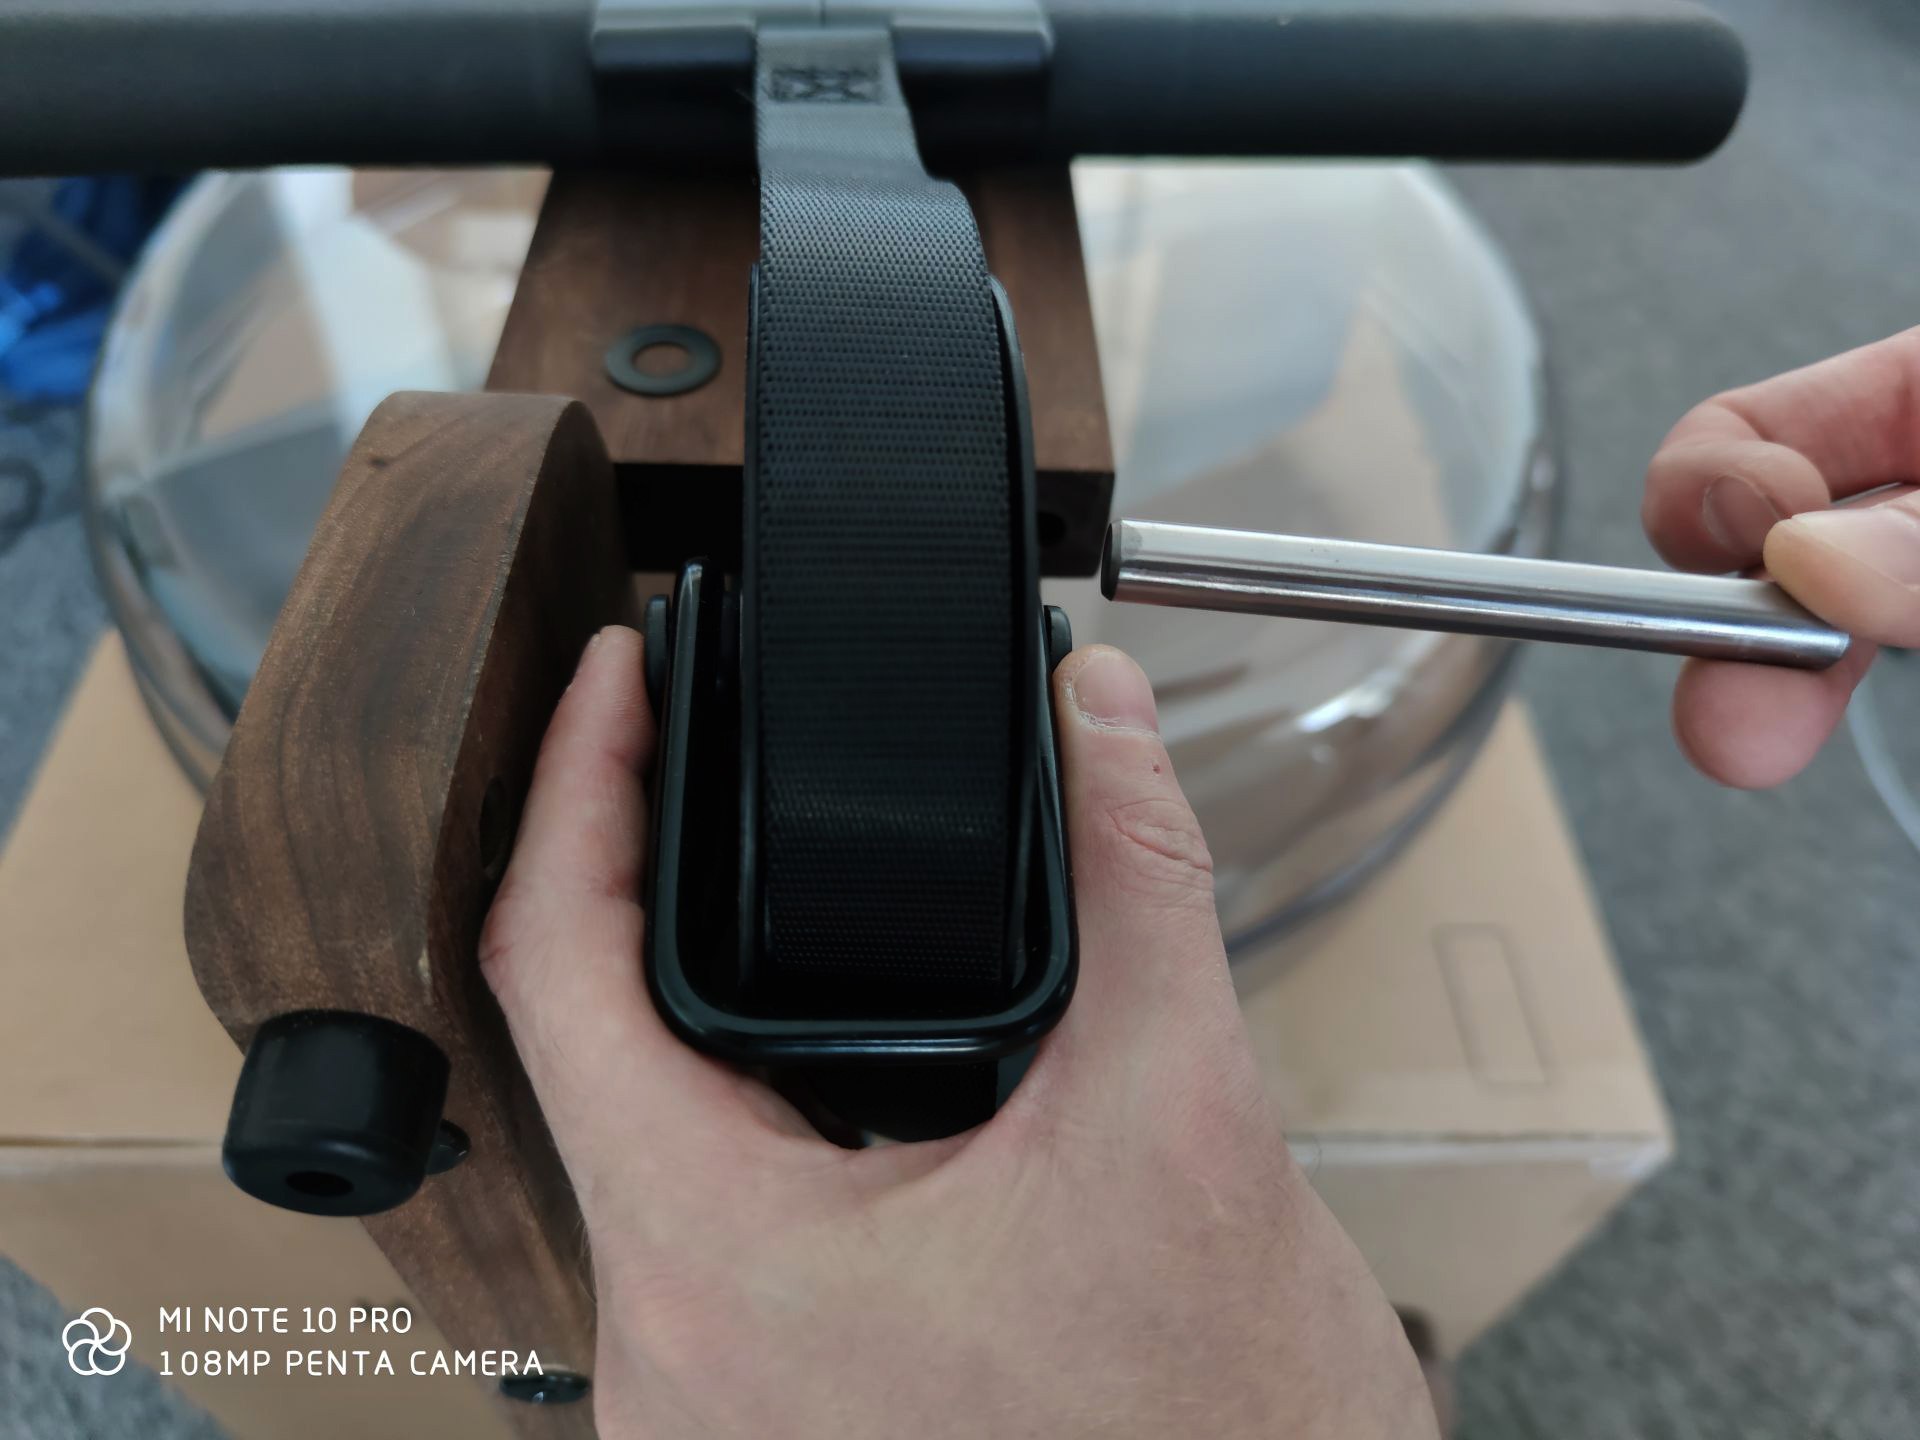
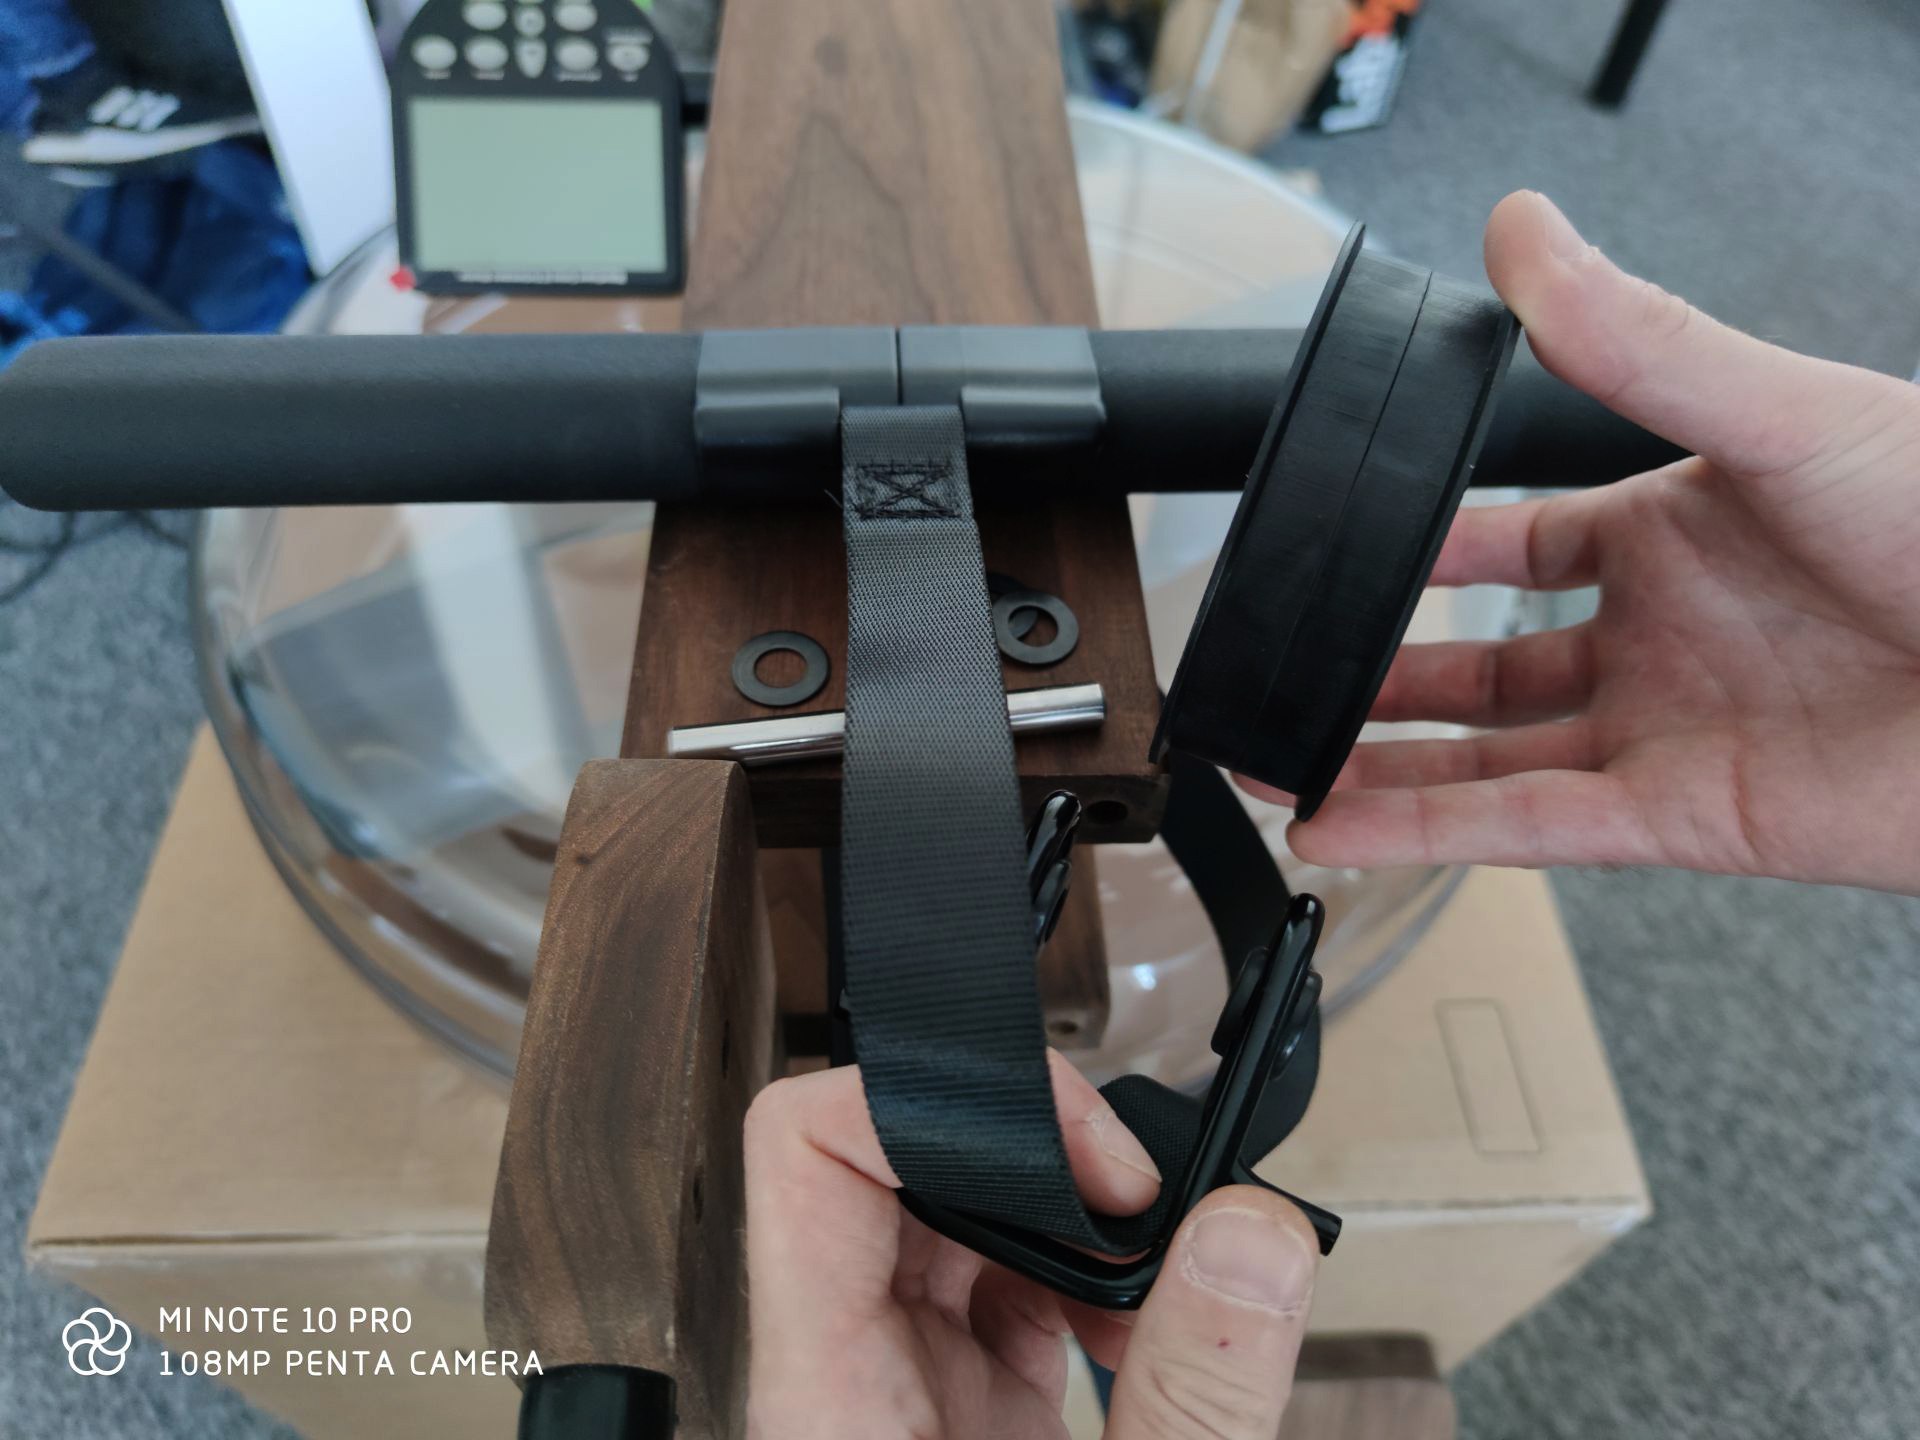
Then we mount the board back, which we unscrewed in the first stage and start assembling the new SmartRow.
We slide off the plastic tip holding the SmartRow handle gently, evenly moving it on both sides. After that, we have the roll released. Now we can shift the tape, put the roller and start twisting the rowing machine.
IMPORTANT! The SmartRow should be mounted so that the SmartRow Cable is to the left when sitting on the rowing machine. Otherwise the module will not work properly!
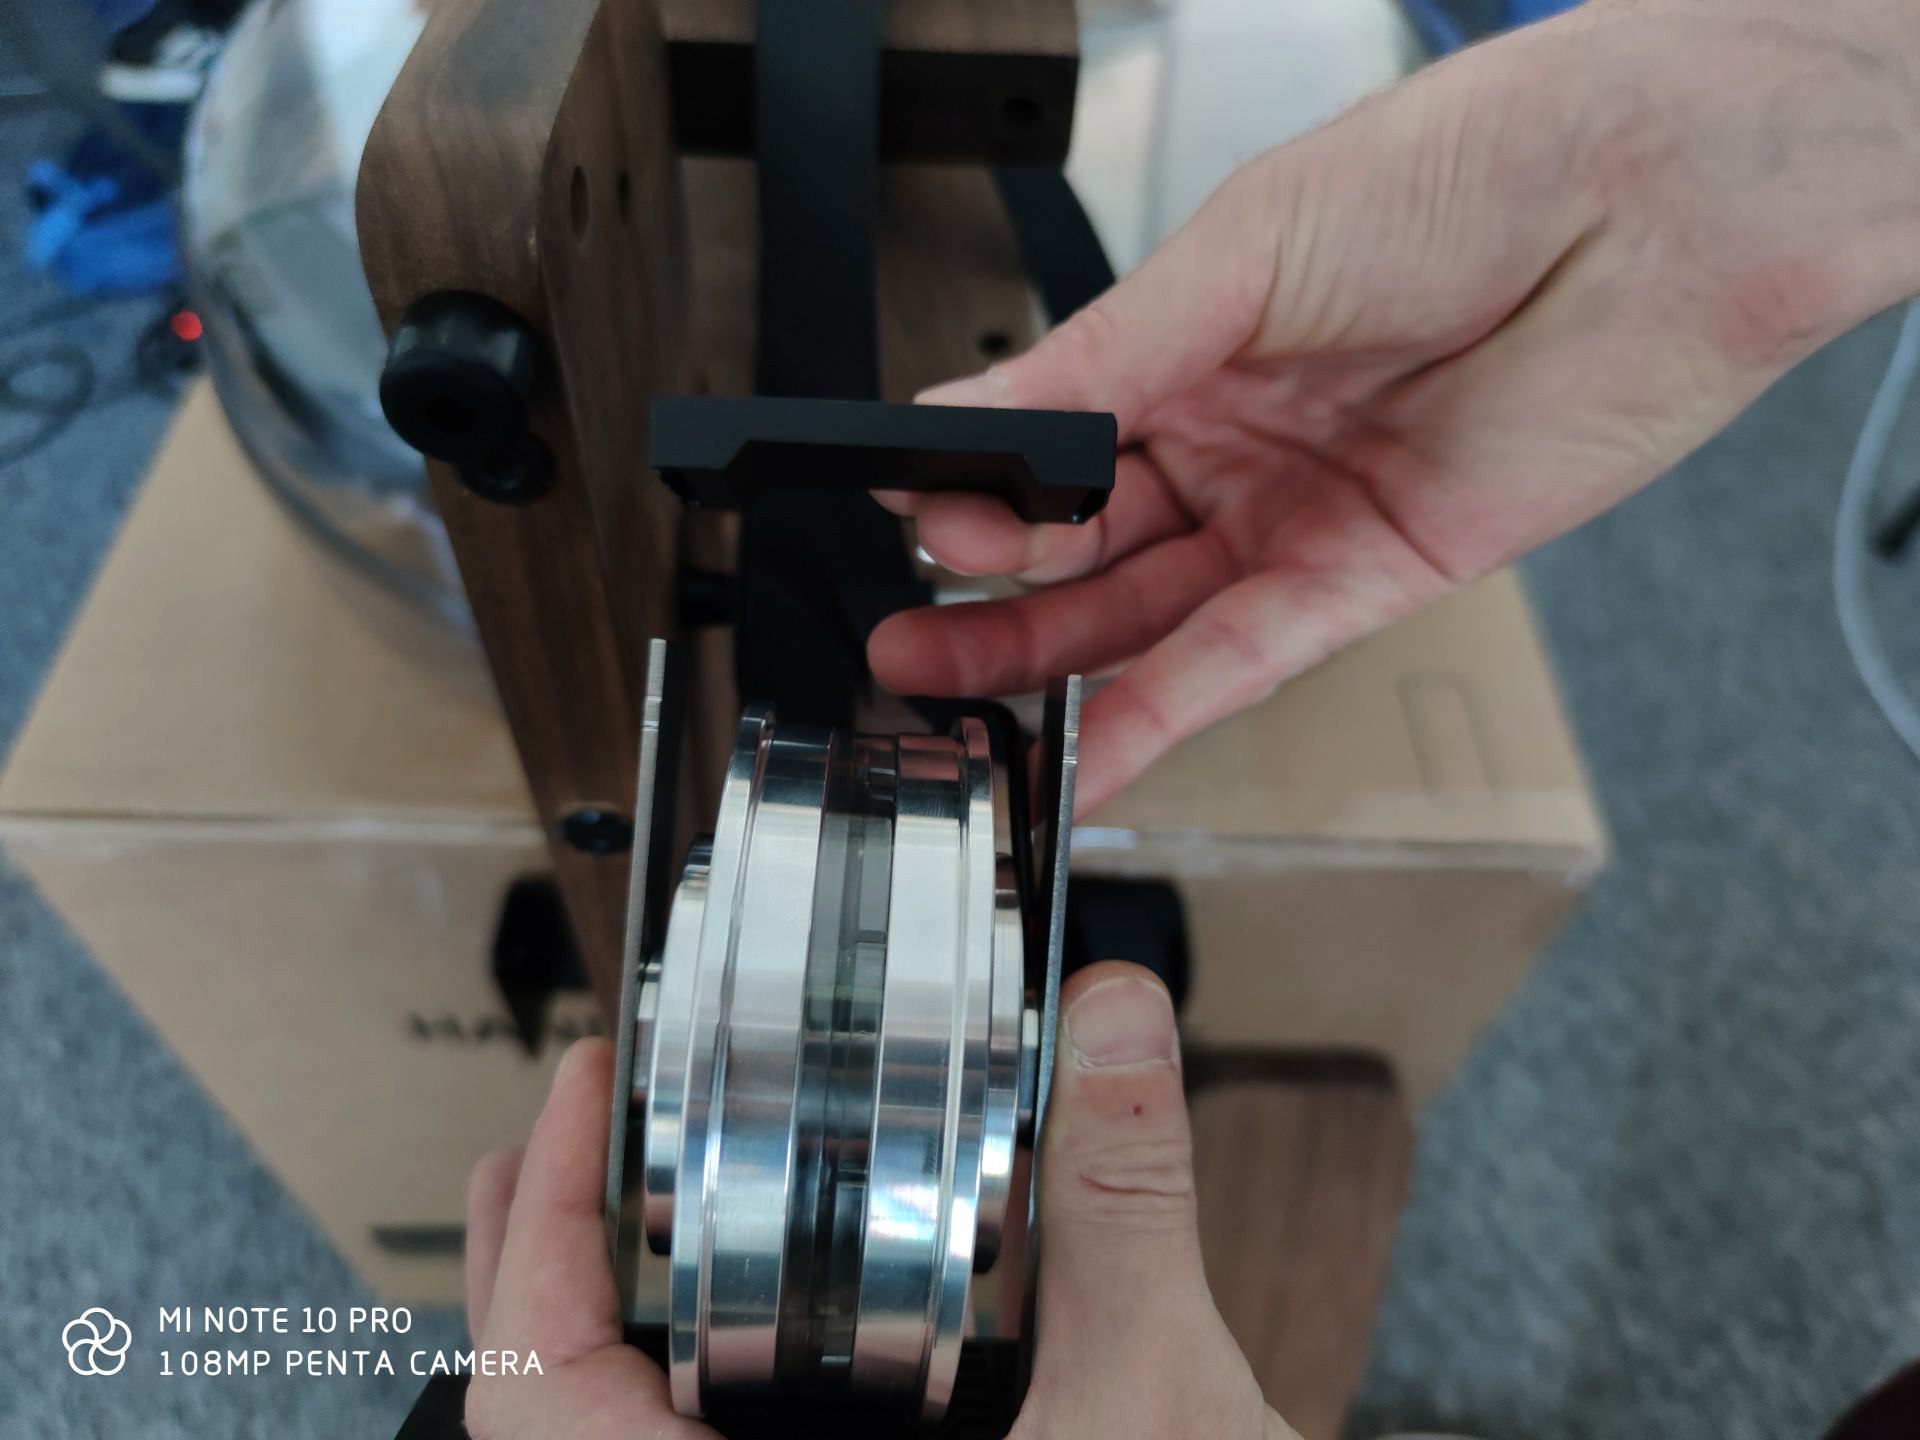
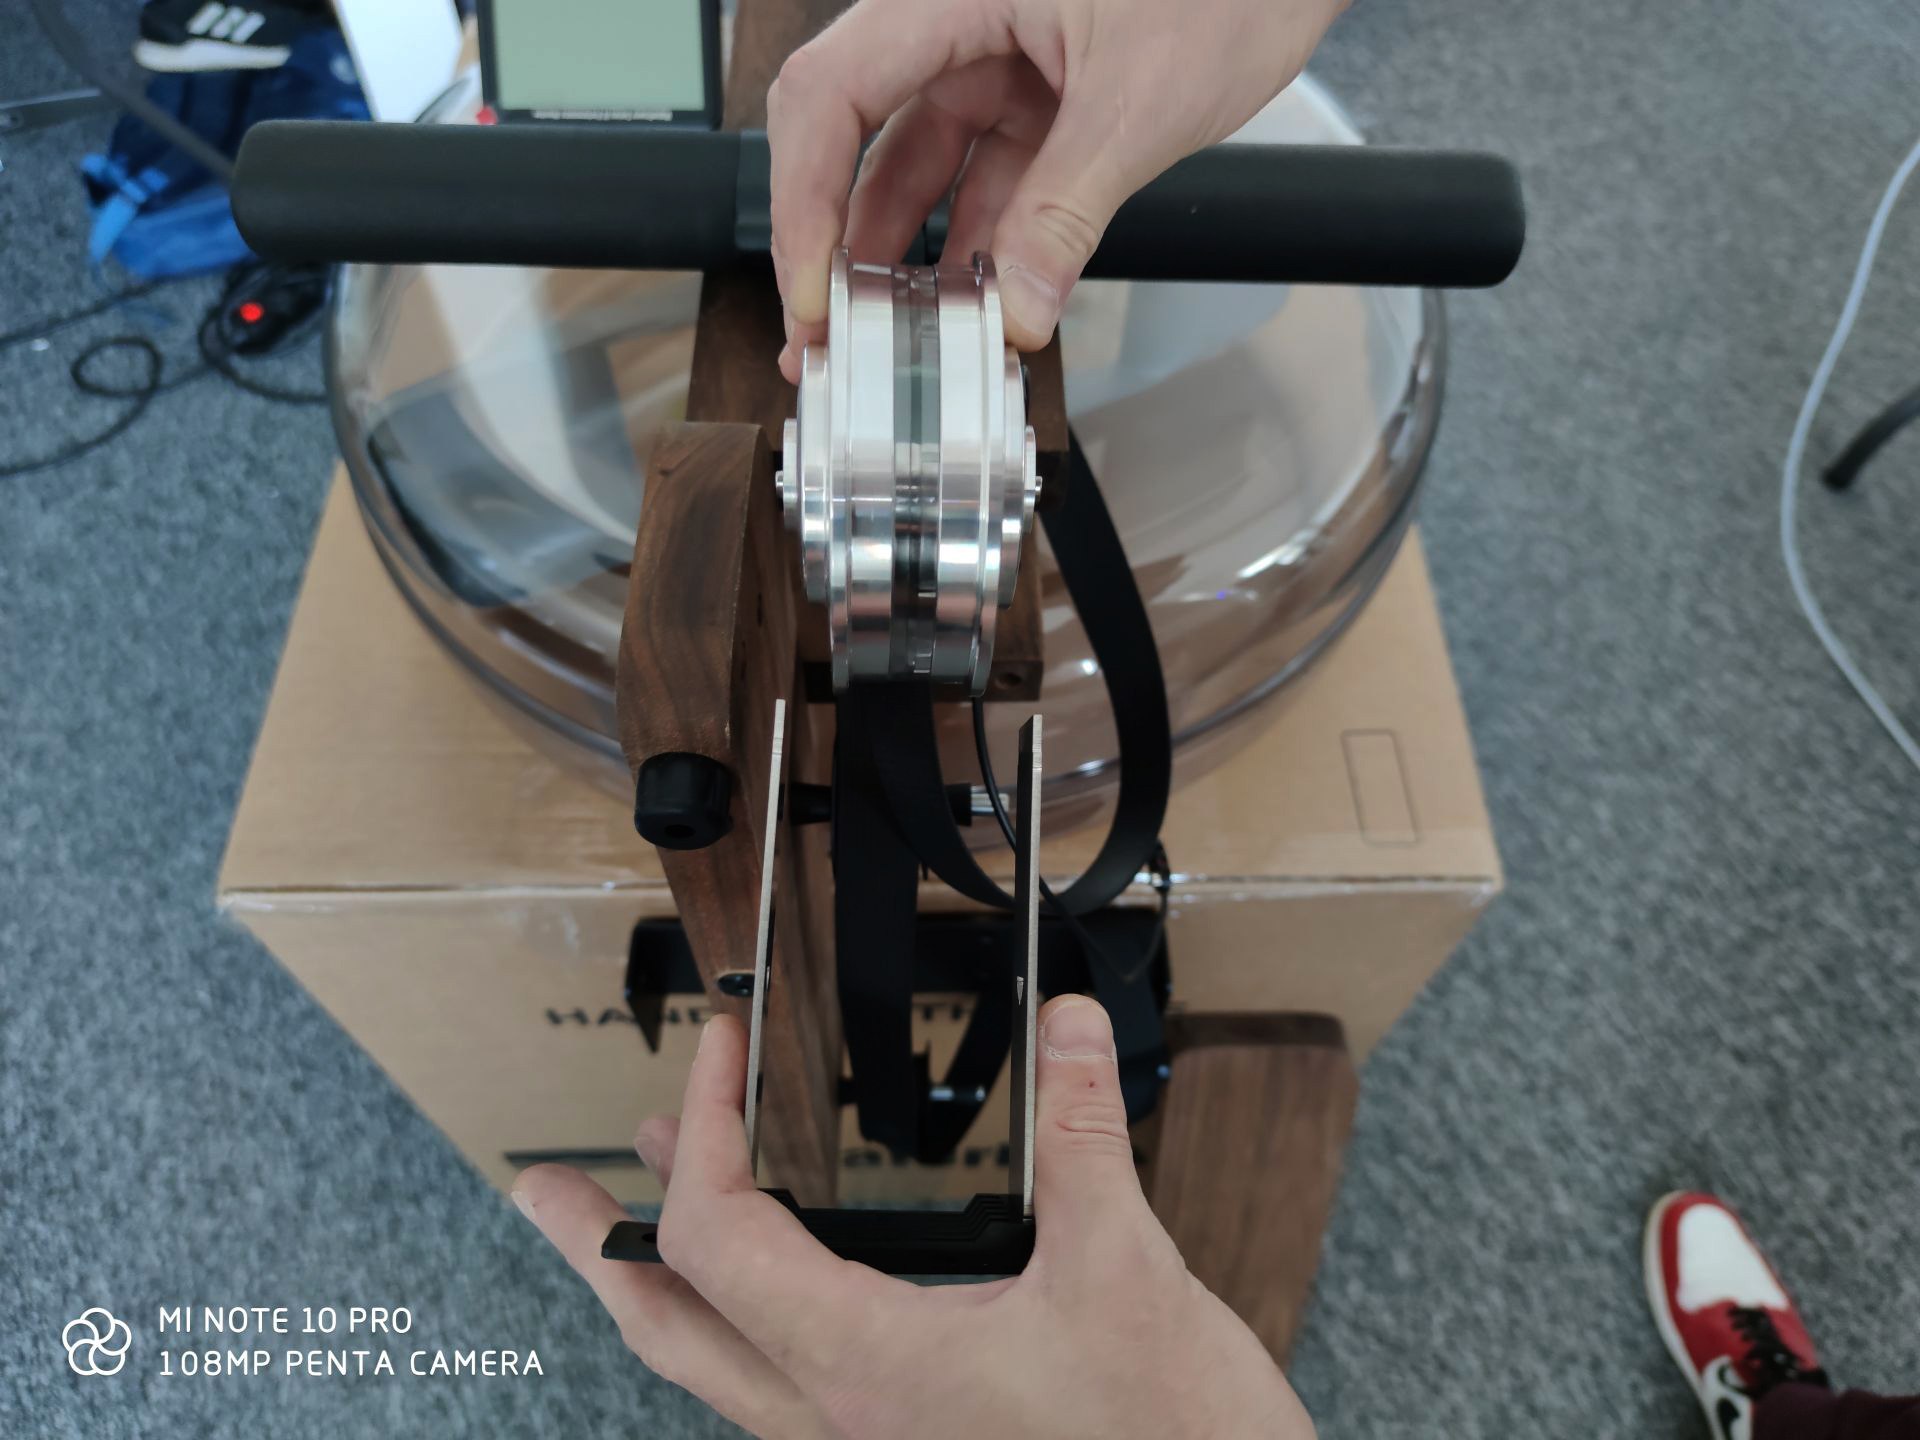
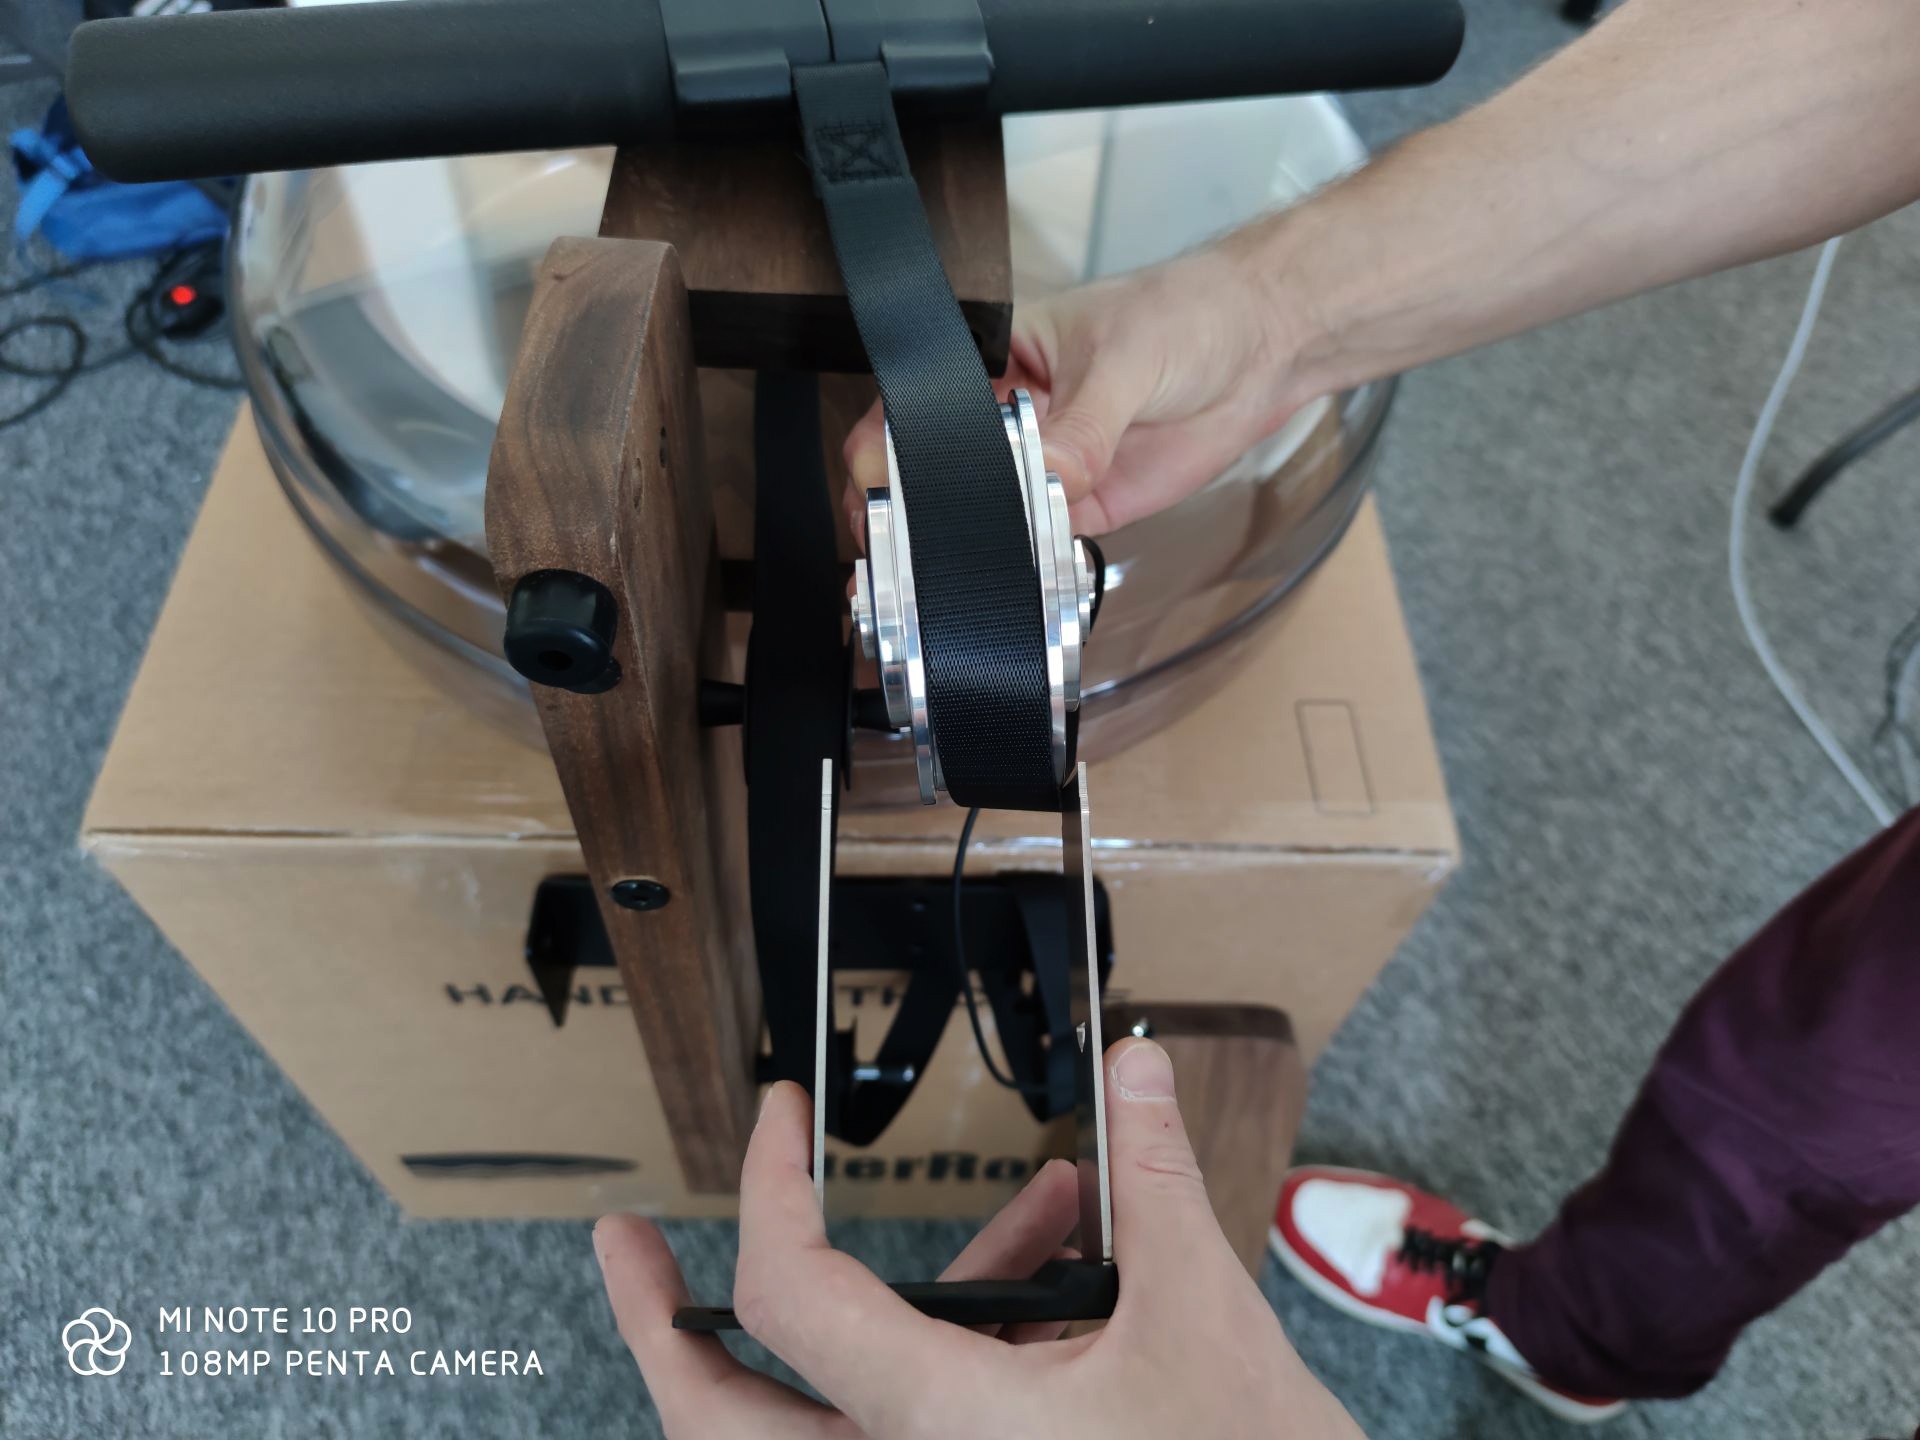
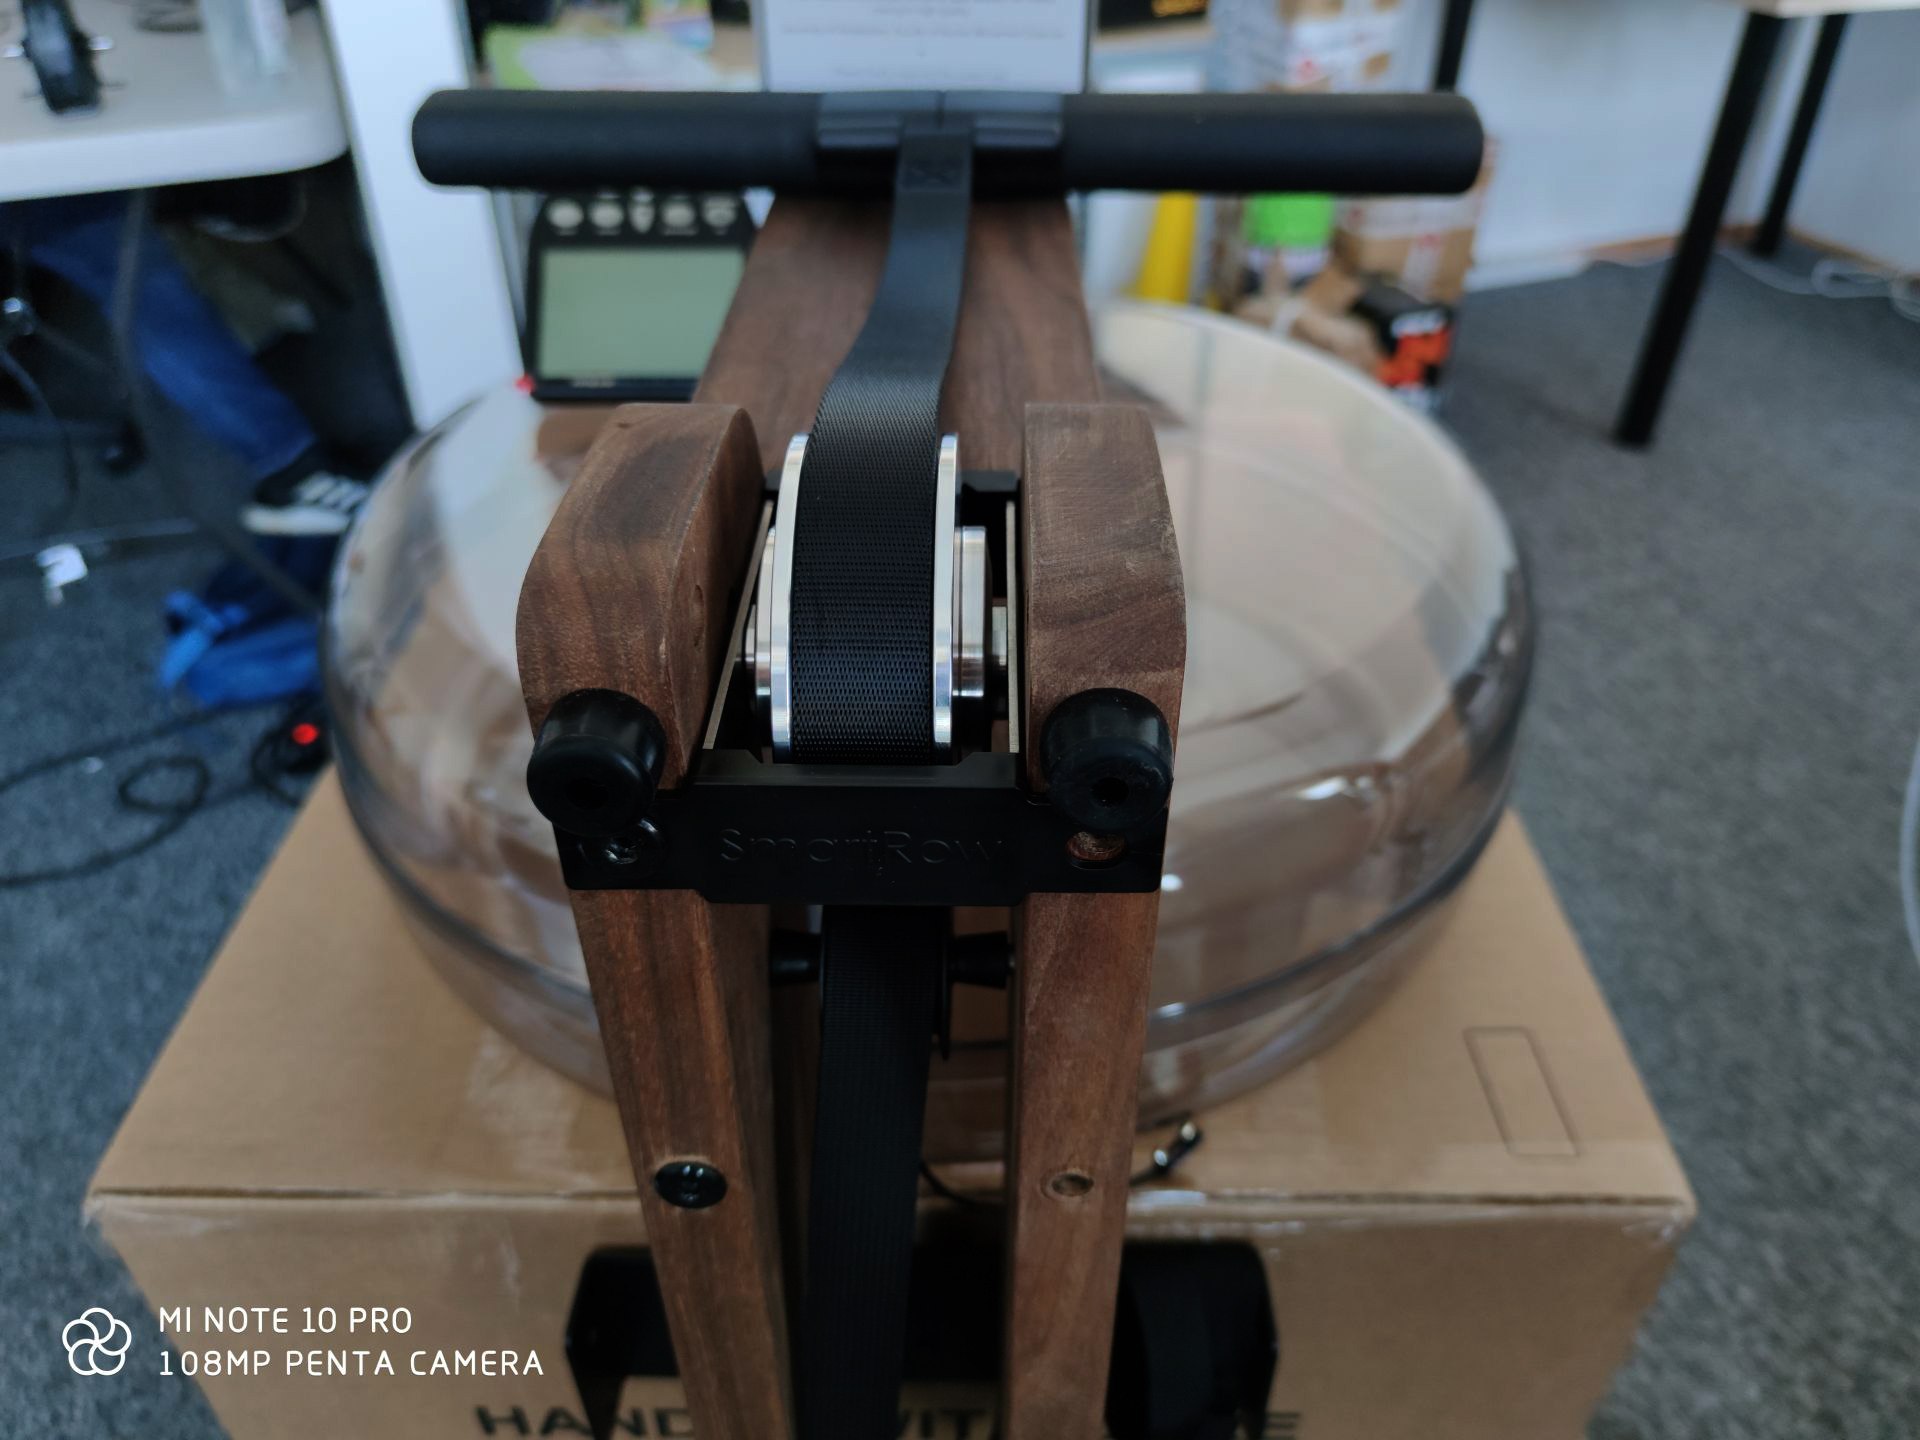
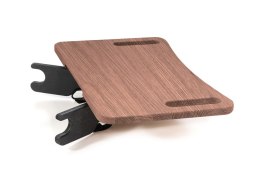
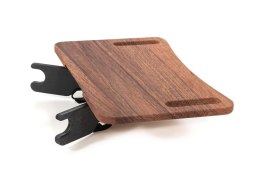
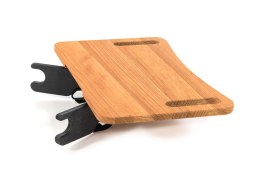
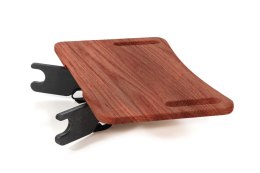
Before tightening the SmartRow, we mount the handles to the tablet arm.
We remember that the mounts are mounted on the SmartRow holder and not the other way around! As you can also see, the handles are attached with mounts from the outside, if you have the first version of the skate or you don't have a SmartRow at all, attach the holders so that the mounts are on the inside.
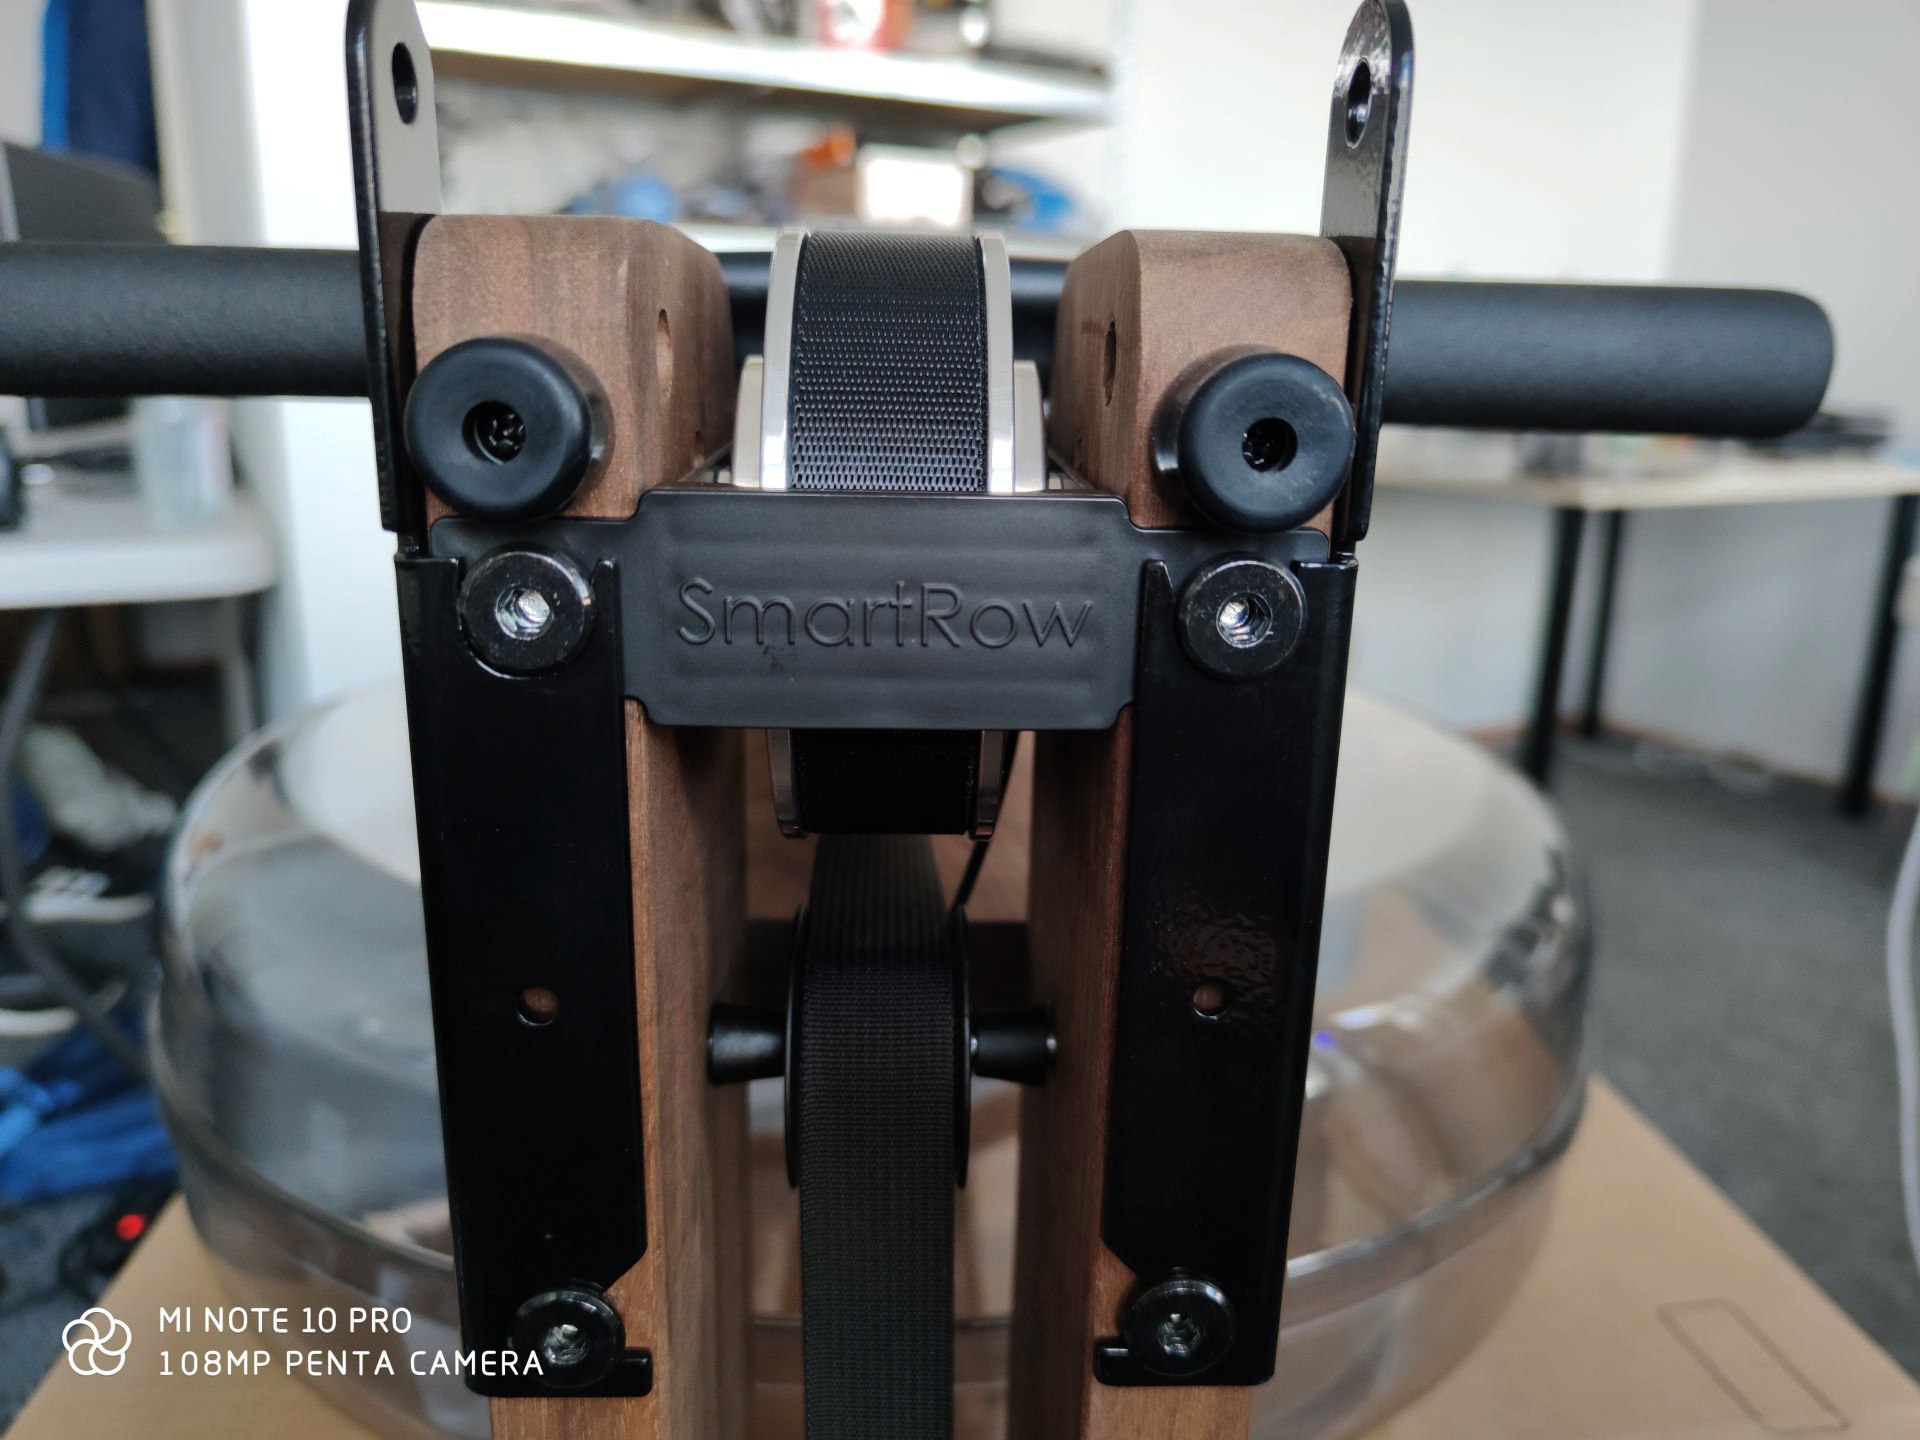
After screwing the elements together, we need to do one more important thing, push the handle lock against the board. It should look something like the pictures below.
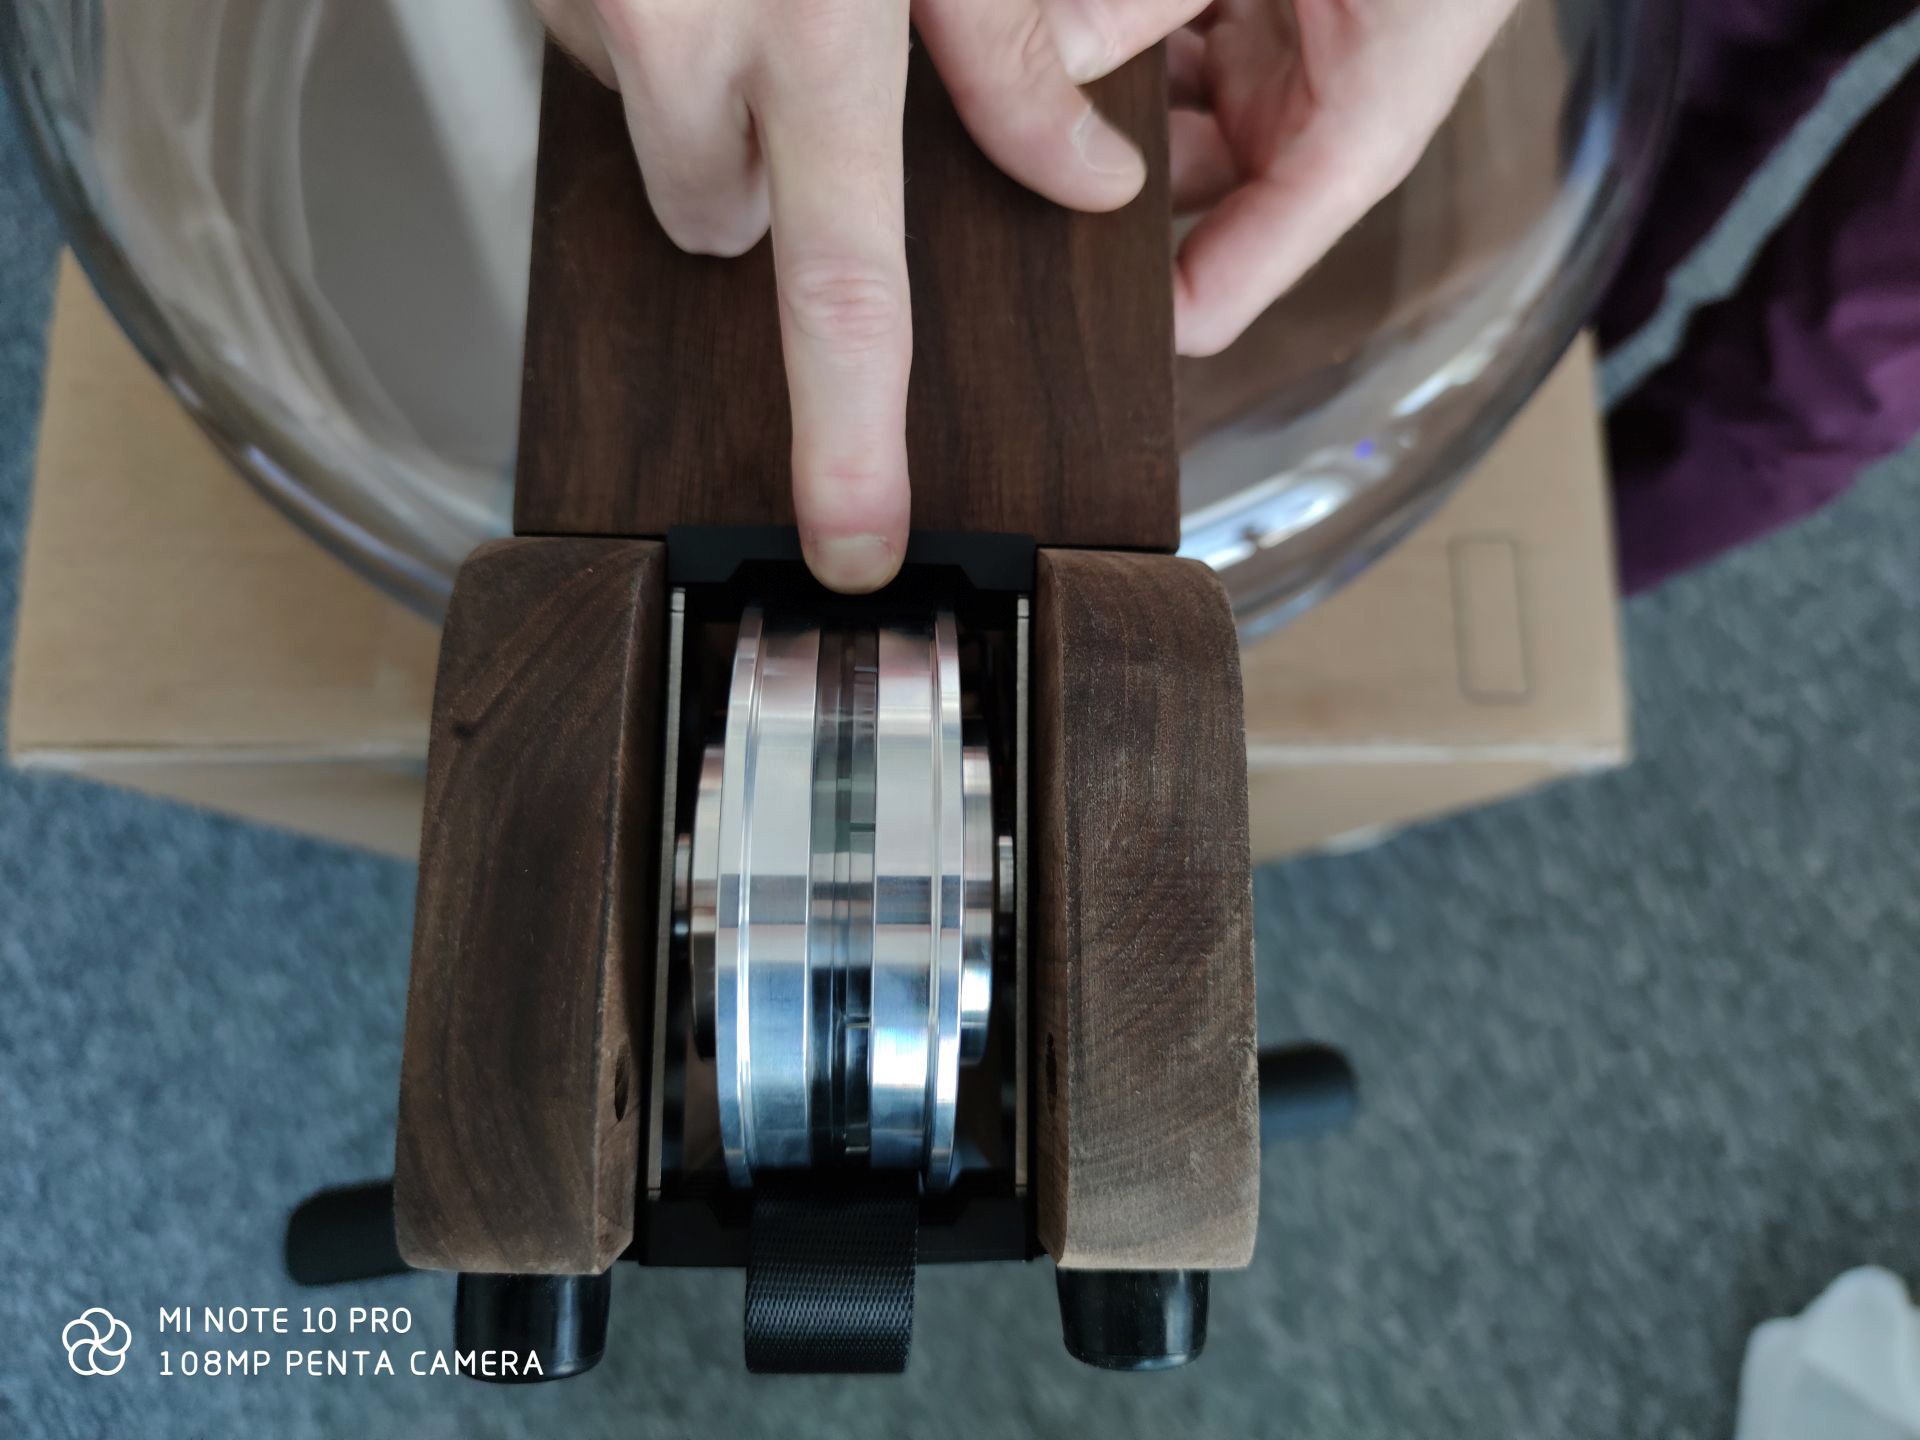
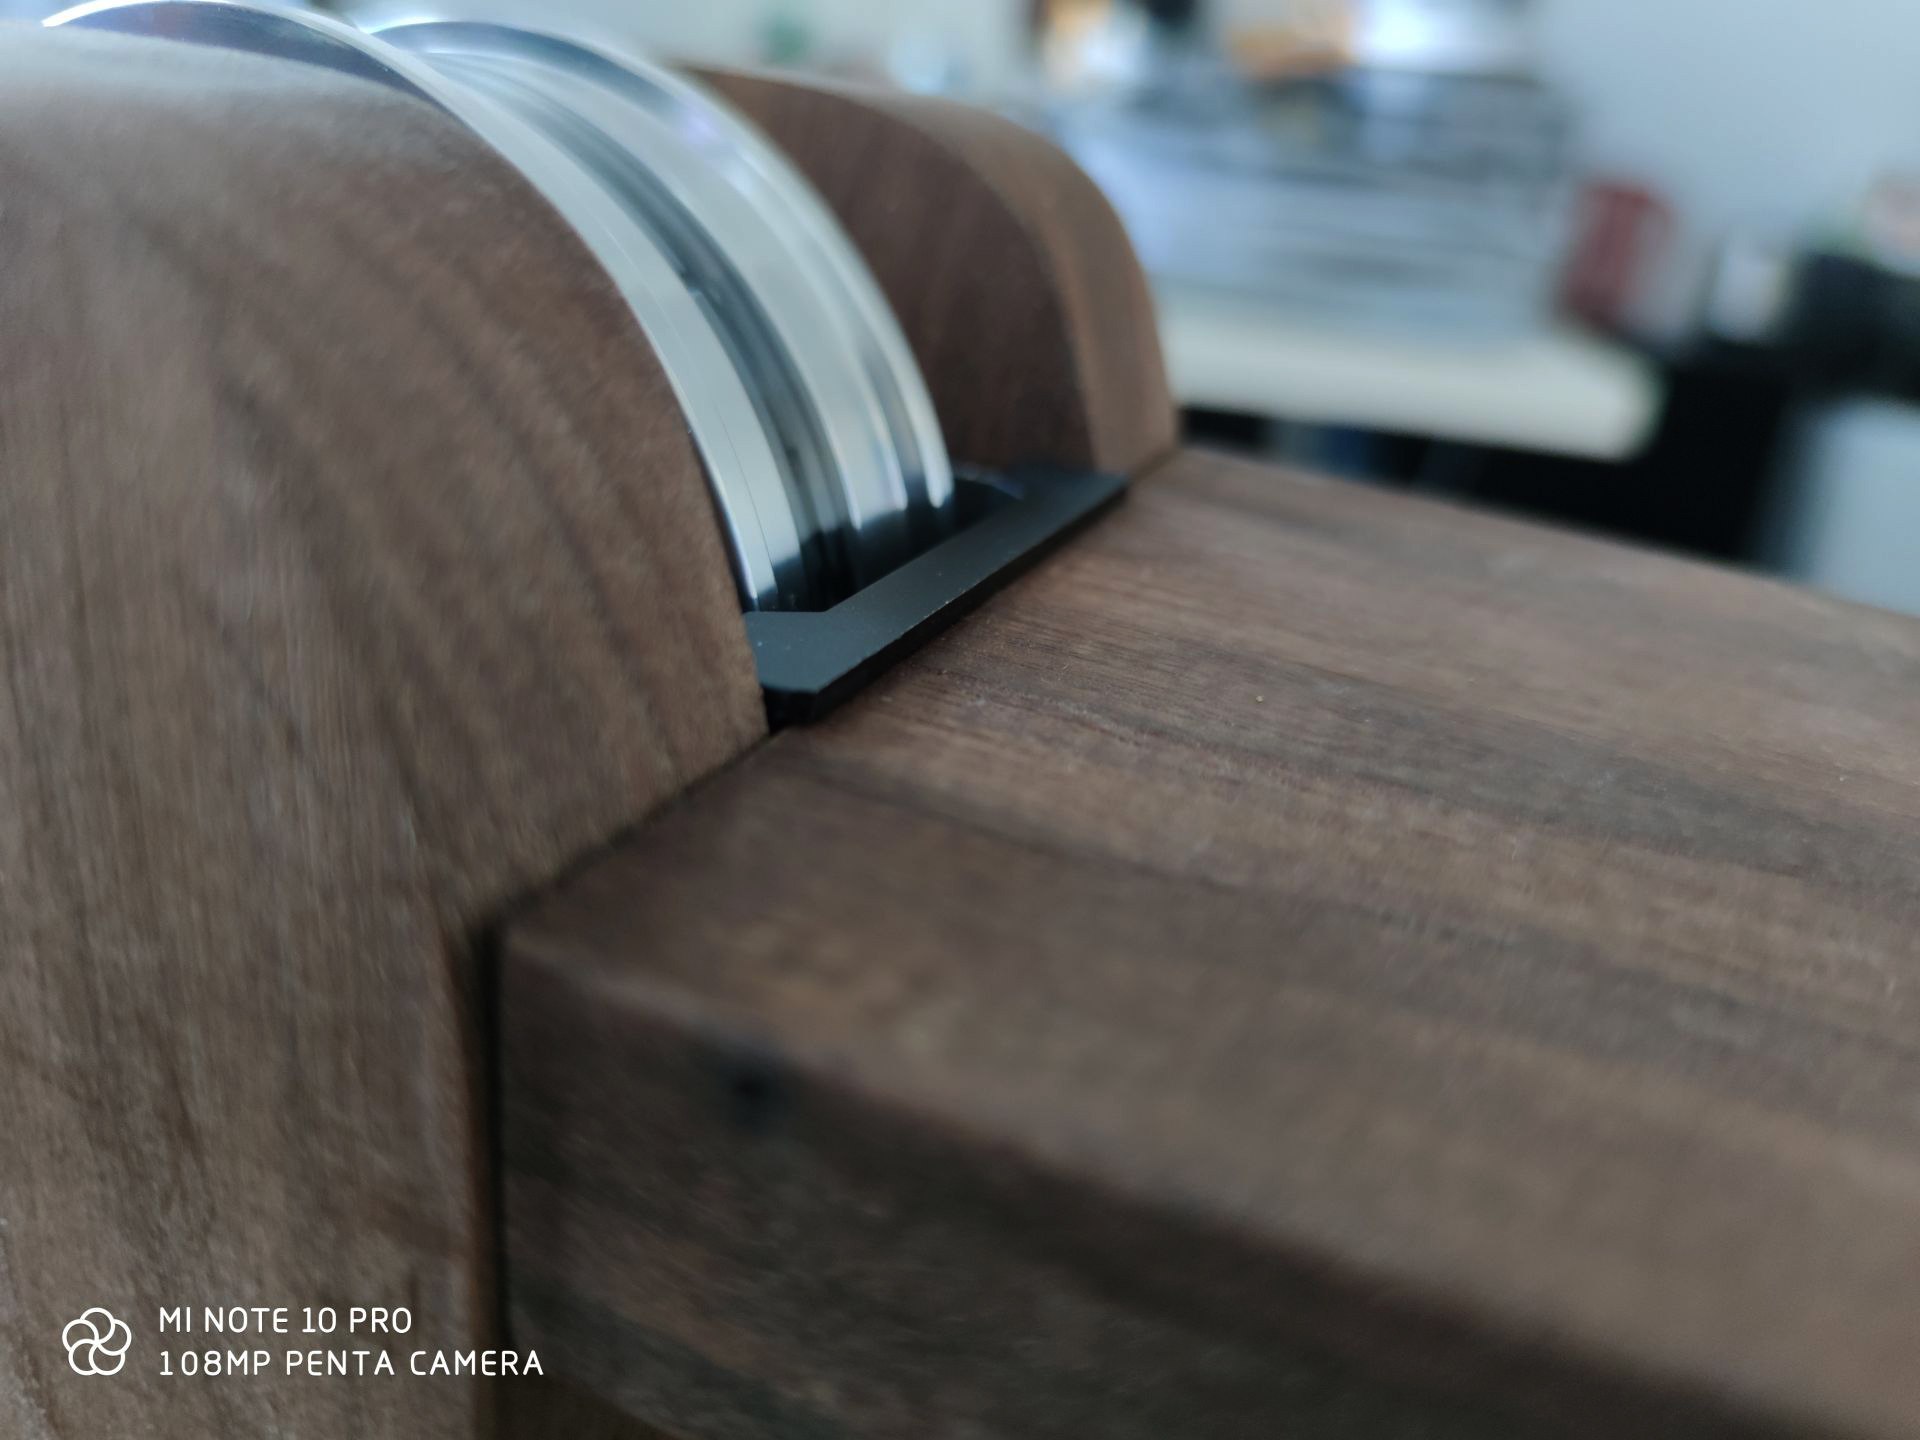
If we carry out assembly in our service, we also attach the SmartRow cable. Do you know that when you buy any WaterRower rowing machine from the offer together with SmartRow, we offer assembly for free? Yes. If you want us to mount the roller for you, write this information in the order note ;)
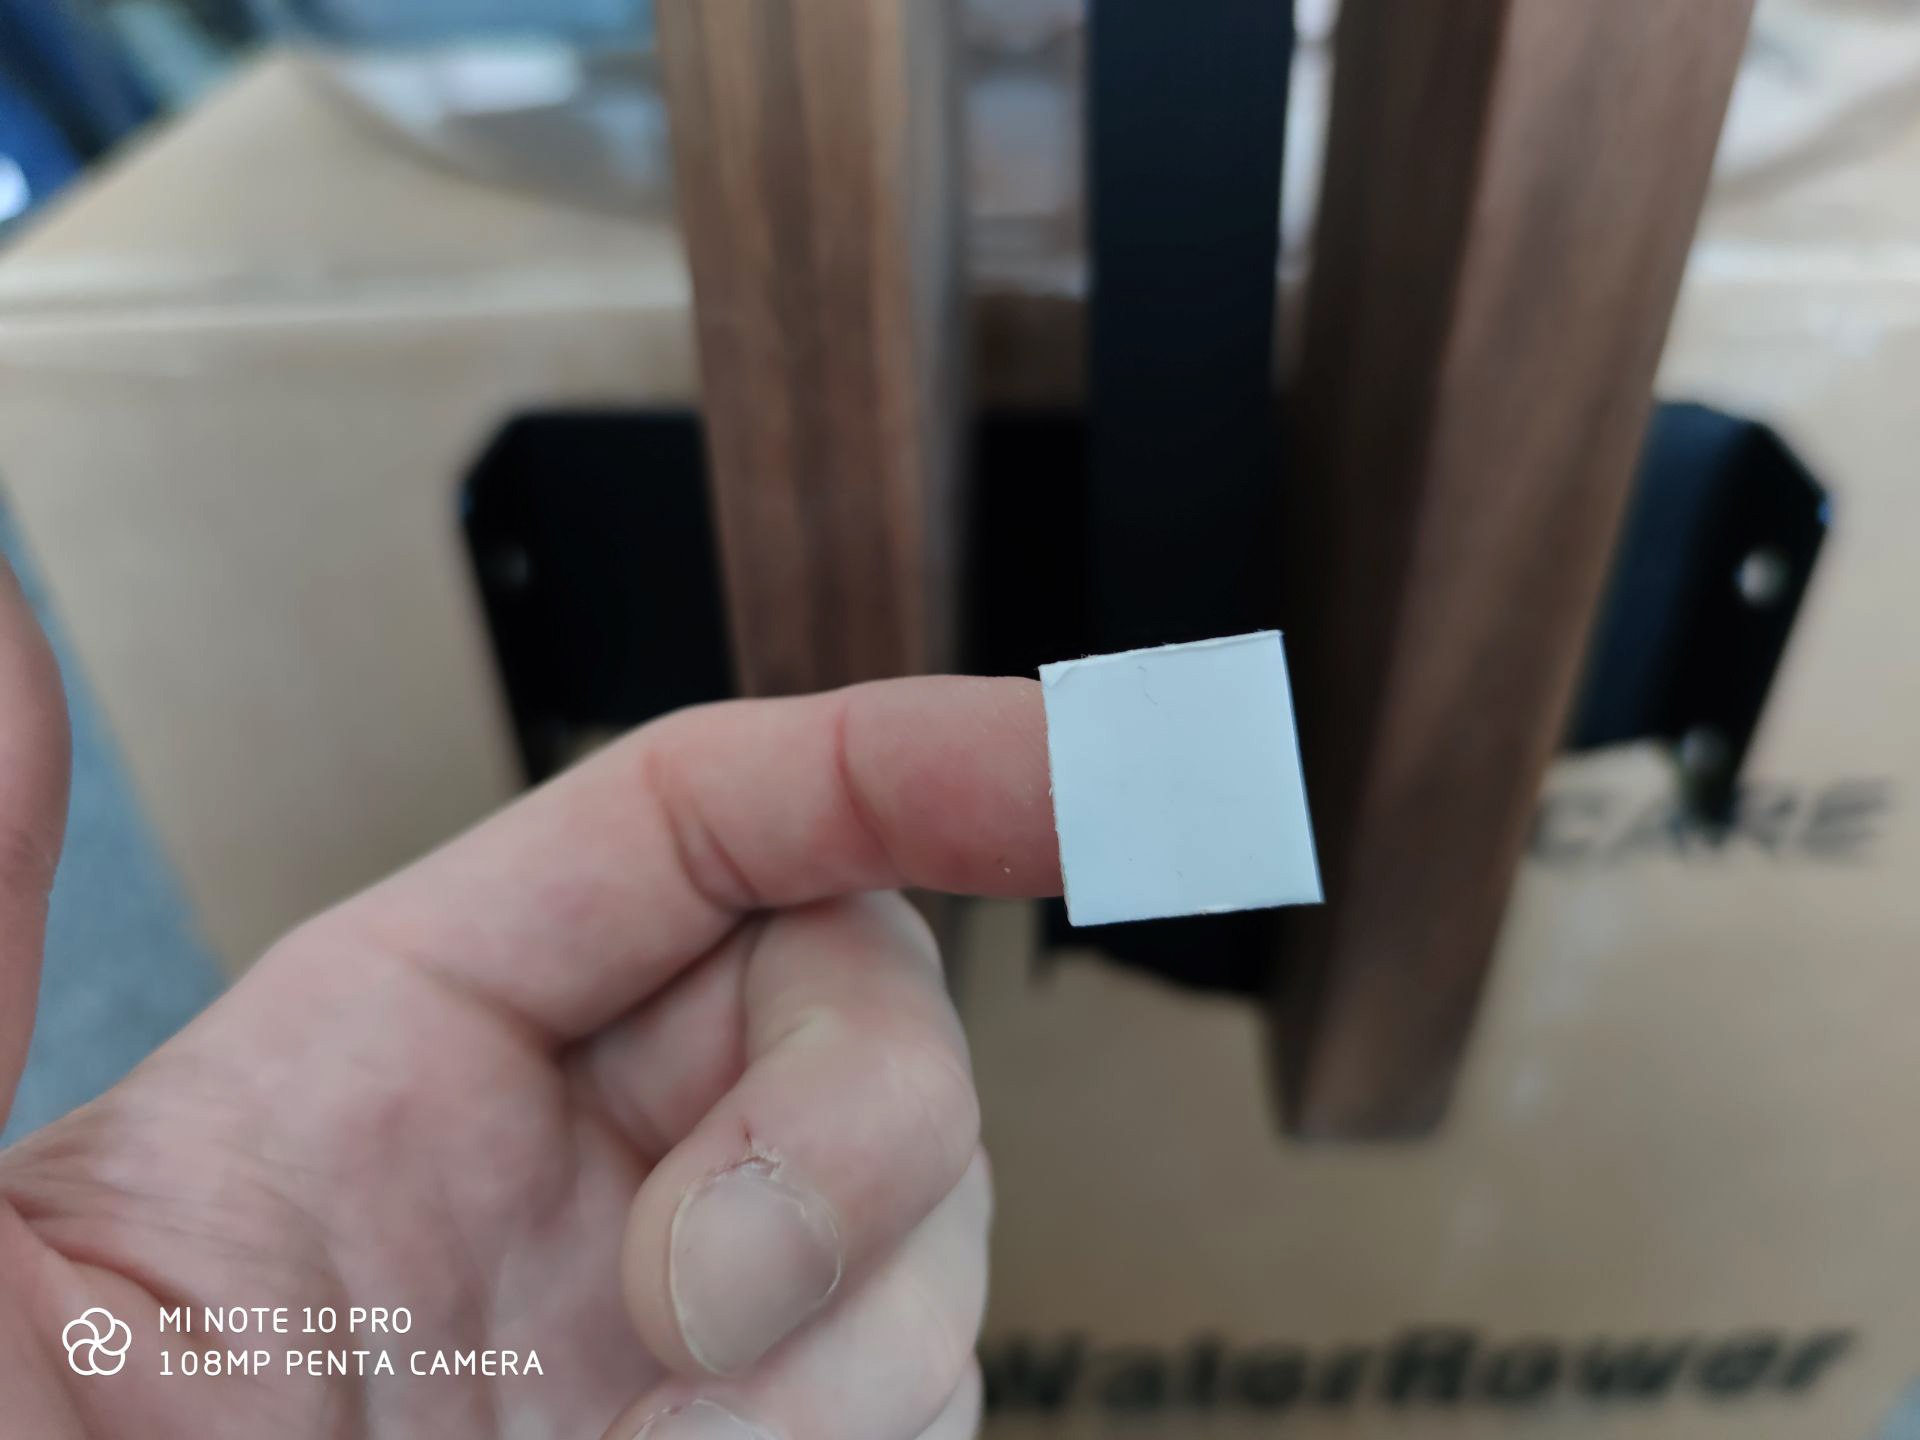
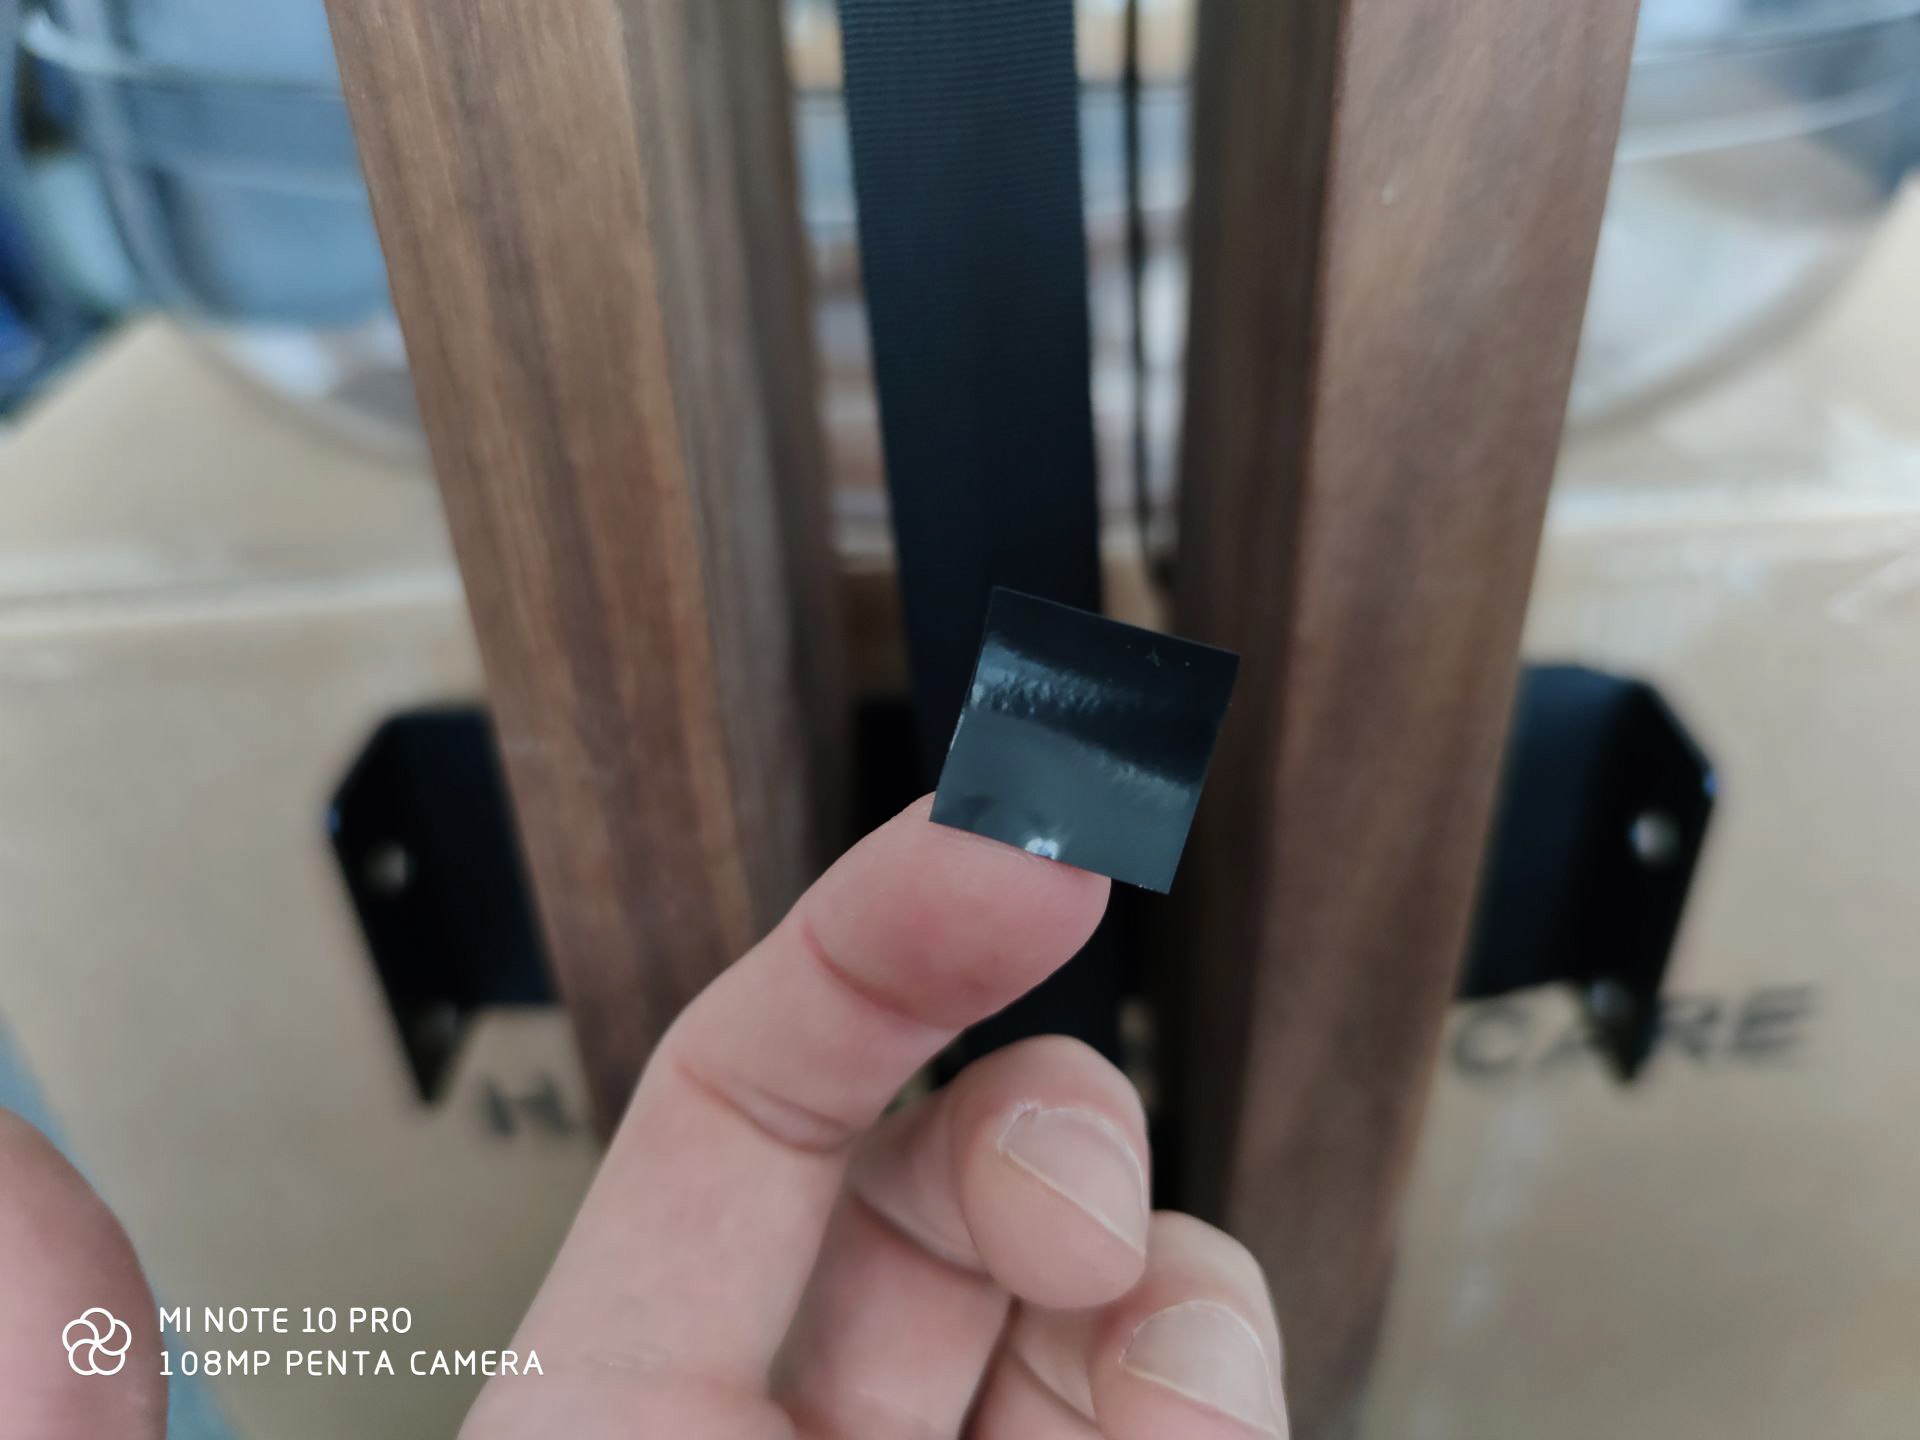
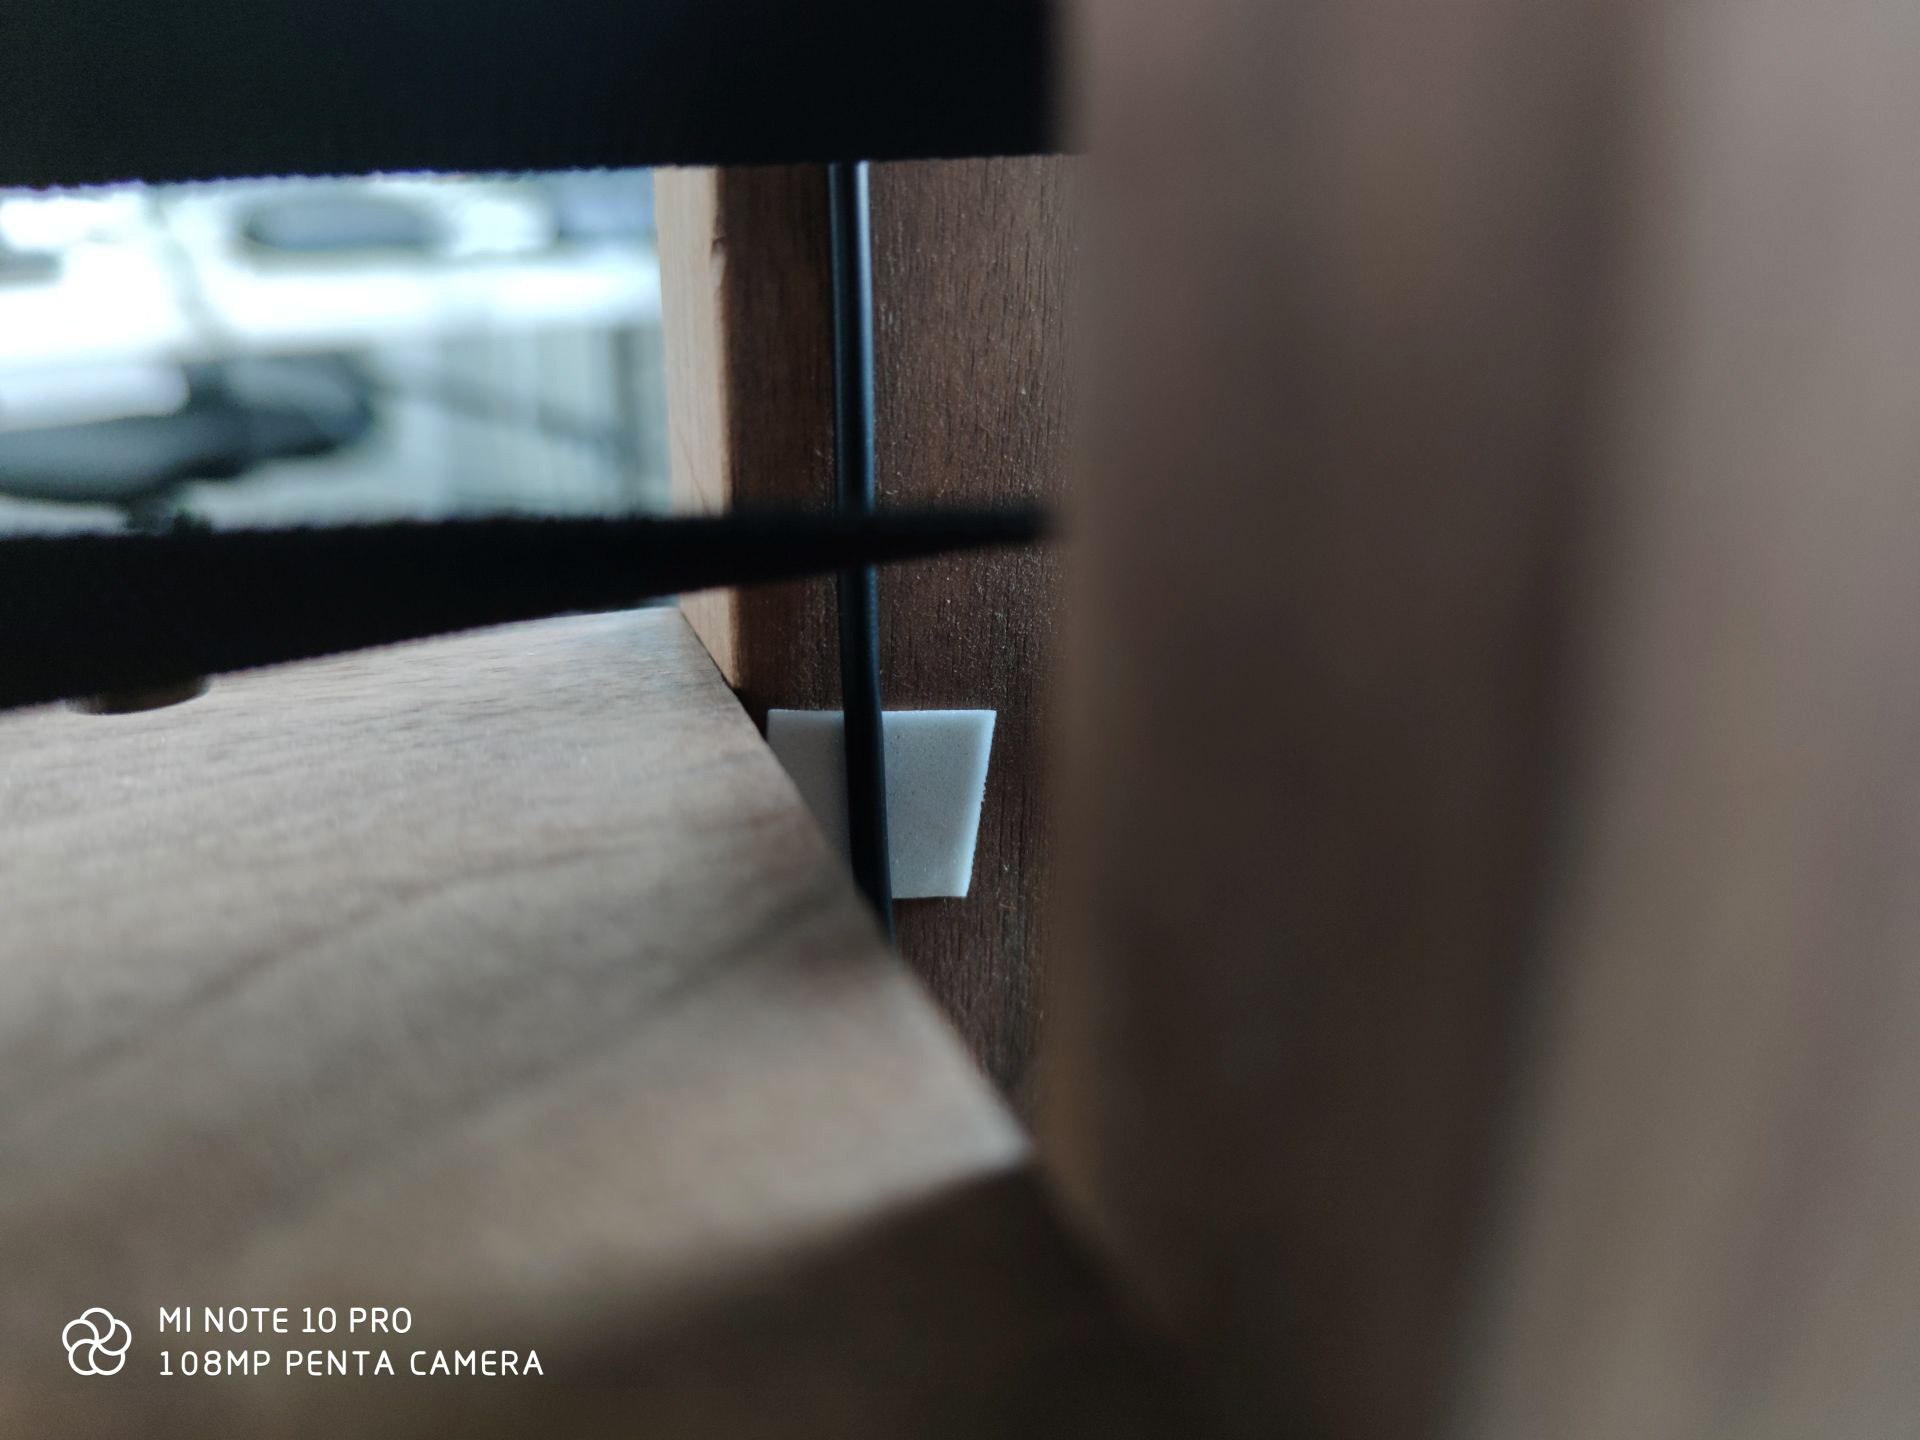
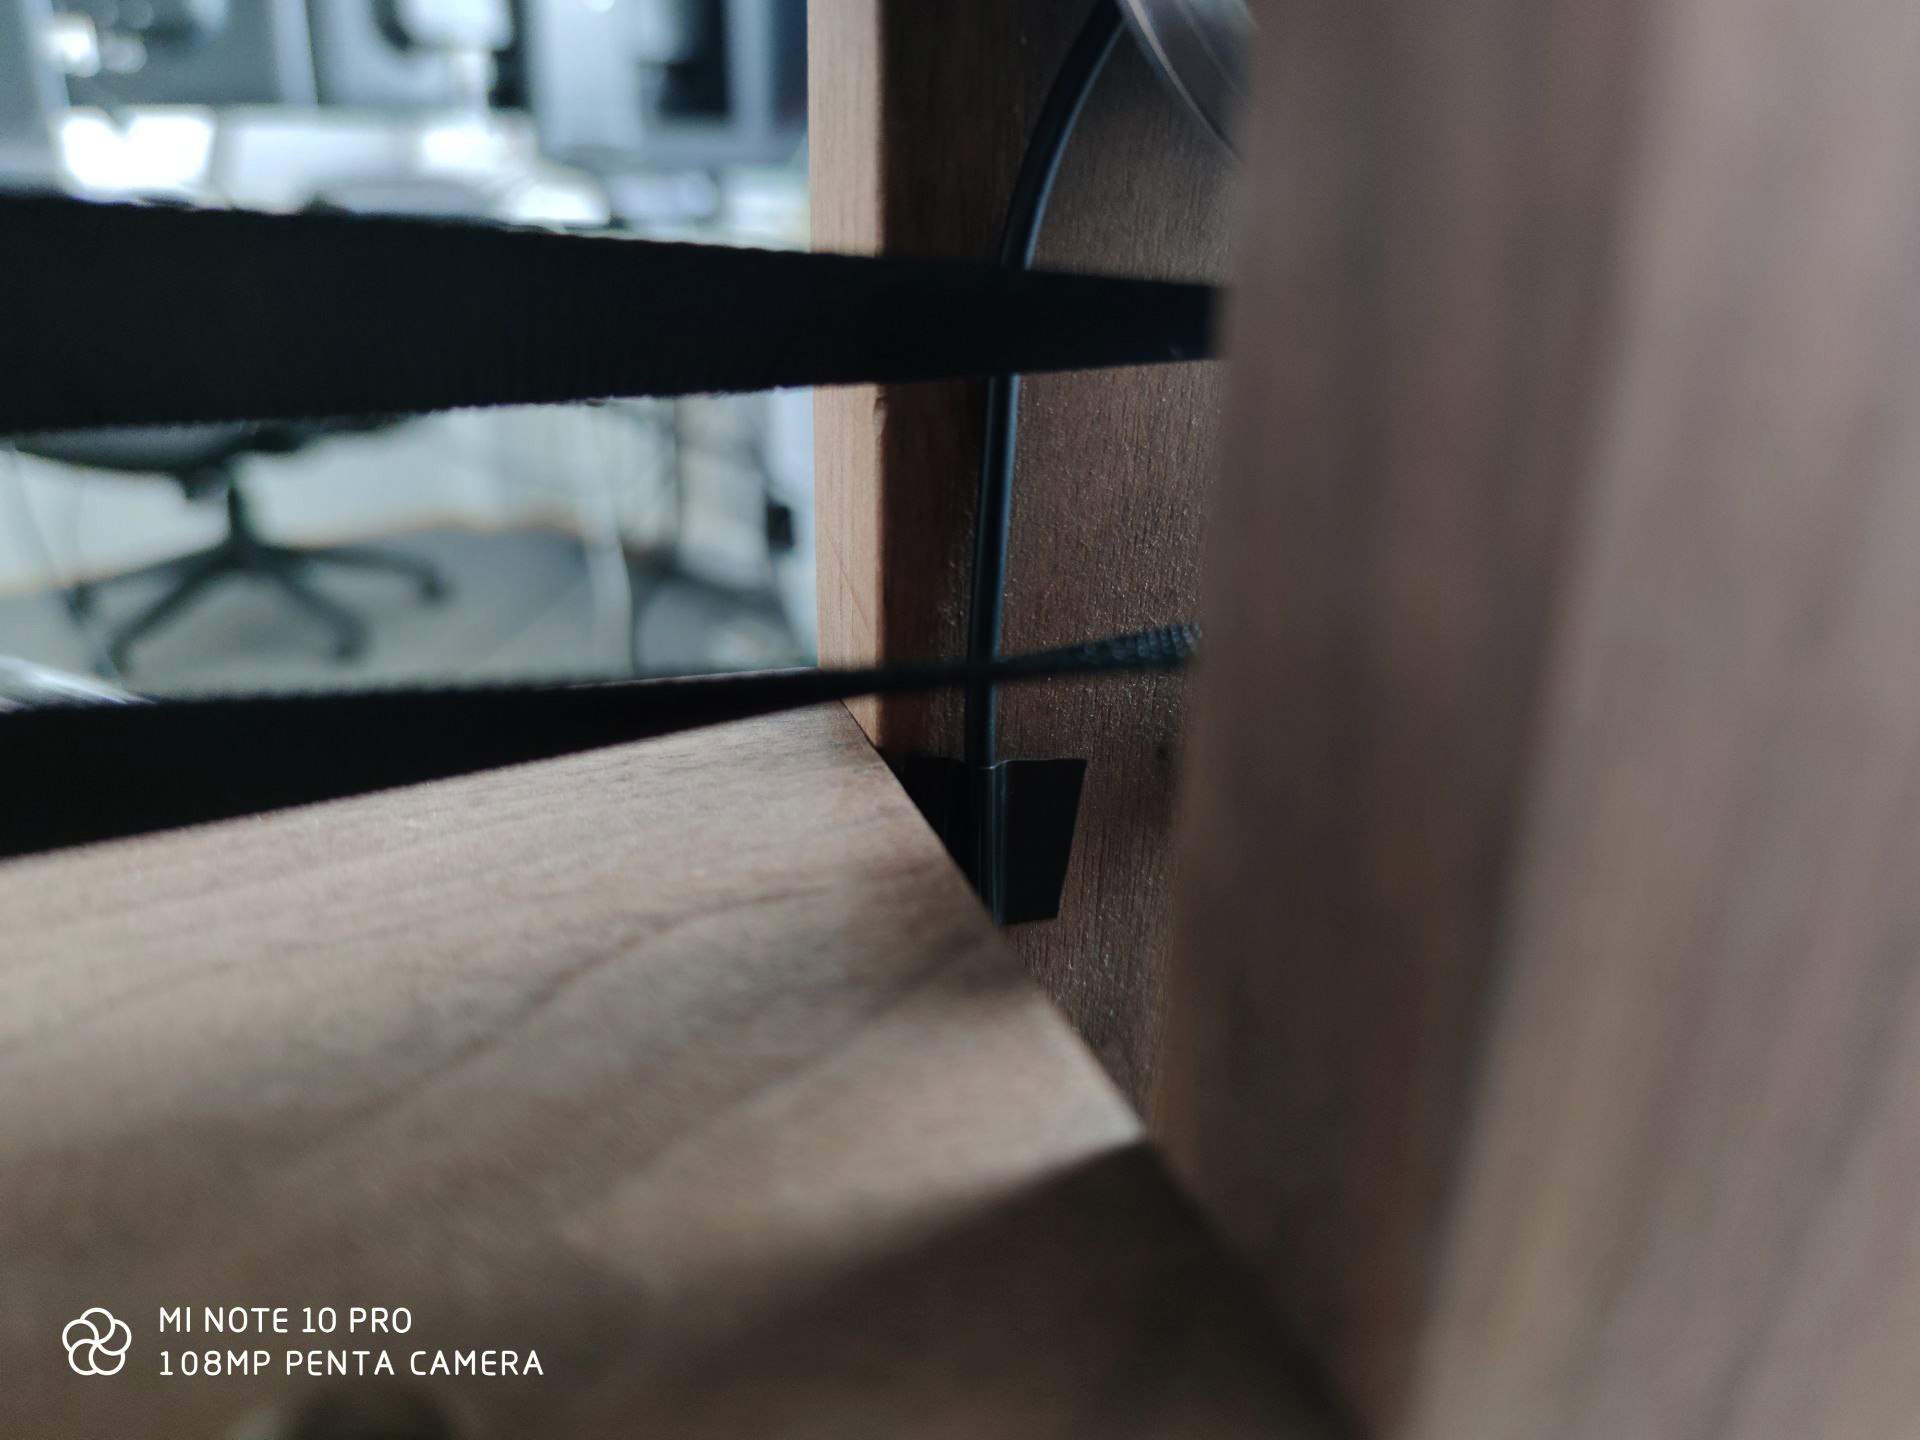
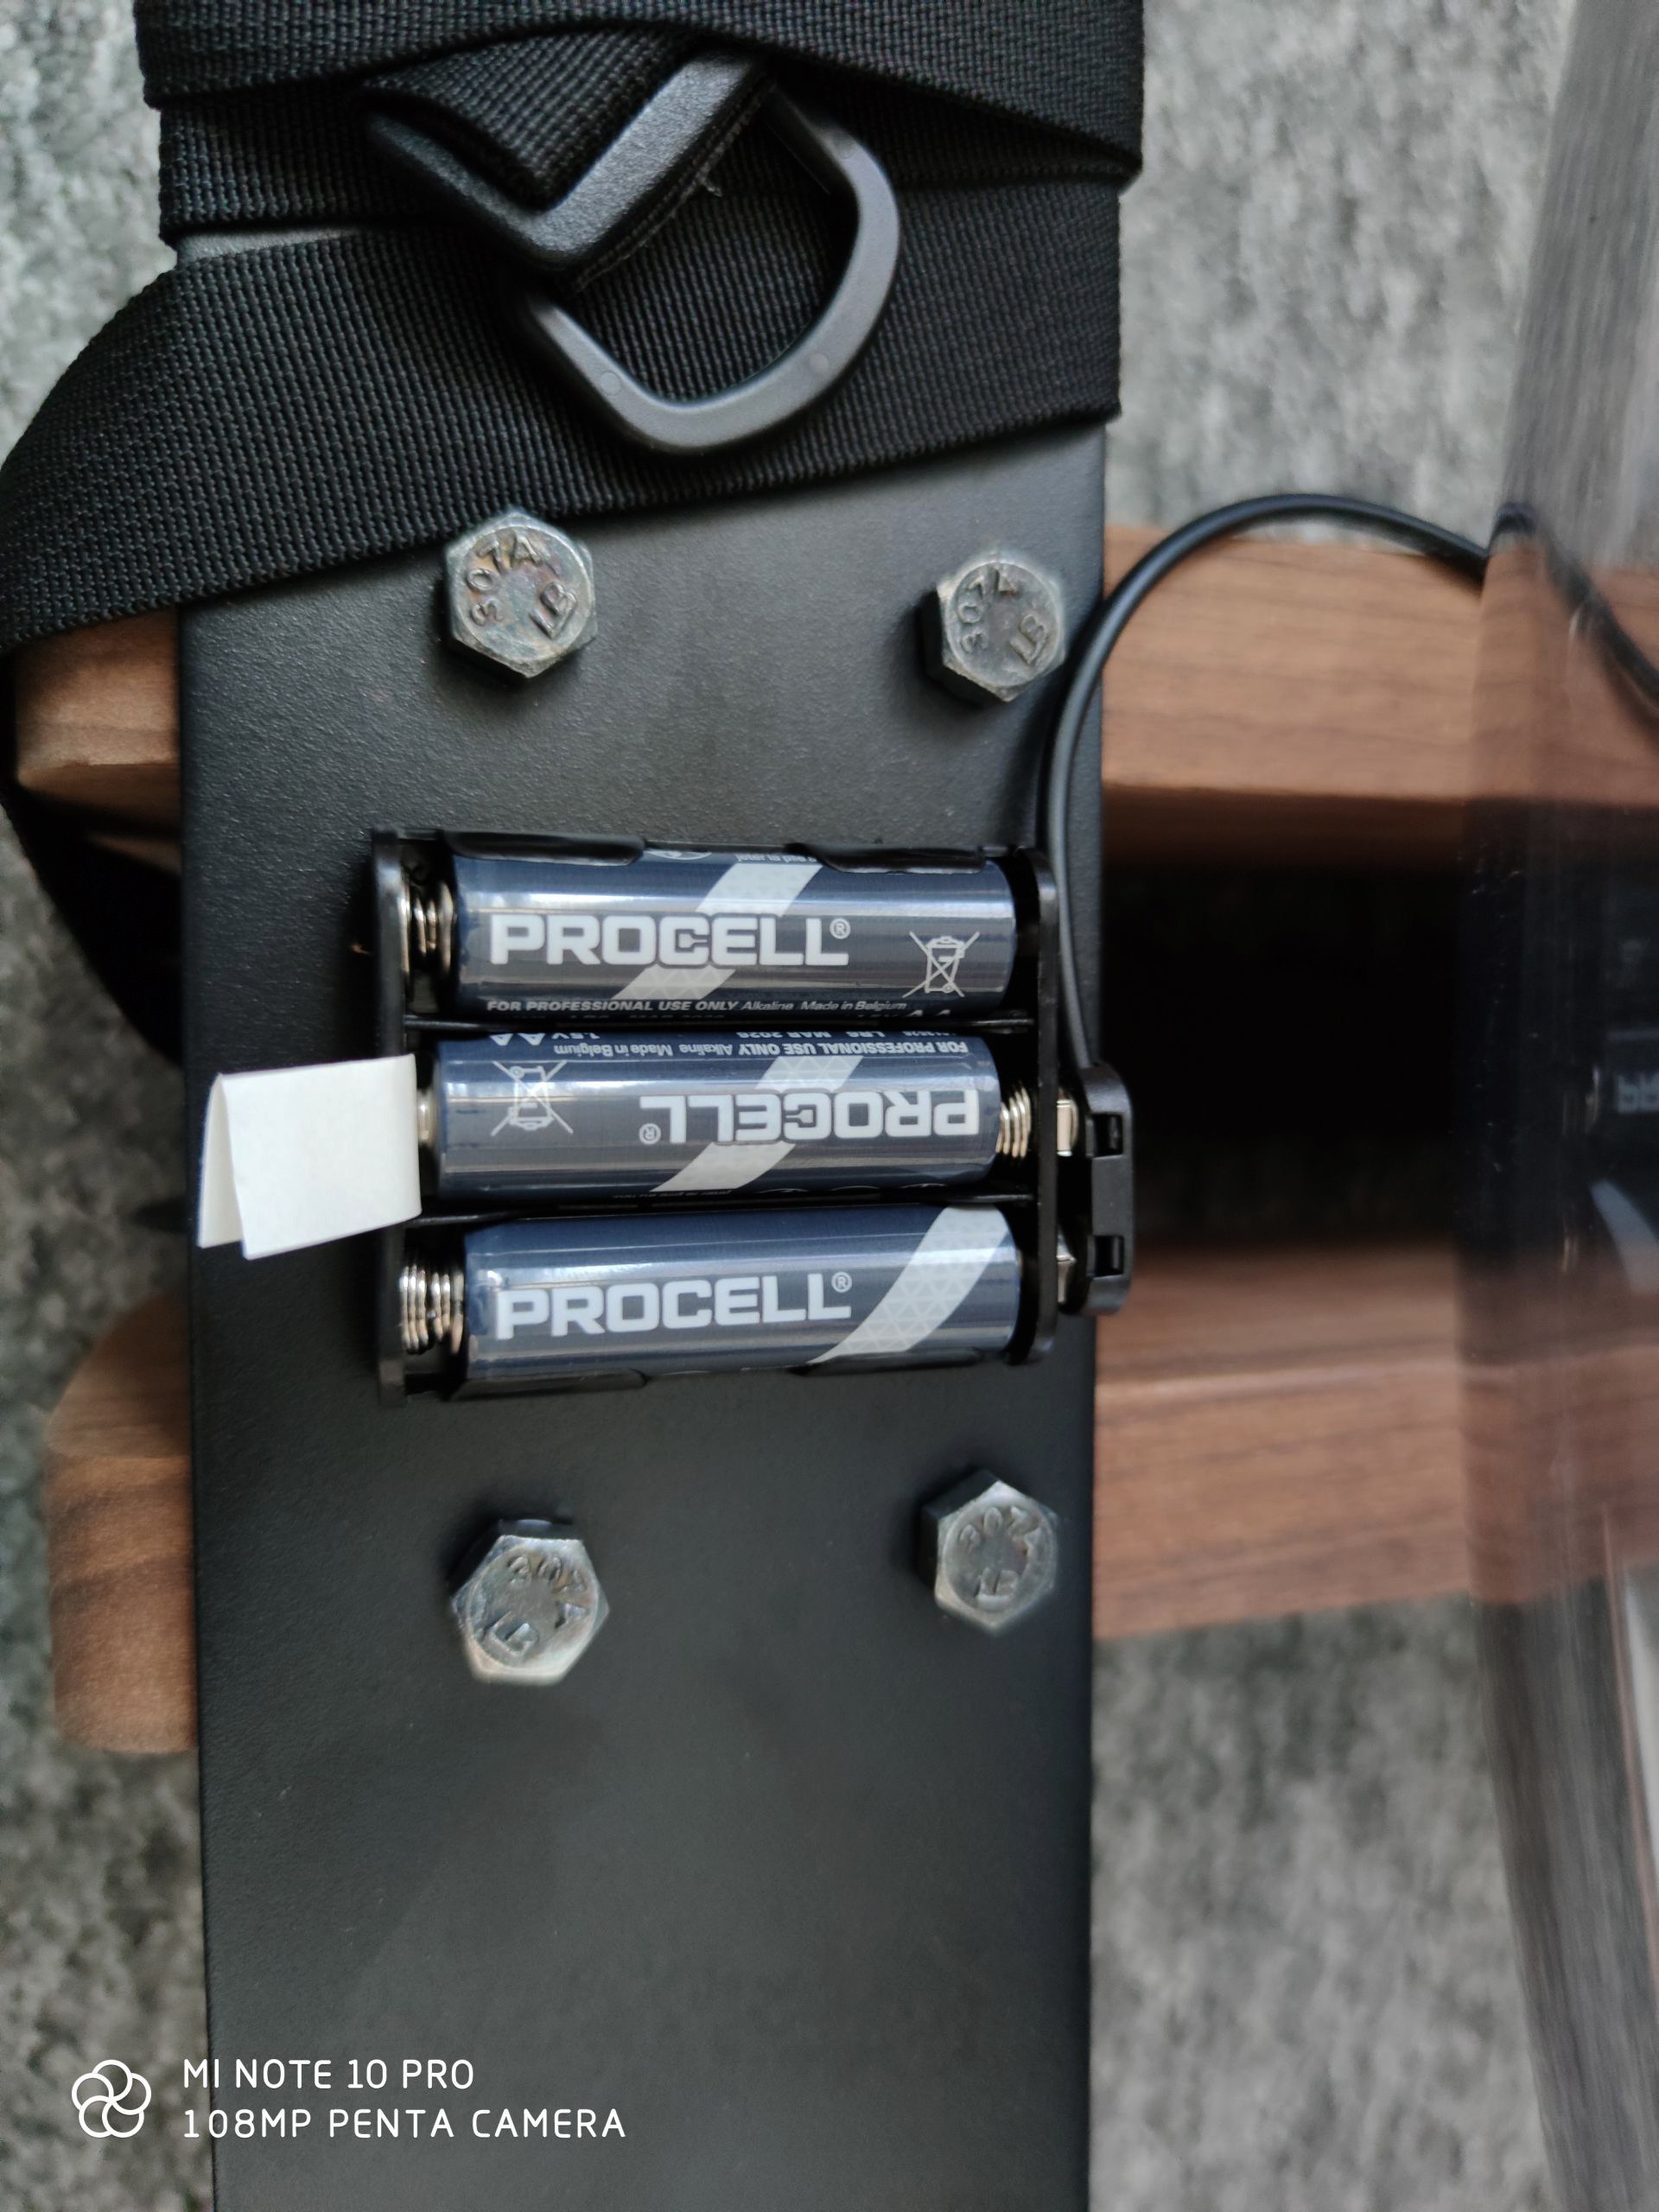
Finally, there is a battery basket.
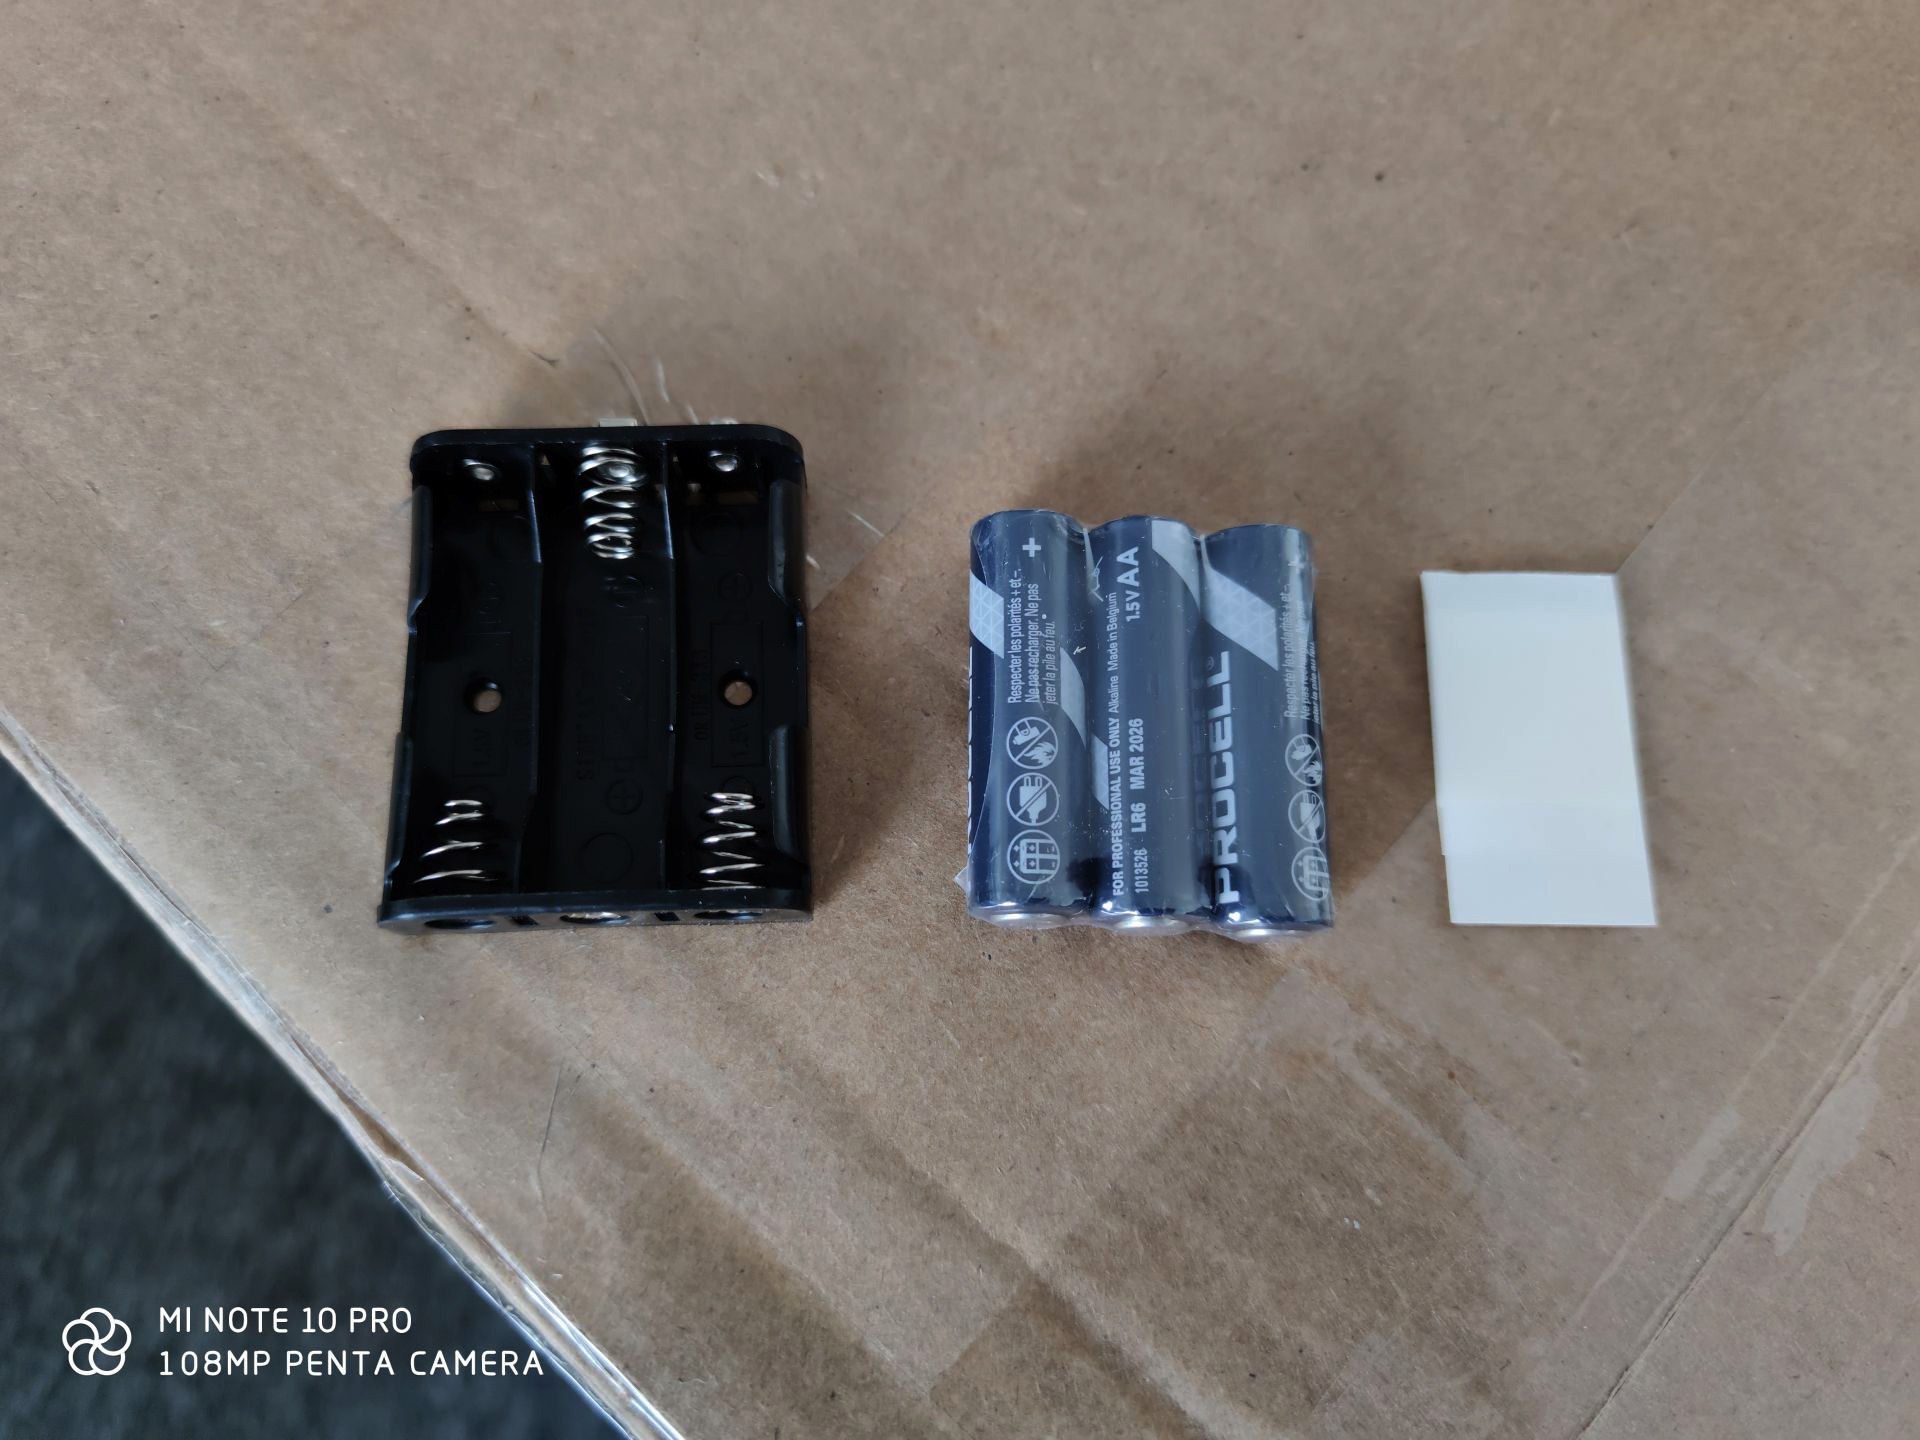
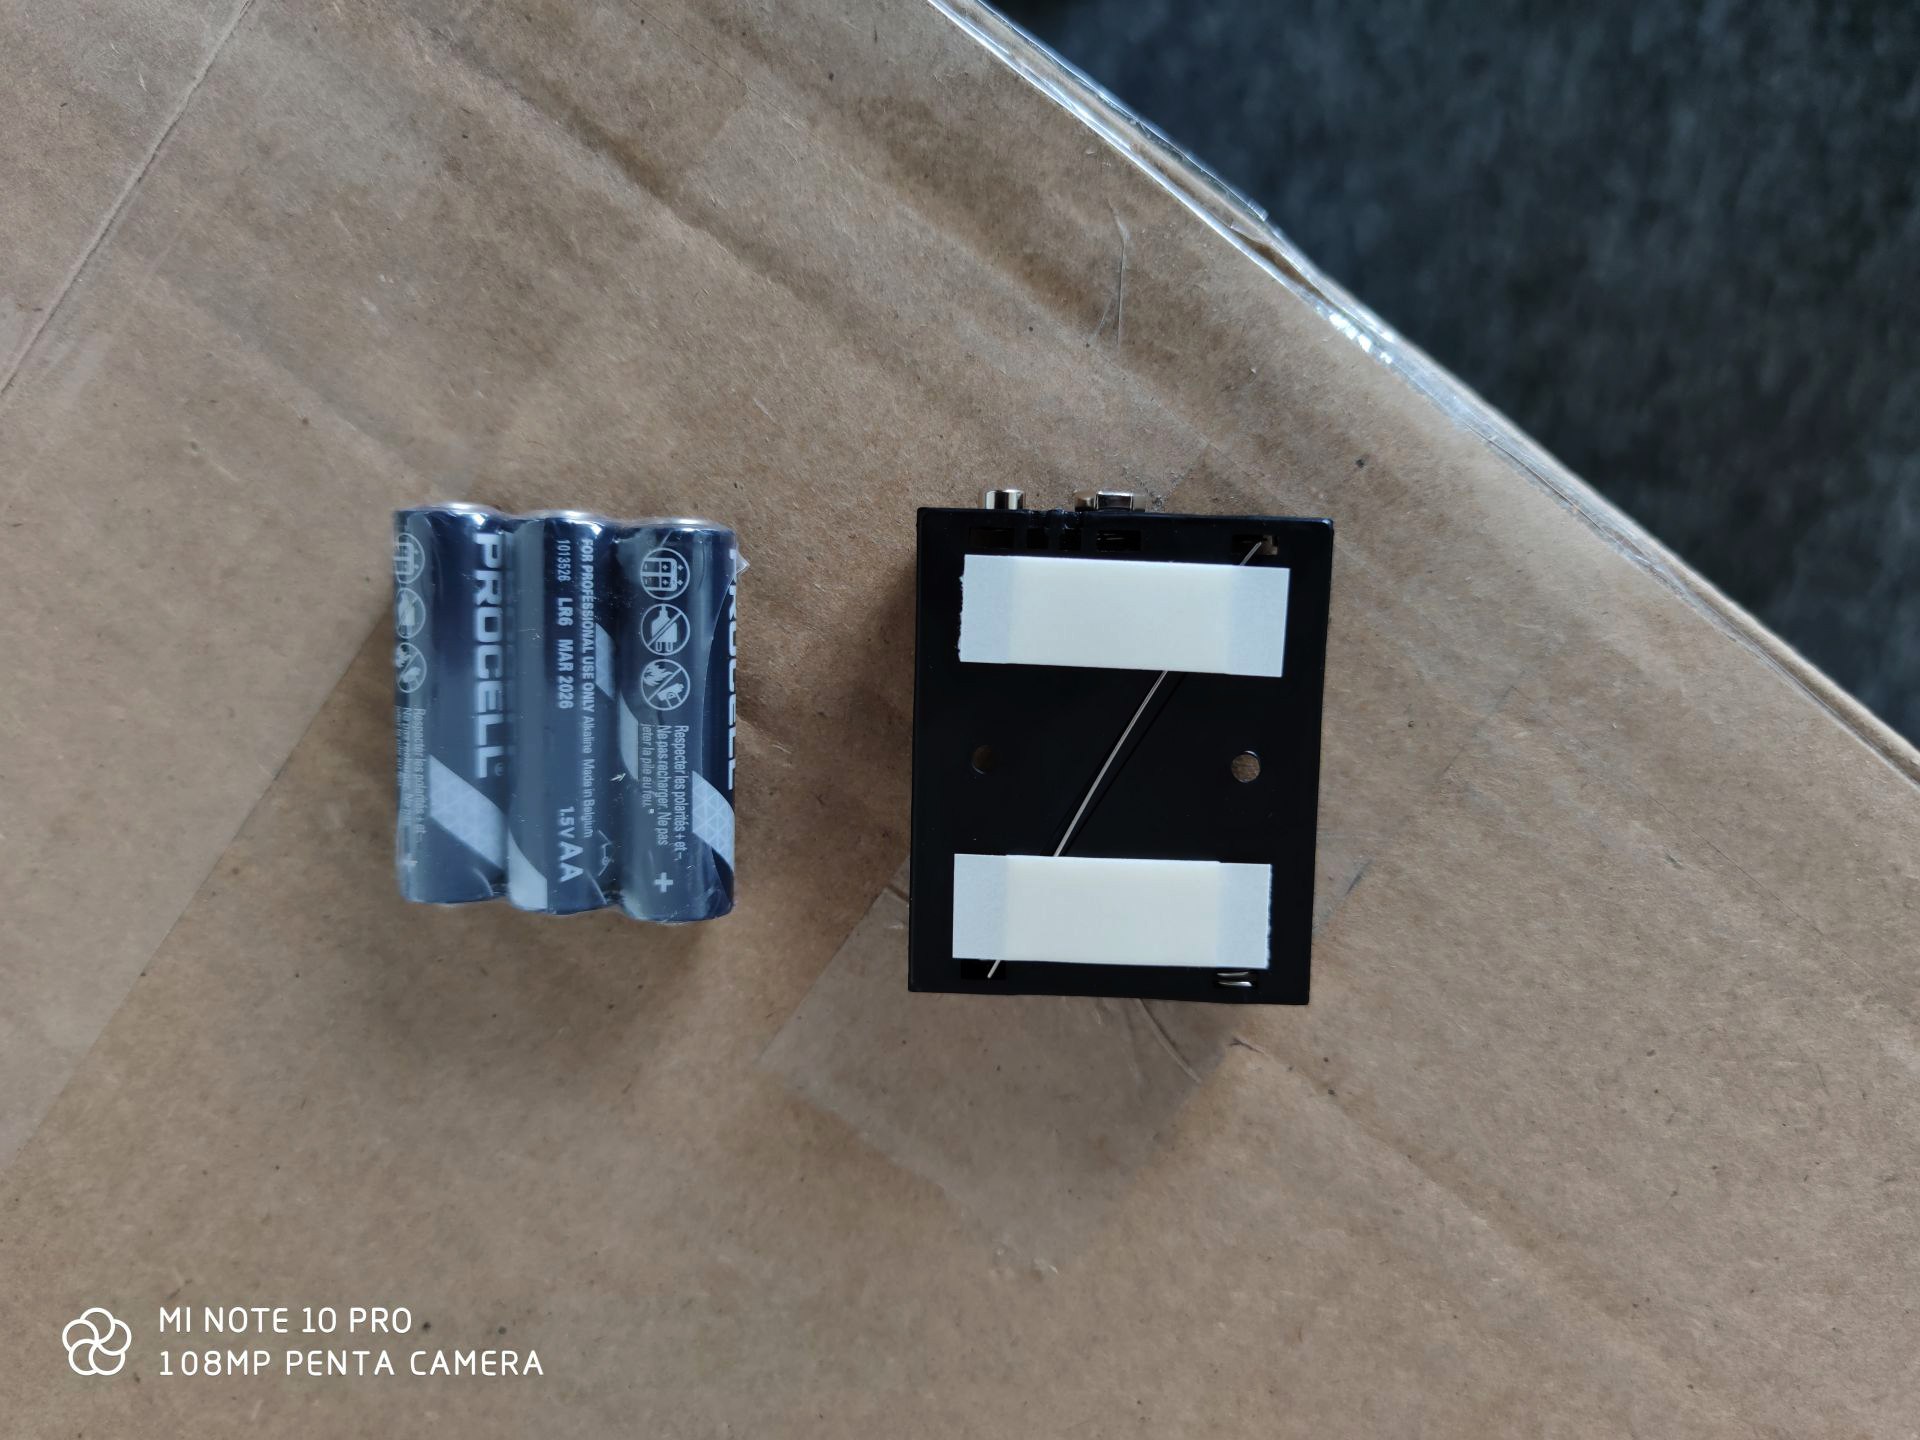
Glue the basket to the profile and it's basically the end of assembly;)
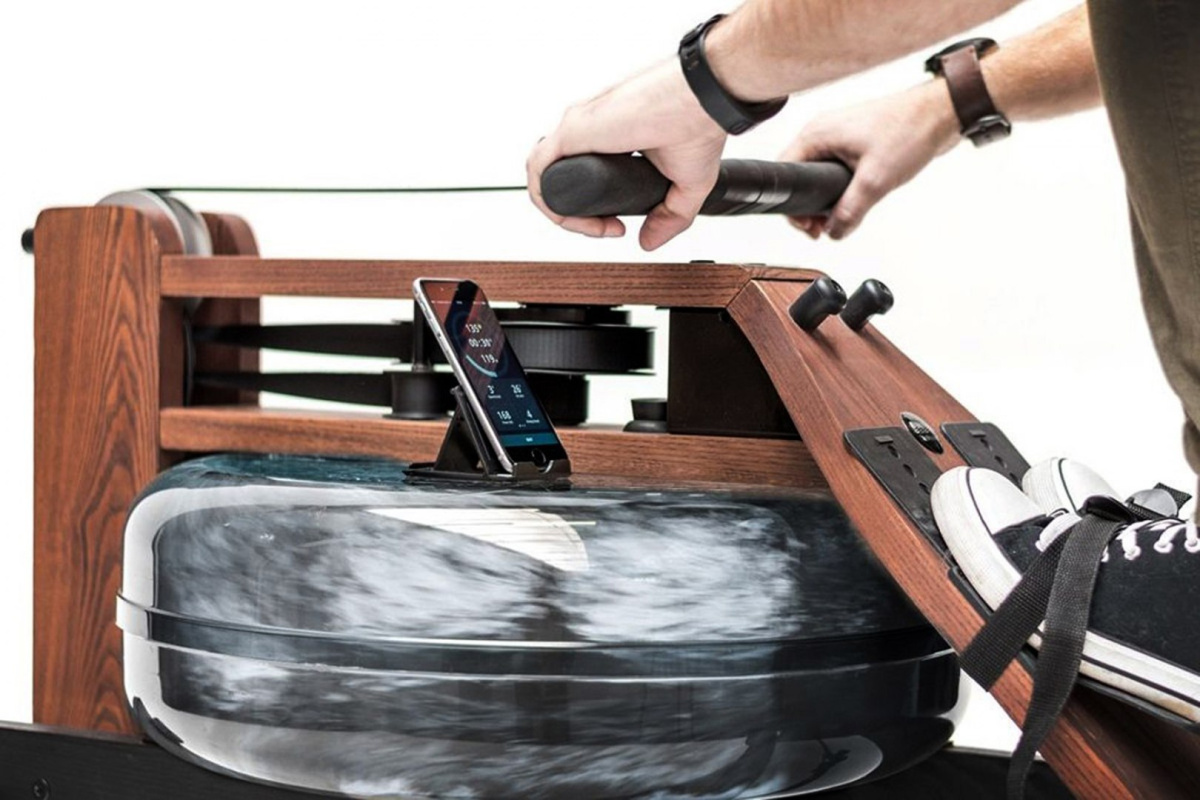
Now we install the SmartRow application on the mobile device and go to the settings. Then to the bluetooth connection of the roller, paddle once to activate the module and pair it. It is important not to pair the Roll in the main operating system settings on your mobile device!
When unpacking the rowing machine on which we have mounted the SmartRow, be careful when taking the body of the rowing machine out of the box! The battery basket is glued to the mount!
Before training, also remove the paper from under the battery.
If you assemble with us and went through all the steps, now it's time to... Rowing;)

