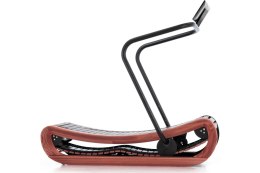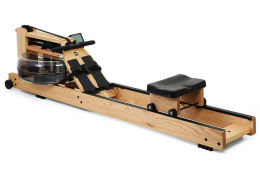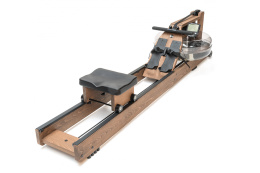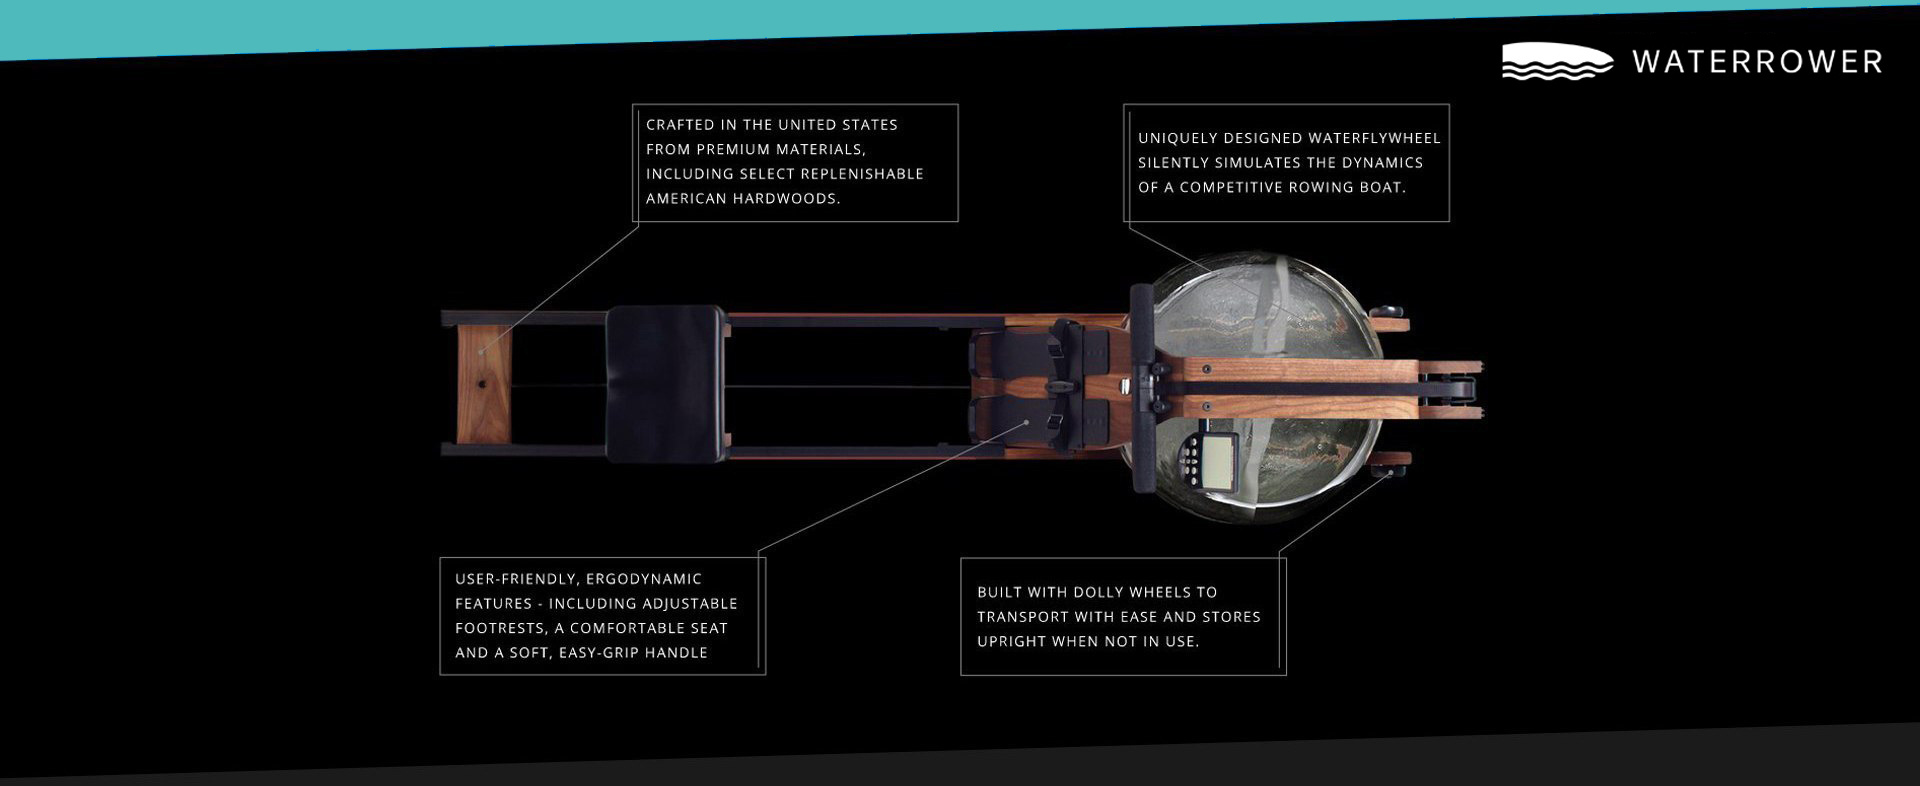
We have received more than 10 years of WaterRower water rowing tank from a customer to replace the sealing glue. Tank, in fairly good technical condition. After the inspection, we decided that it would be worth decomposing it into prime factors, cleaning, lubricating the shaft and sleeves, putting it back together and applying new glue.
At the very beginning, we also noticed that the glue on the board integrated with the tank was released and there was a cracked disk sensor on the drive shaft, so we decided that we would also repair these things ;).
So we unsticked the tank. This is the most difficult task and the entire operation must be performed gently and slowly so as not to damage the tank. If the glue, for example after 10 years, peels off in such a way that it leaves itself, the task is easier, but here we suspect that an unsuccessful attempt was made to seal the tank on its own, therefore the whole operation took a while. We cleaned the old glue and disassembled the drive mechanism. The entire shaft and sleeves have been cleaned and re-lubricated with grease.
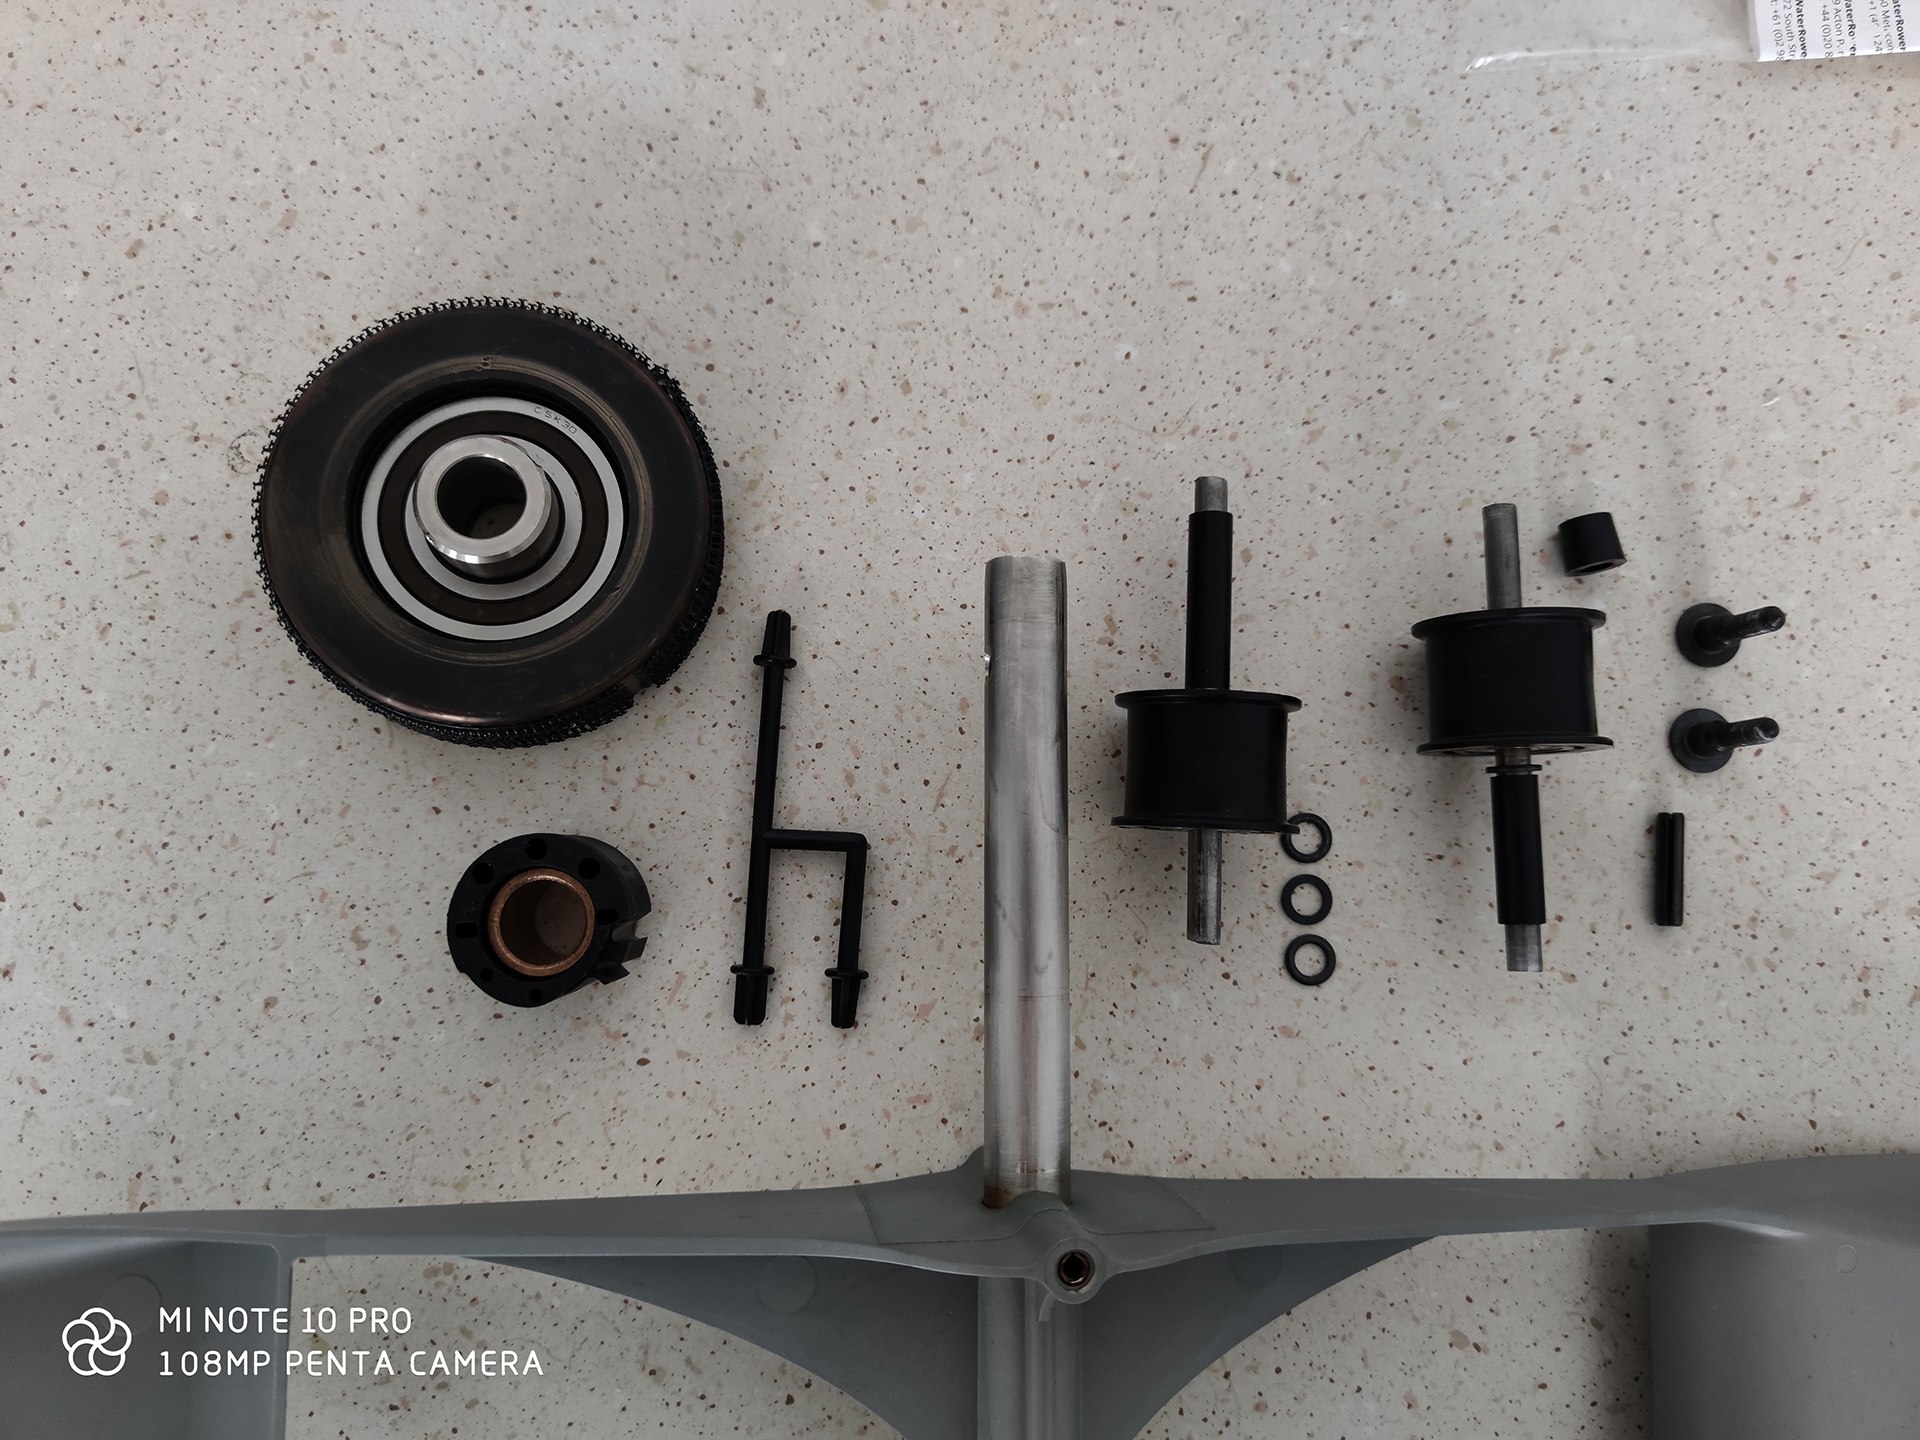
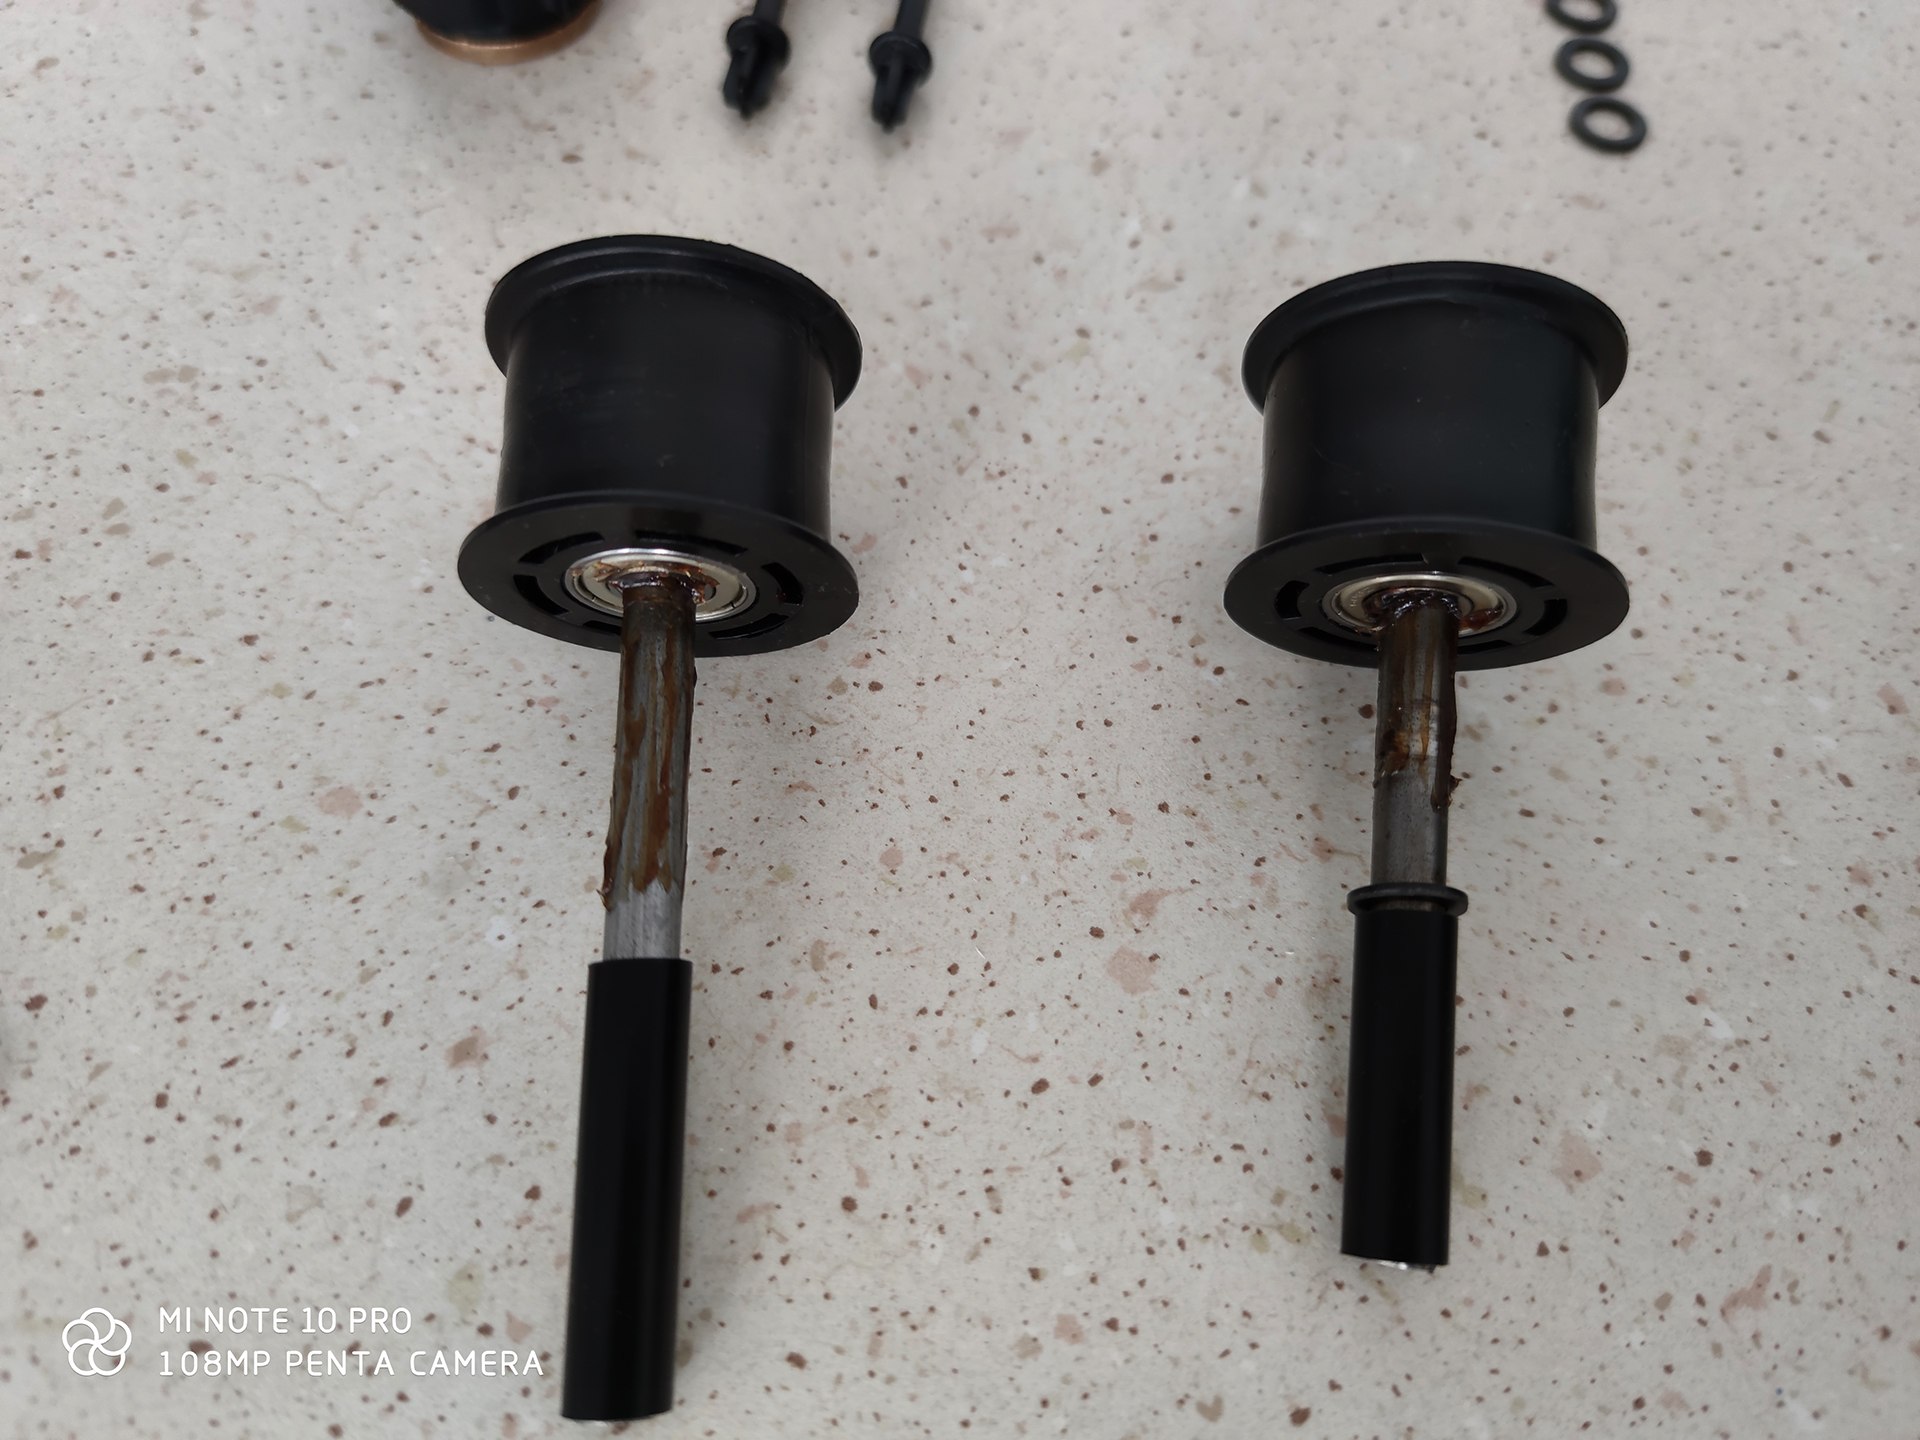
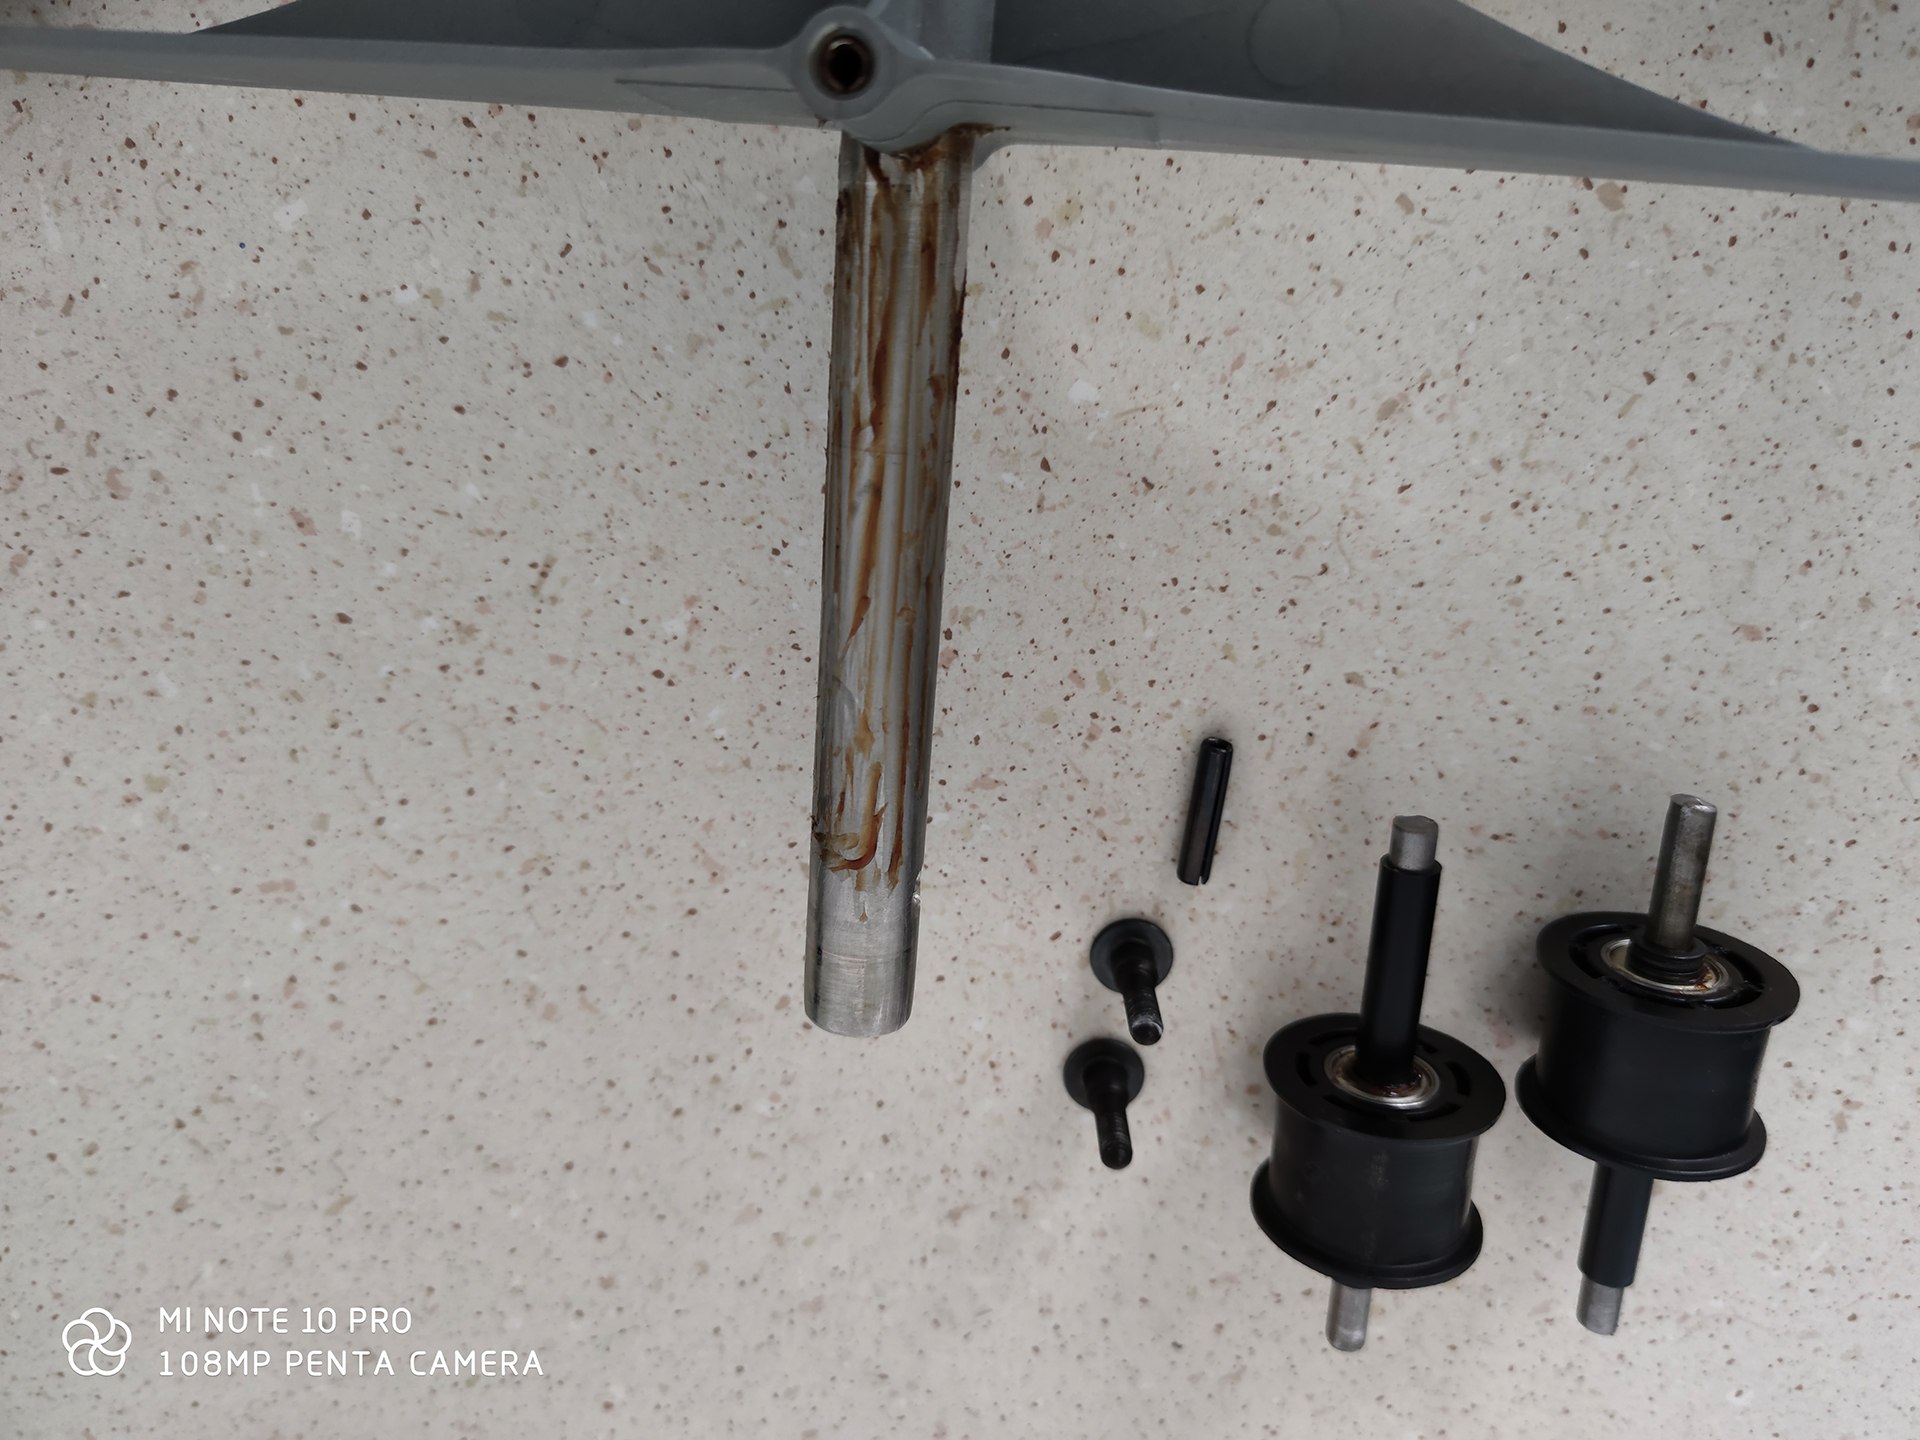
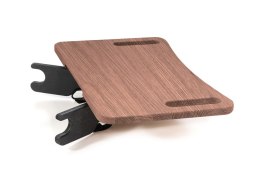
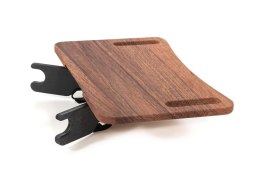
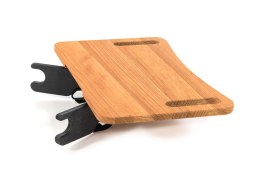
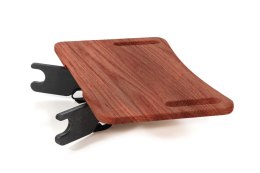
Since the tank was from an older series of the water rowing machine, which did not yet have an additional attachment to the rail, we also cut the additional handle on the CNC and fixed it with screws and epoxy resin.
In the meantime, over the past 10 years, some things in the design of the water rowers have been improved and perfected by the manufacturer. The WaterRower company is constantly working on water rowing machines, developing new design and technological solutions in the field of, for example, additional accessories. Therefore, the fourth series of water rowers already has an additional attachment of the tank to the bar and a lighter, improved clutch with a screw drive belt holder, not Velcro, and a few additional changes.
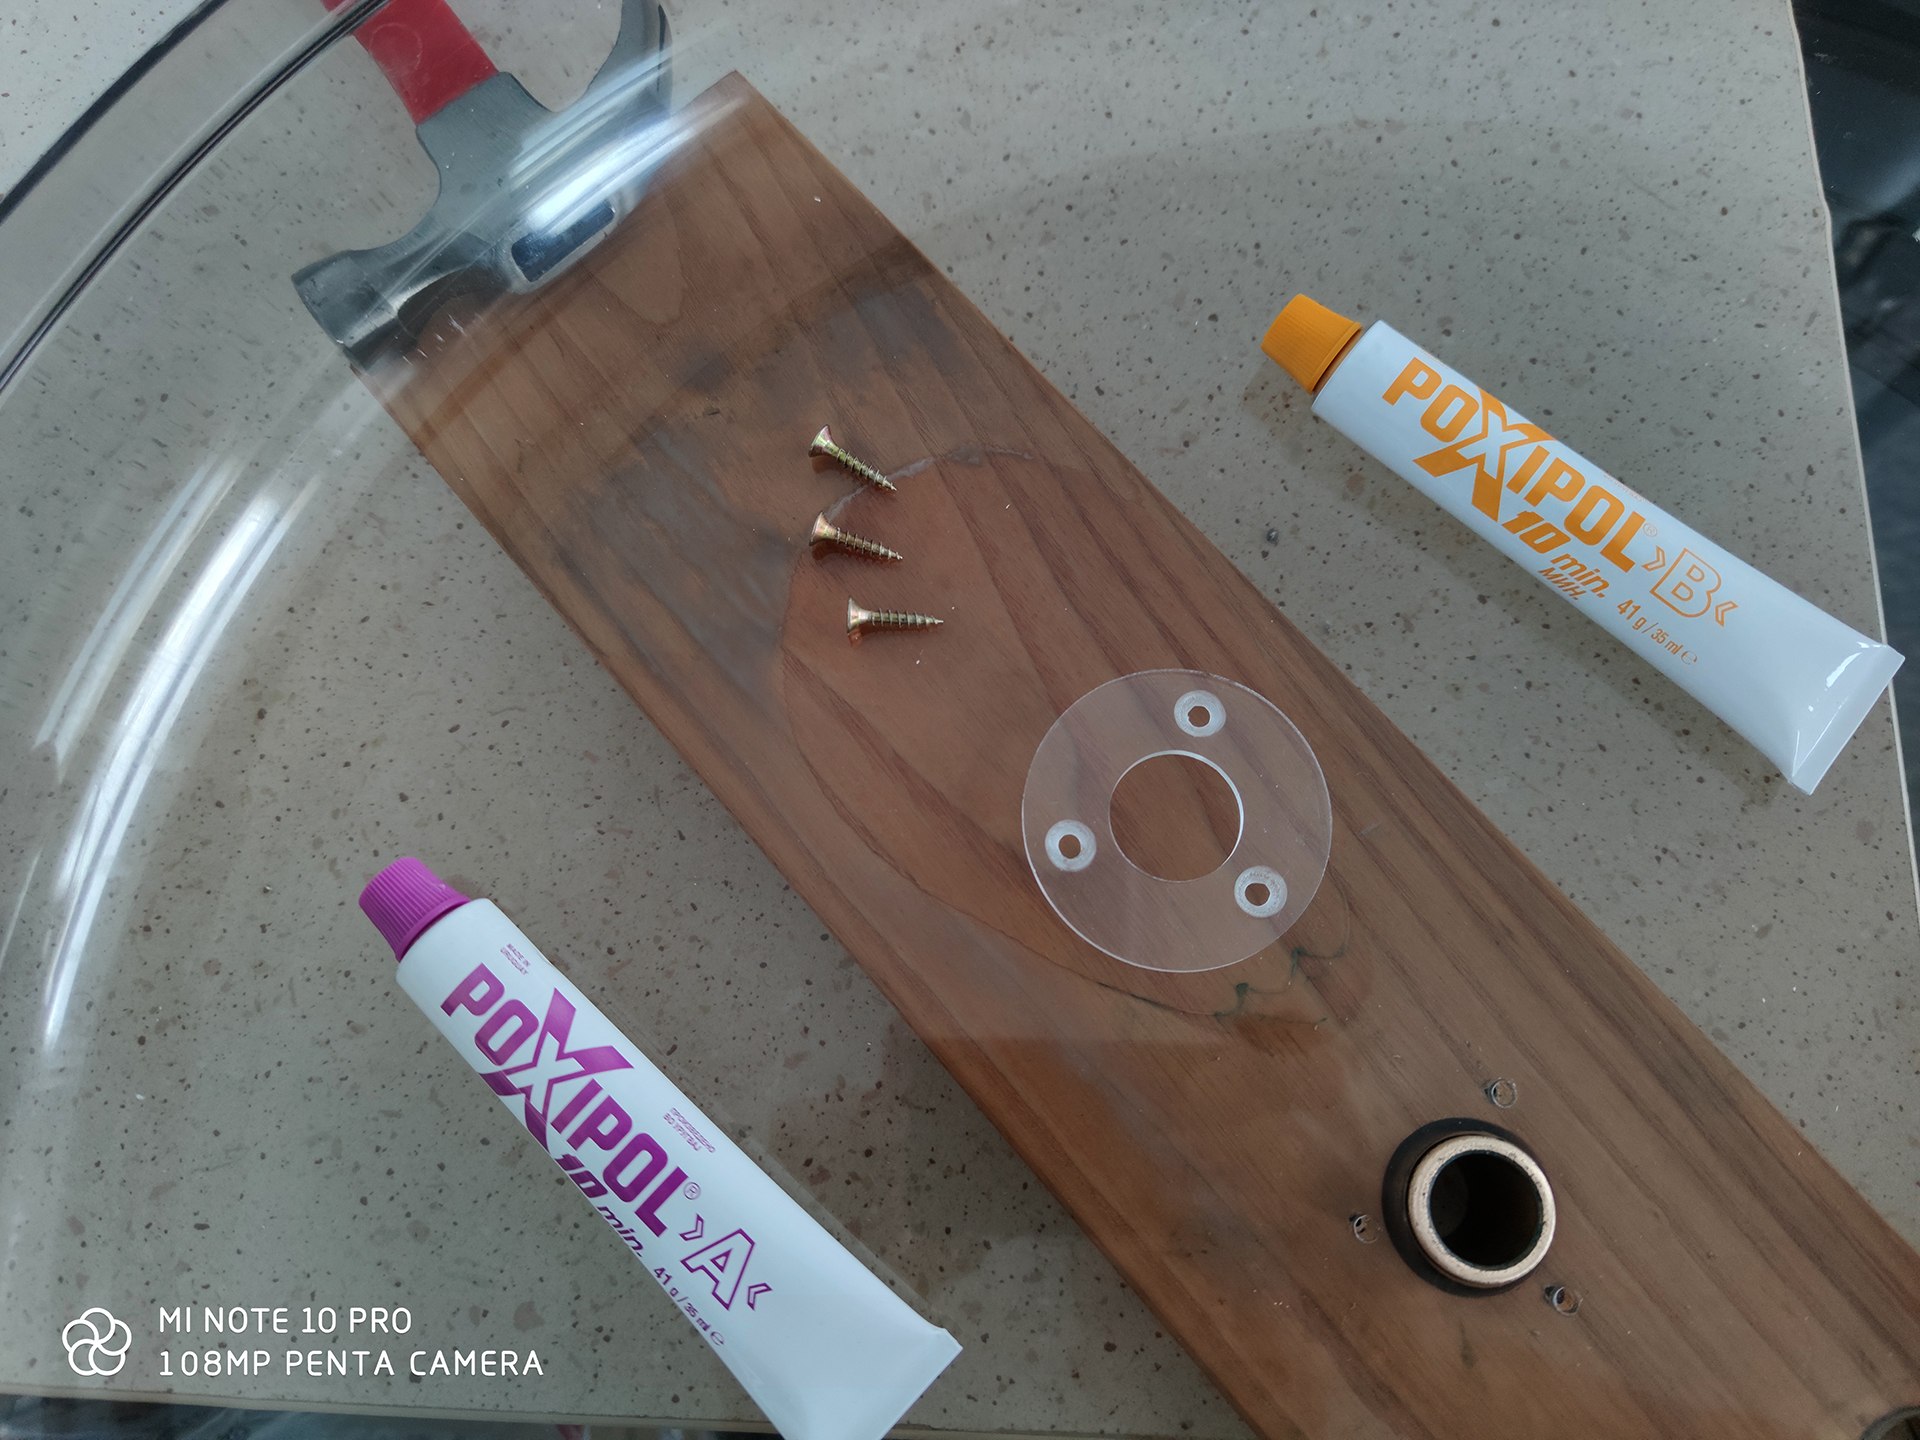
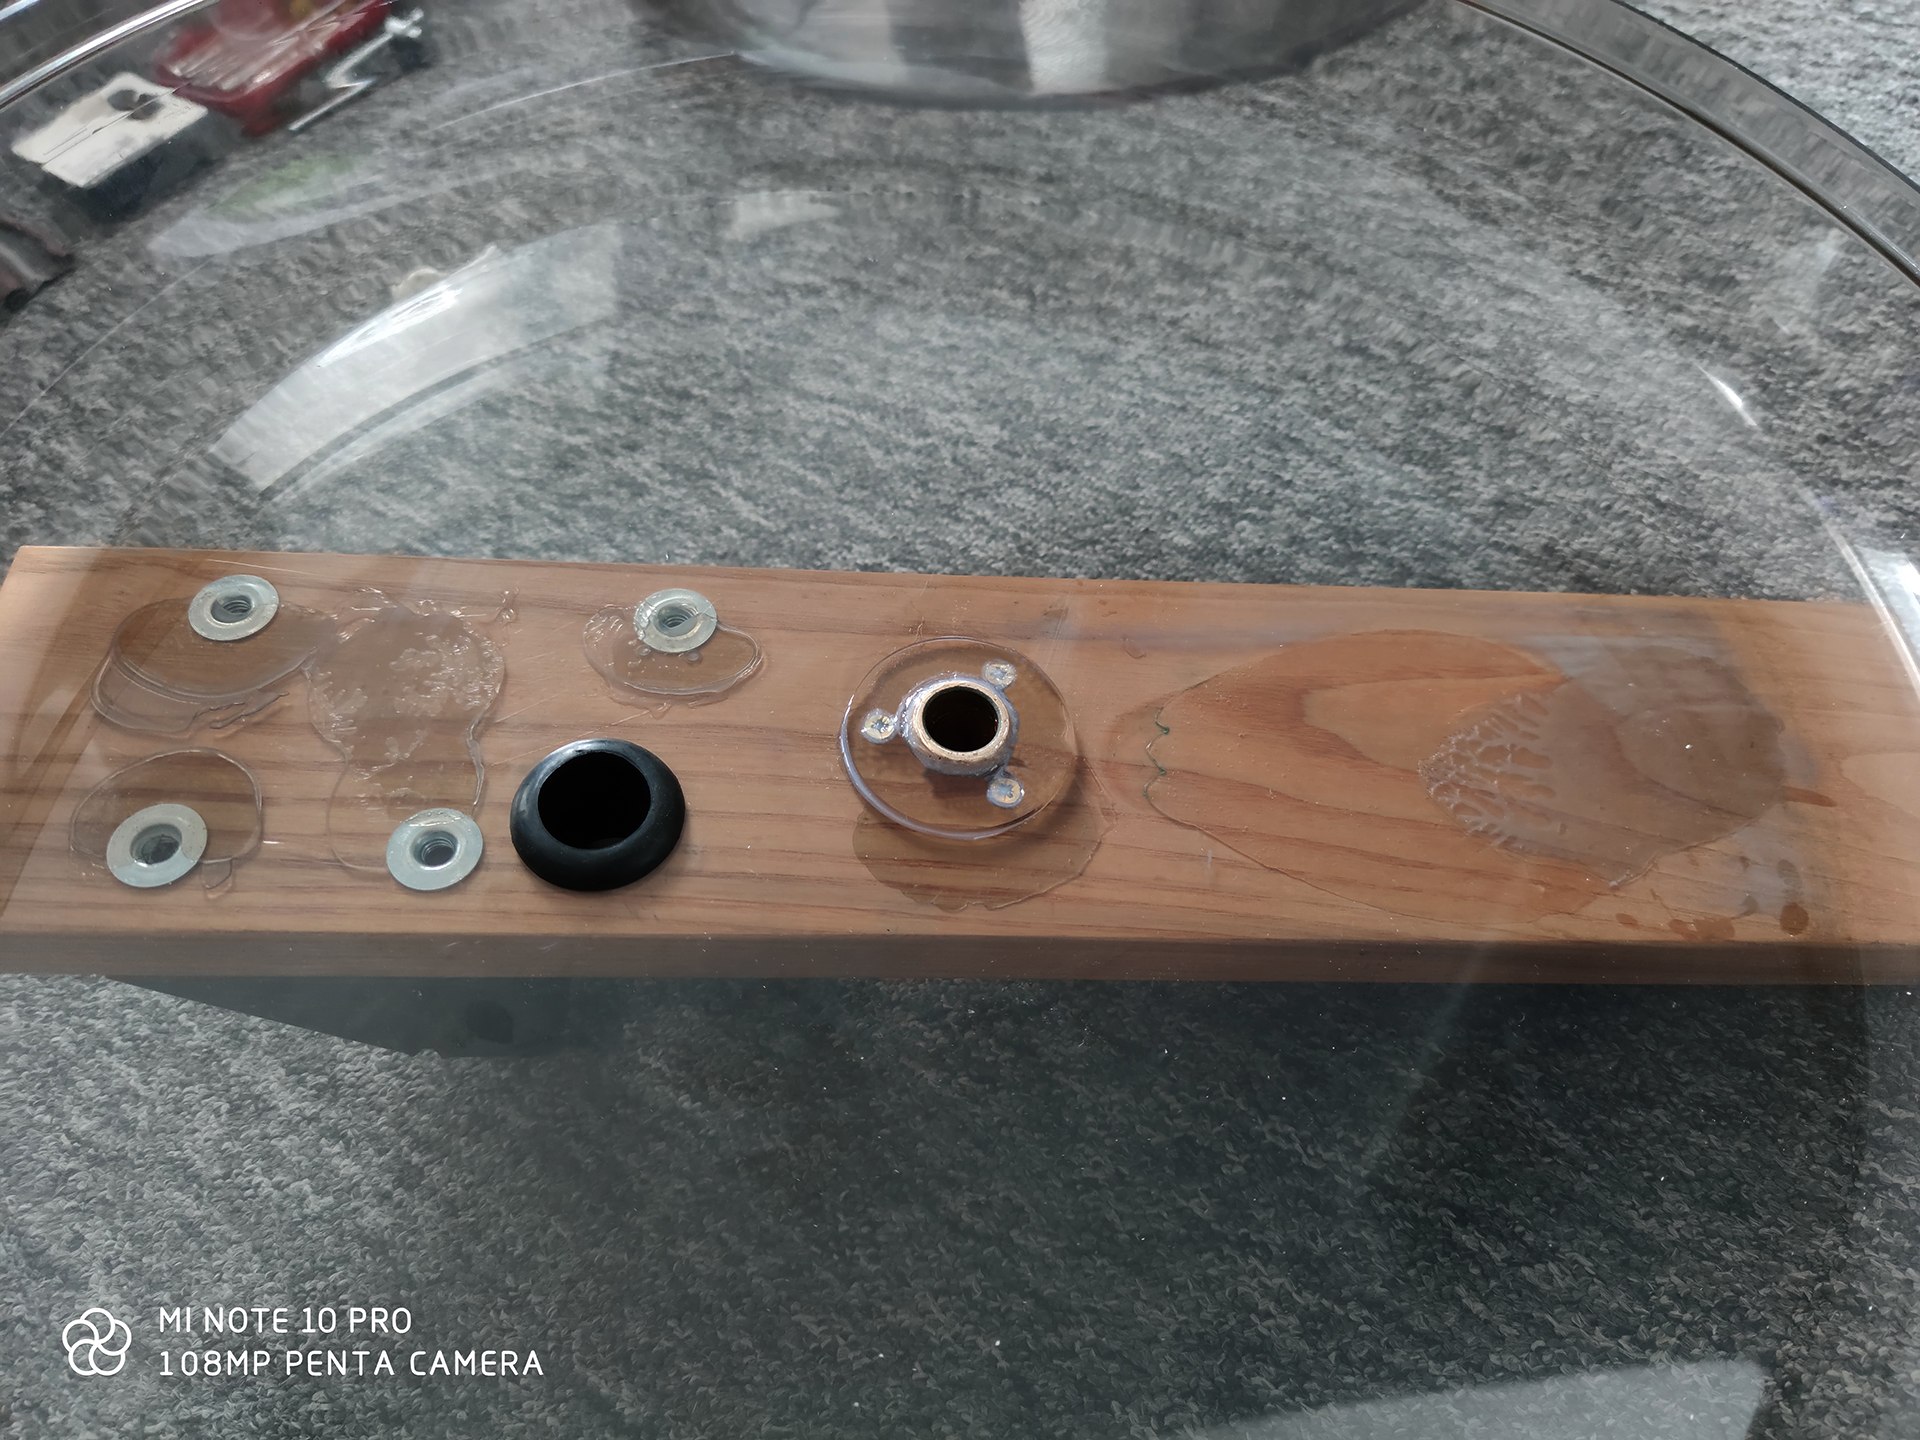
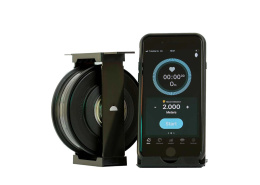
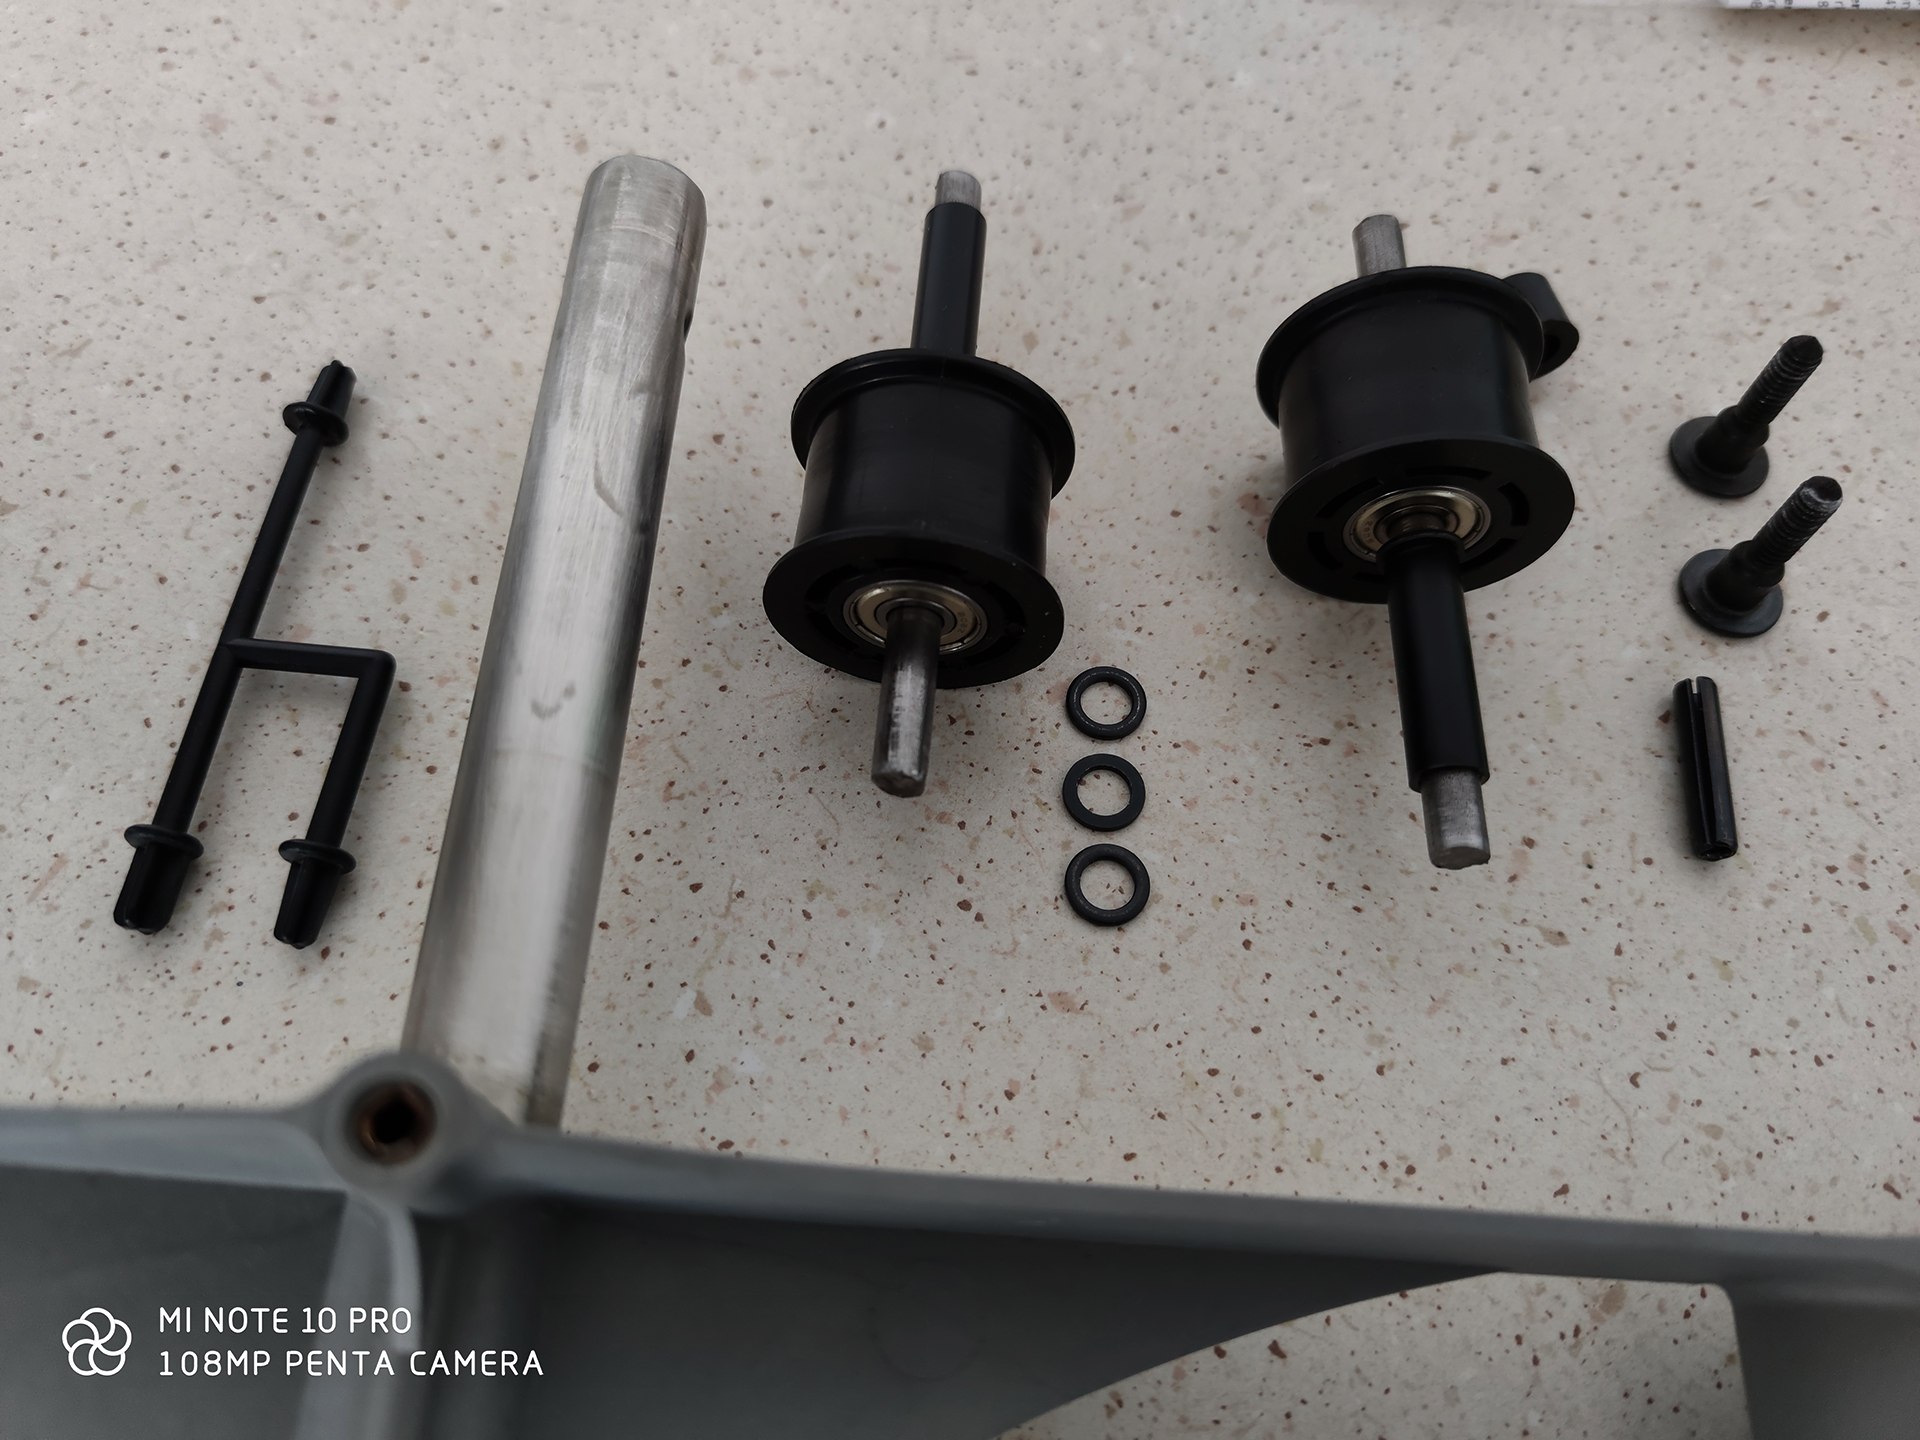
After the epoxy resin had dried, we thoroughly removed the remaining glue residues and set about assembling the drive mechanism. As you can see in the photo below, the older rowing series also had a metal clutch with Velcro fasteners, which was mentioned earlier in the article.
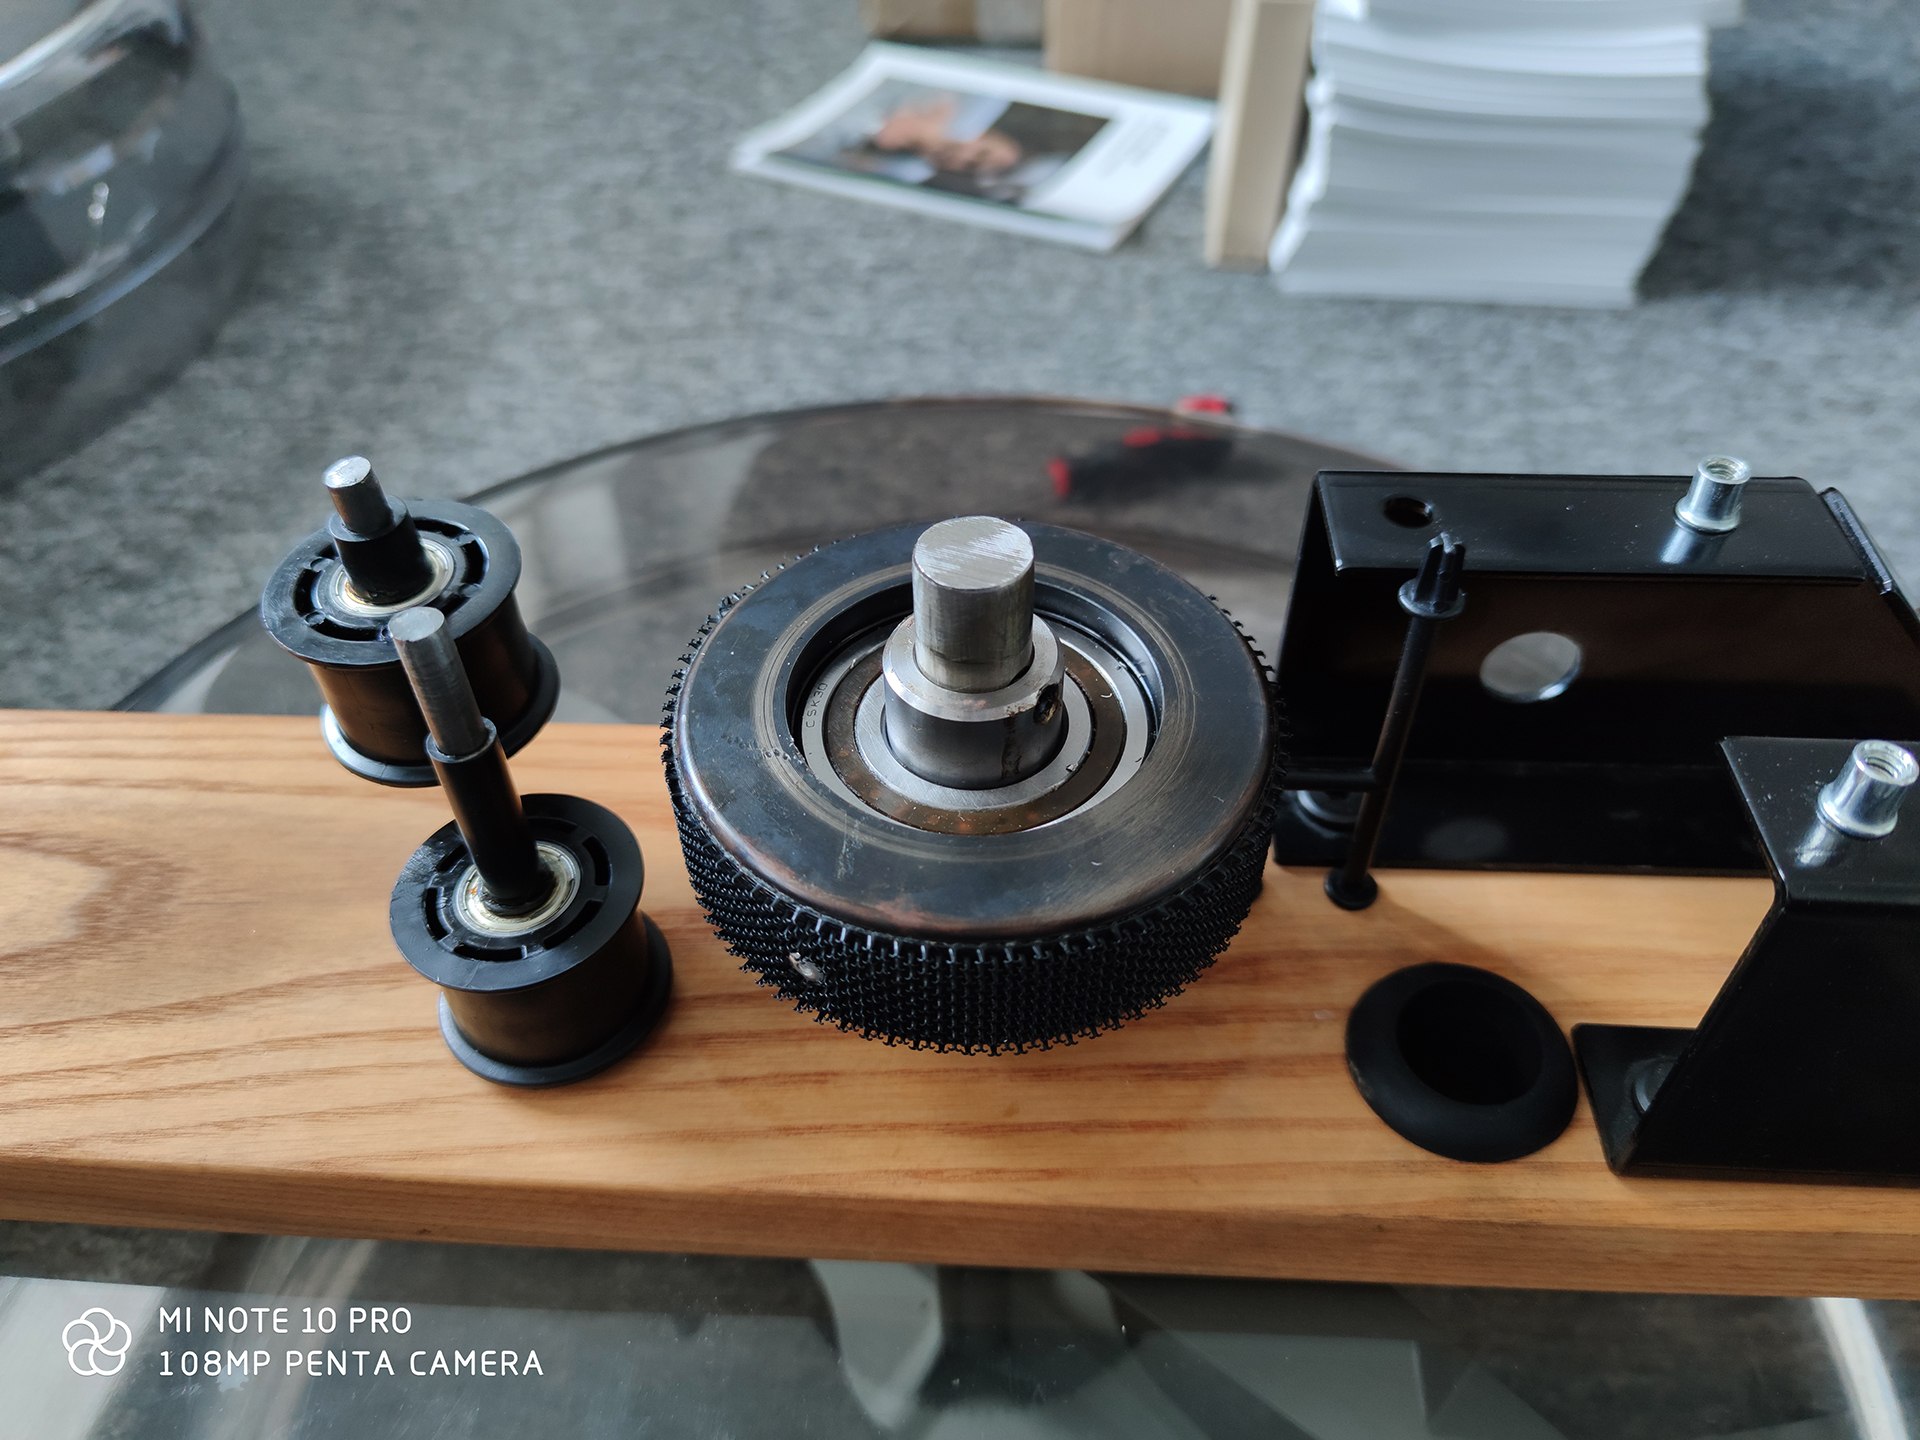
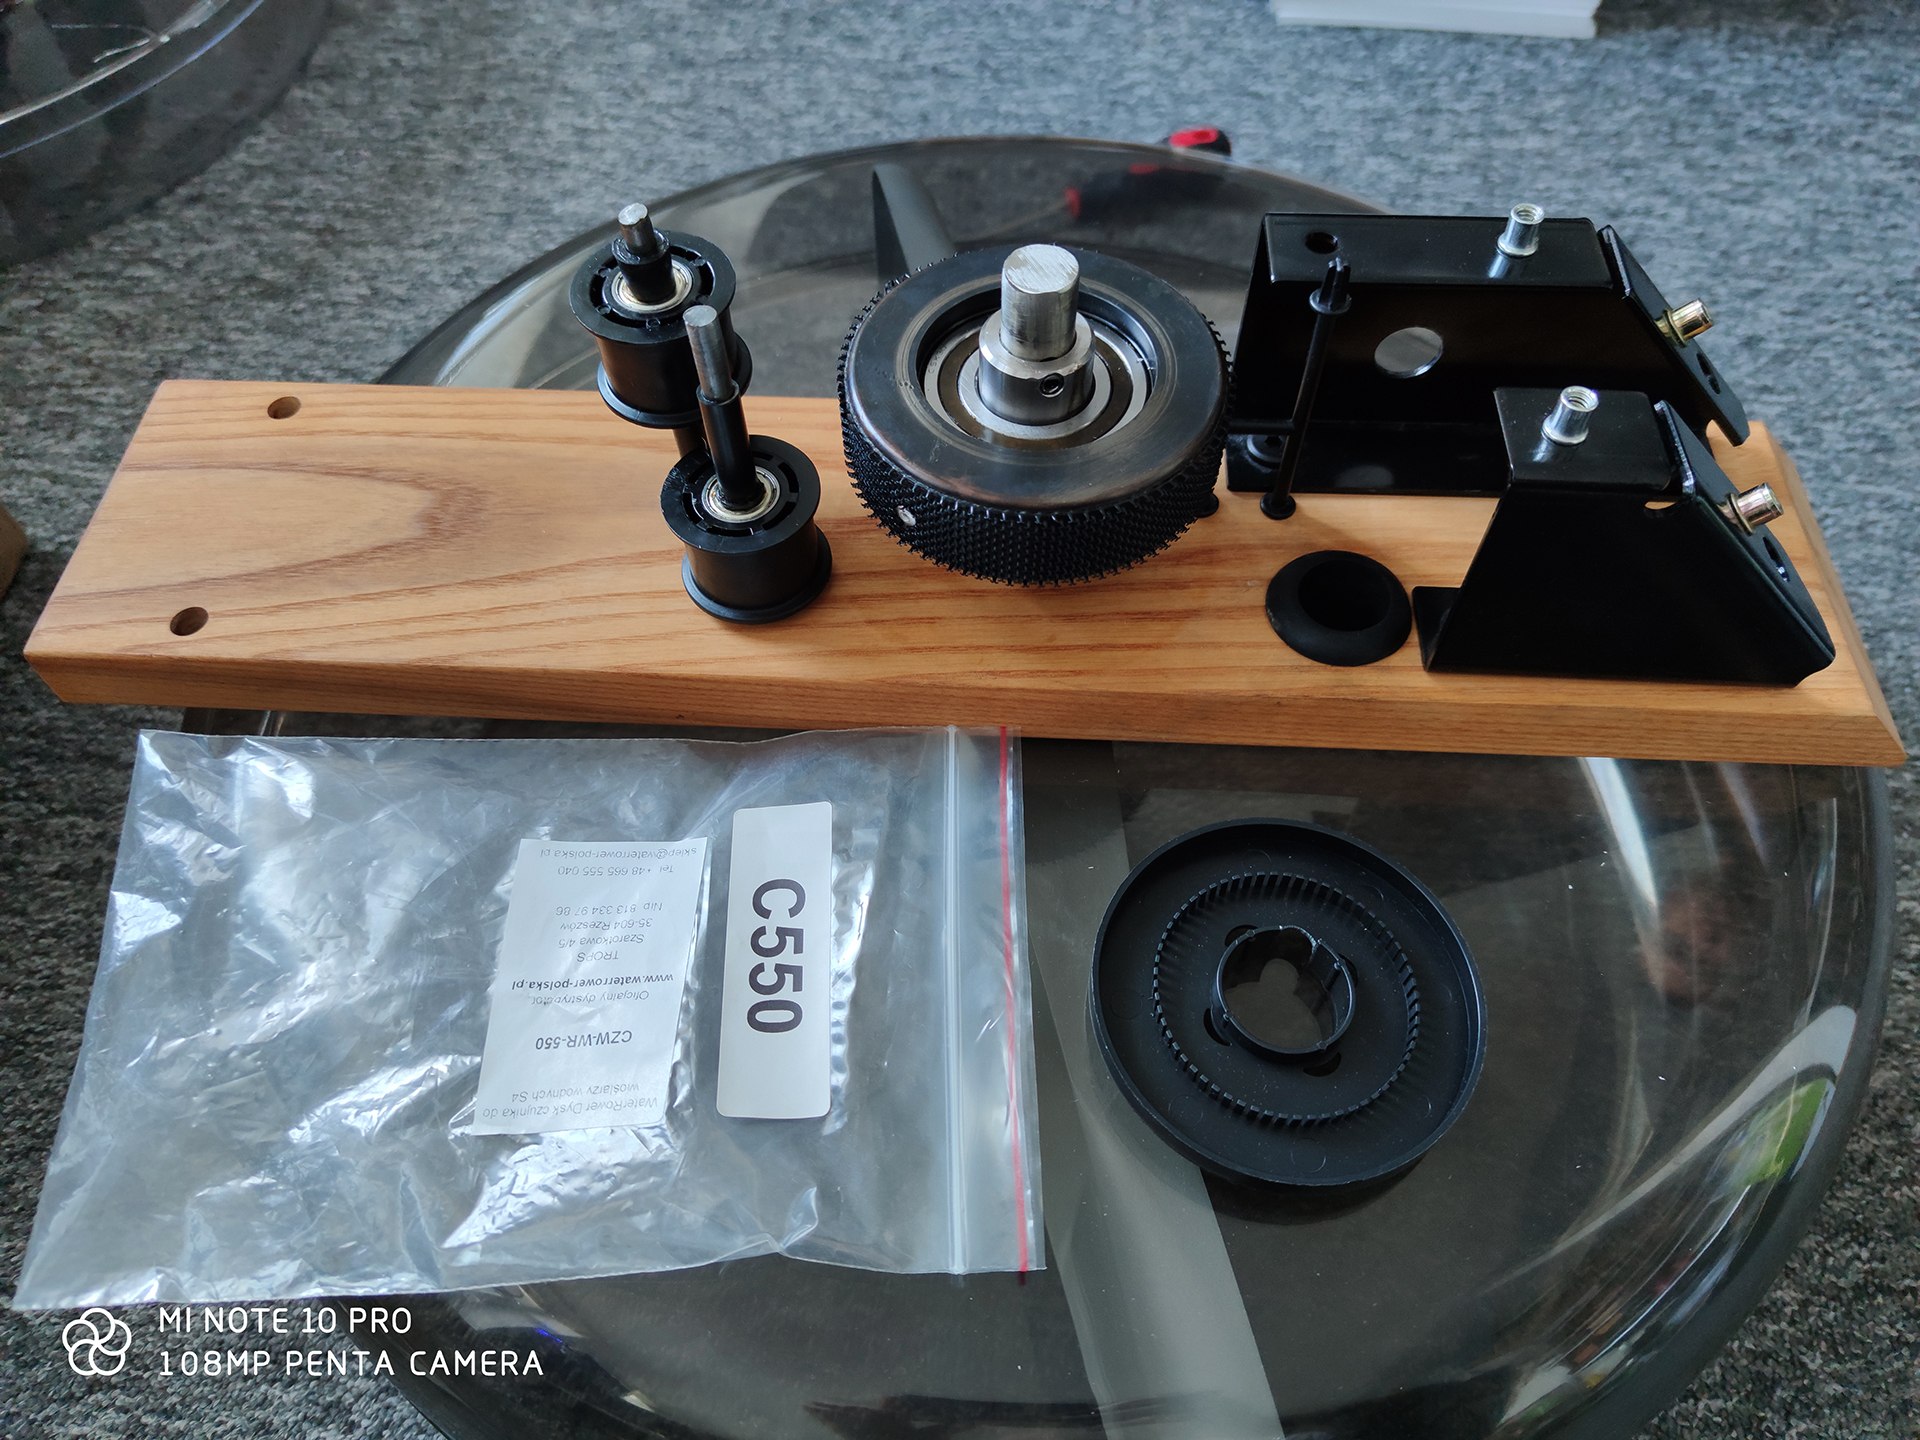
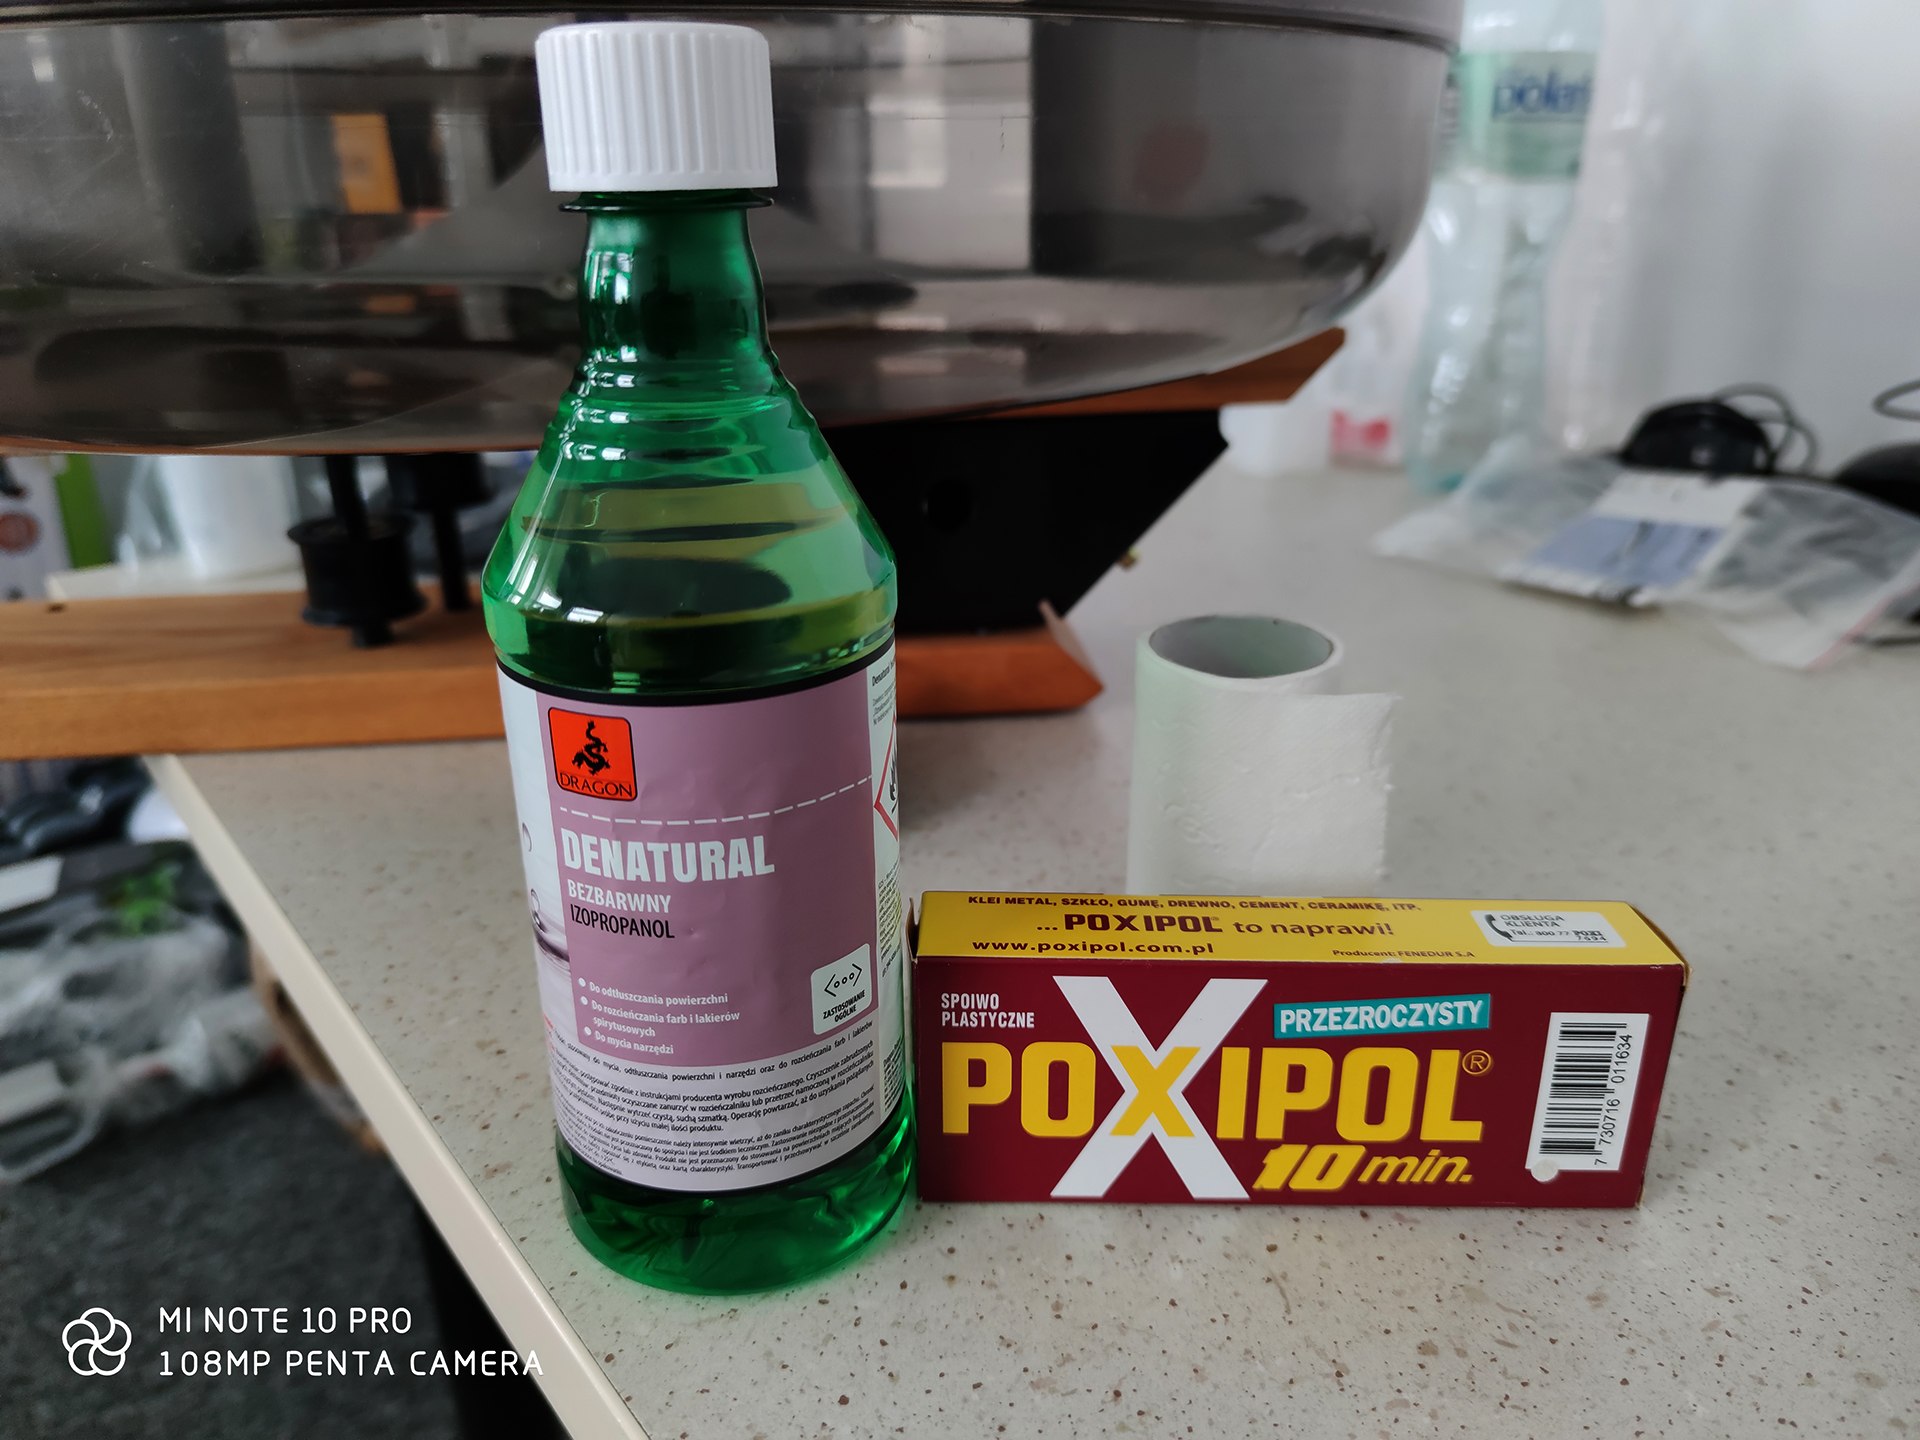
After assembling the mechanism, we started the last element, i.e. sealing the tank. At the beginning, we carefully degreased both glued surfaces with isopropanol. We waited a few minutes and started sealing.
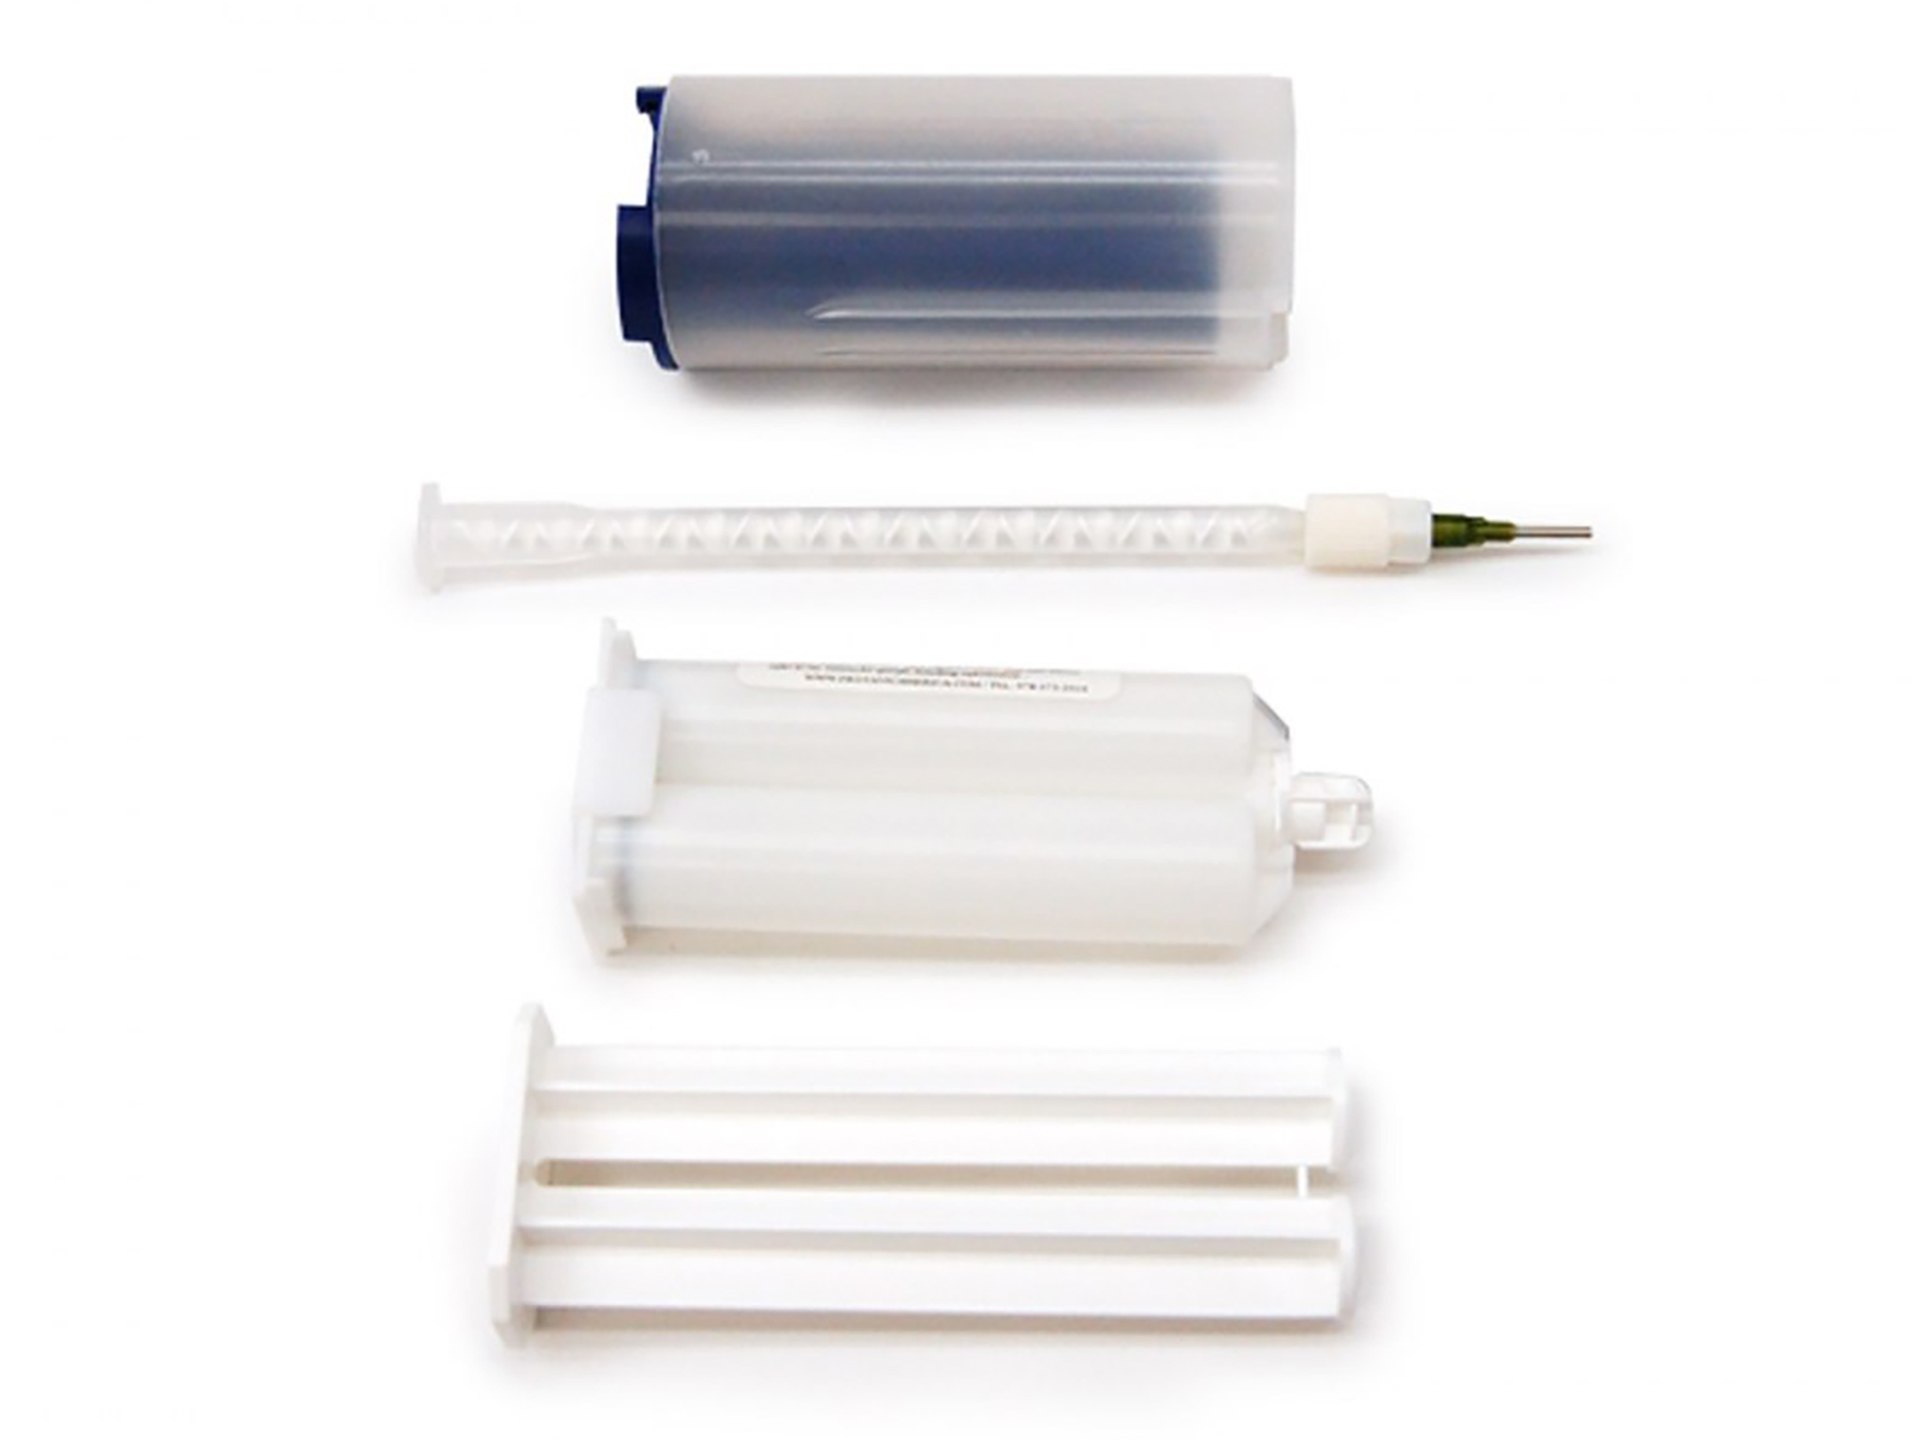
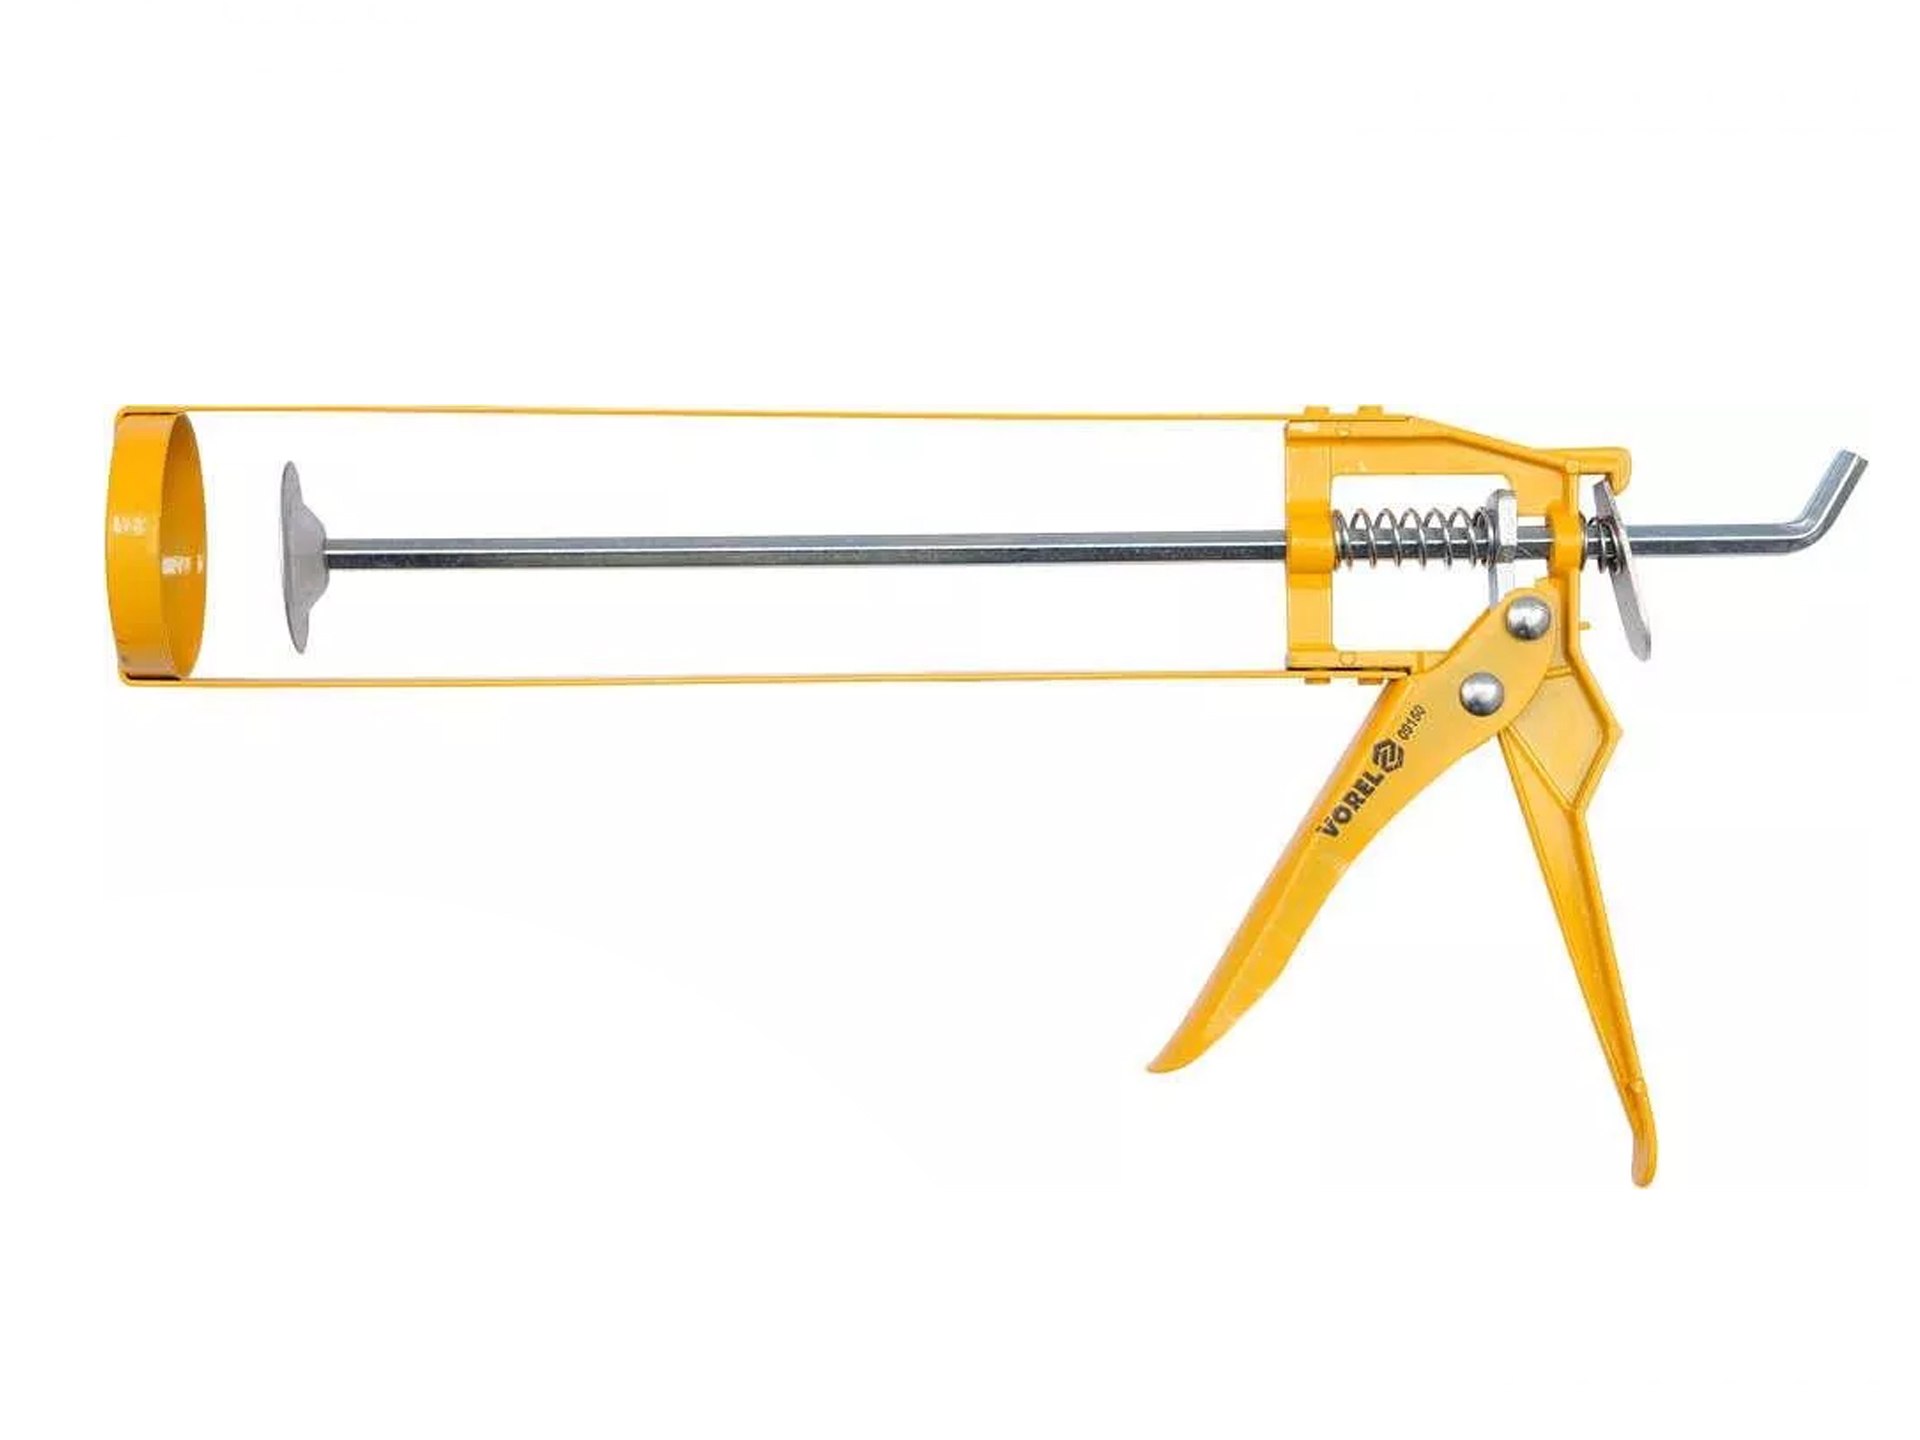
Here's an important thing! The original repair adhesive has a very good adhesion but also a thin consistency. During the application, we need to prepare all the necessary tools so that the gluing process goes without interruption. The glue is very thin and sets quickly, so it is best to perform the entire operation in two people. One slowly rotates the container around the axis and the other applies the adhesive.
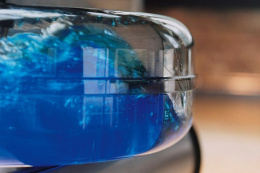
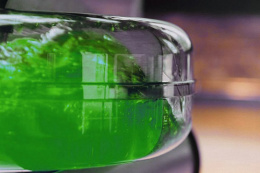
The glue is applied along the edge connecting the tank at an angle of about 45 degrees. We apply the glue so much that it covers the edge but does not spill from it. A well-applied glue will fill the gap between the two halves of the tank in about a few minutes while drying from the top. As you can see in the photos below, the glue fills the entire surface between the two halves of the tank, ensuring tightness at the same time.
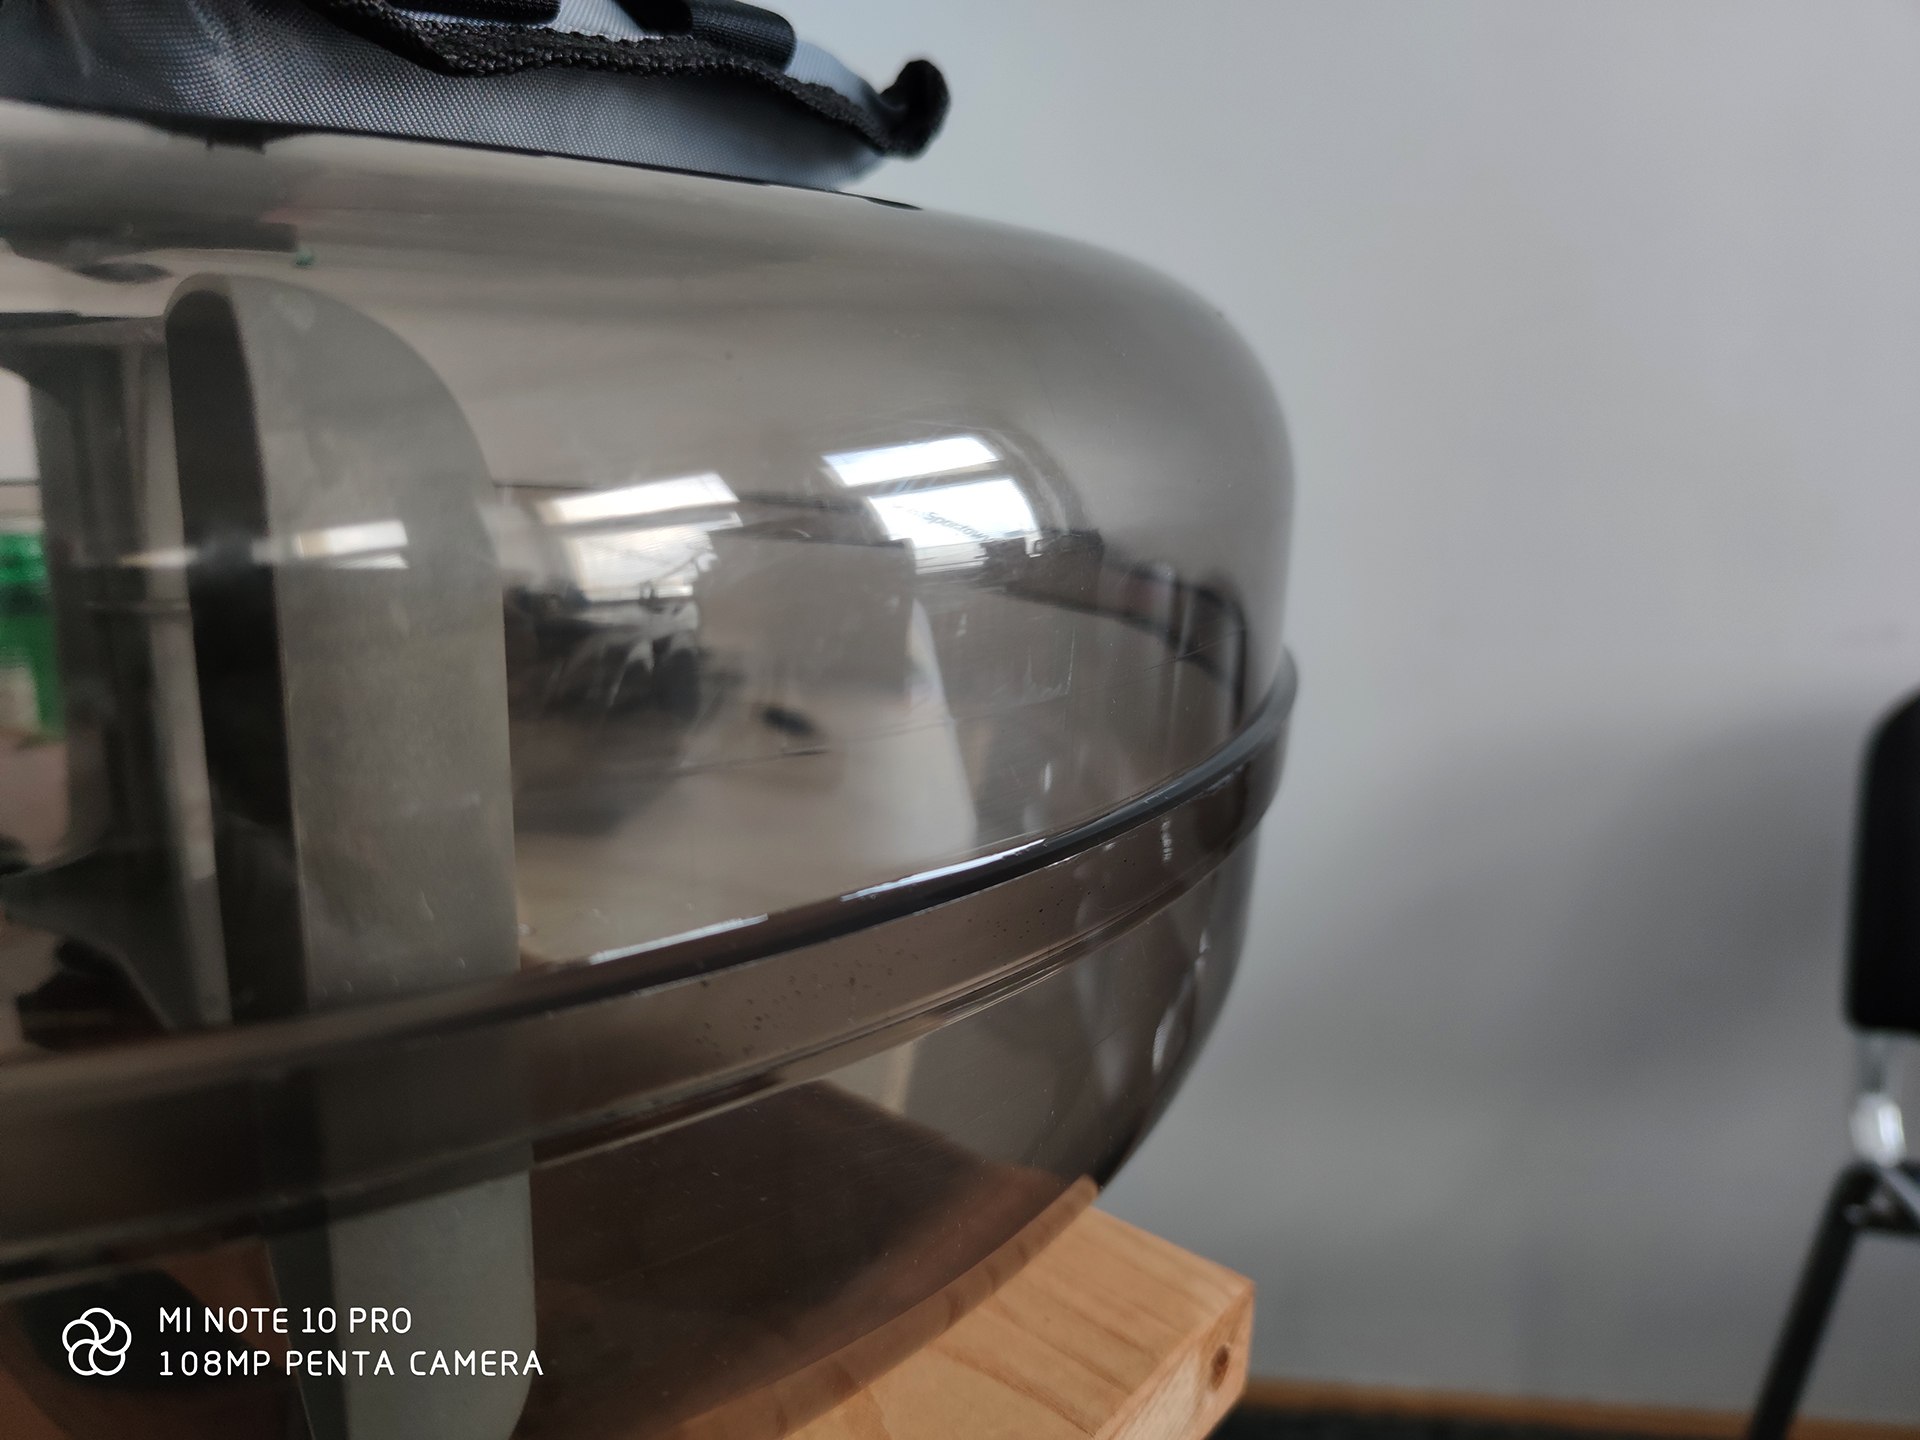
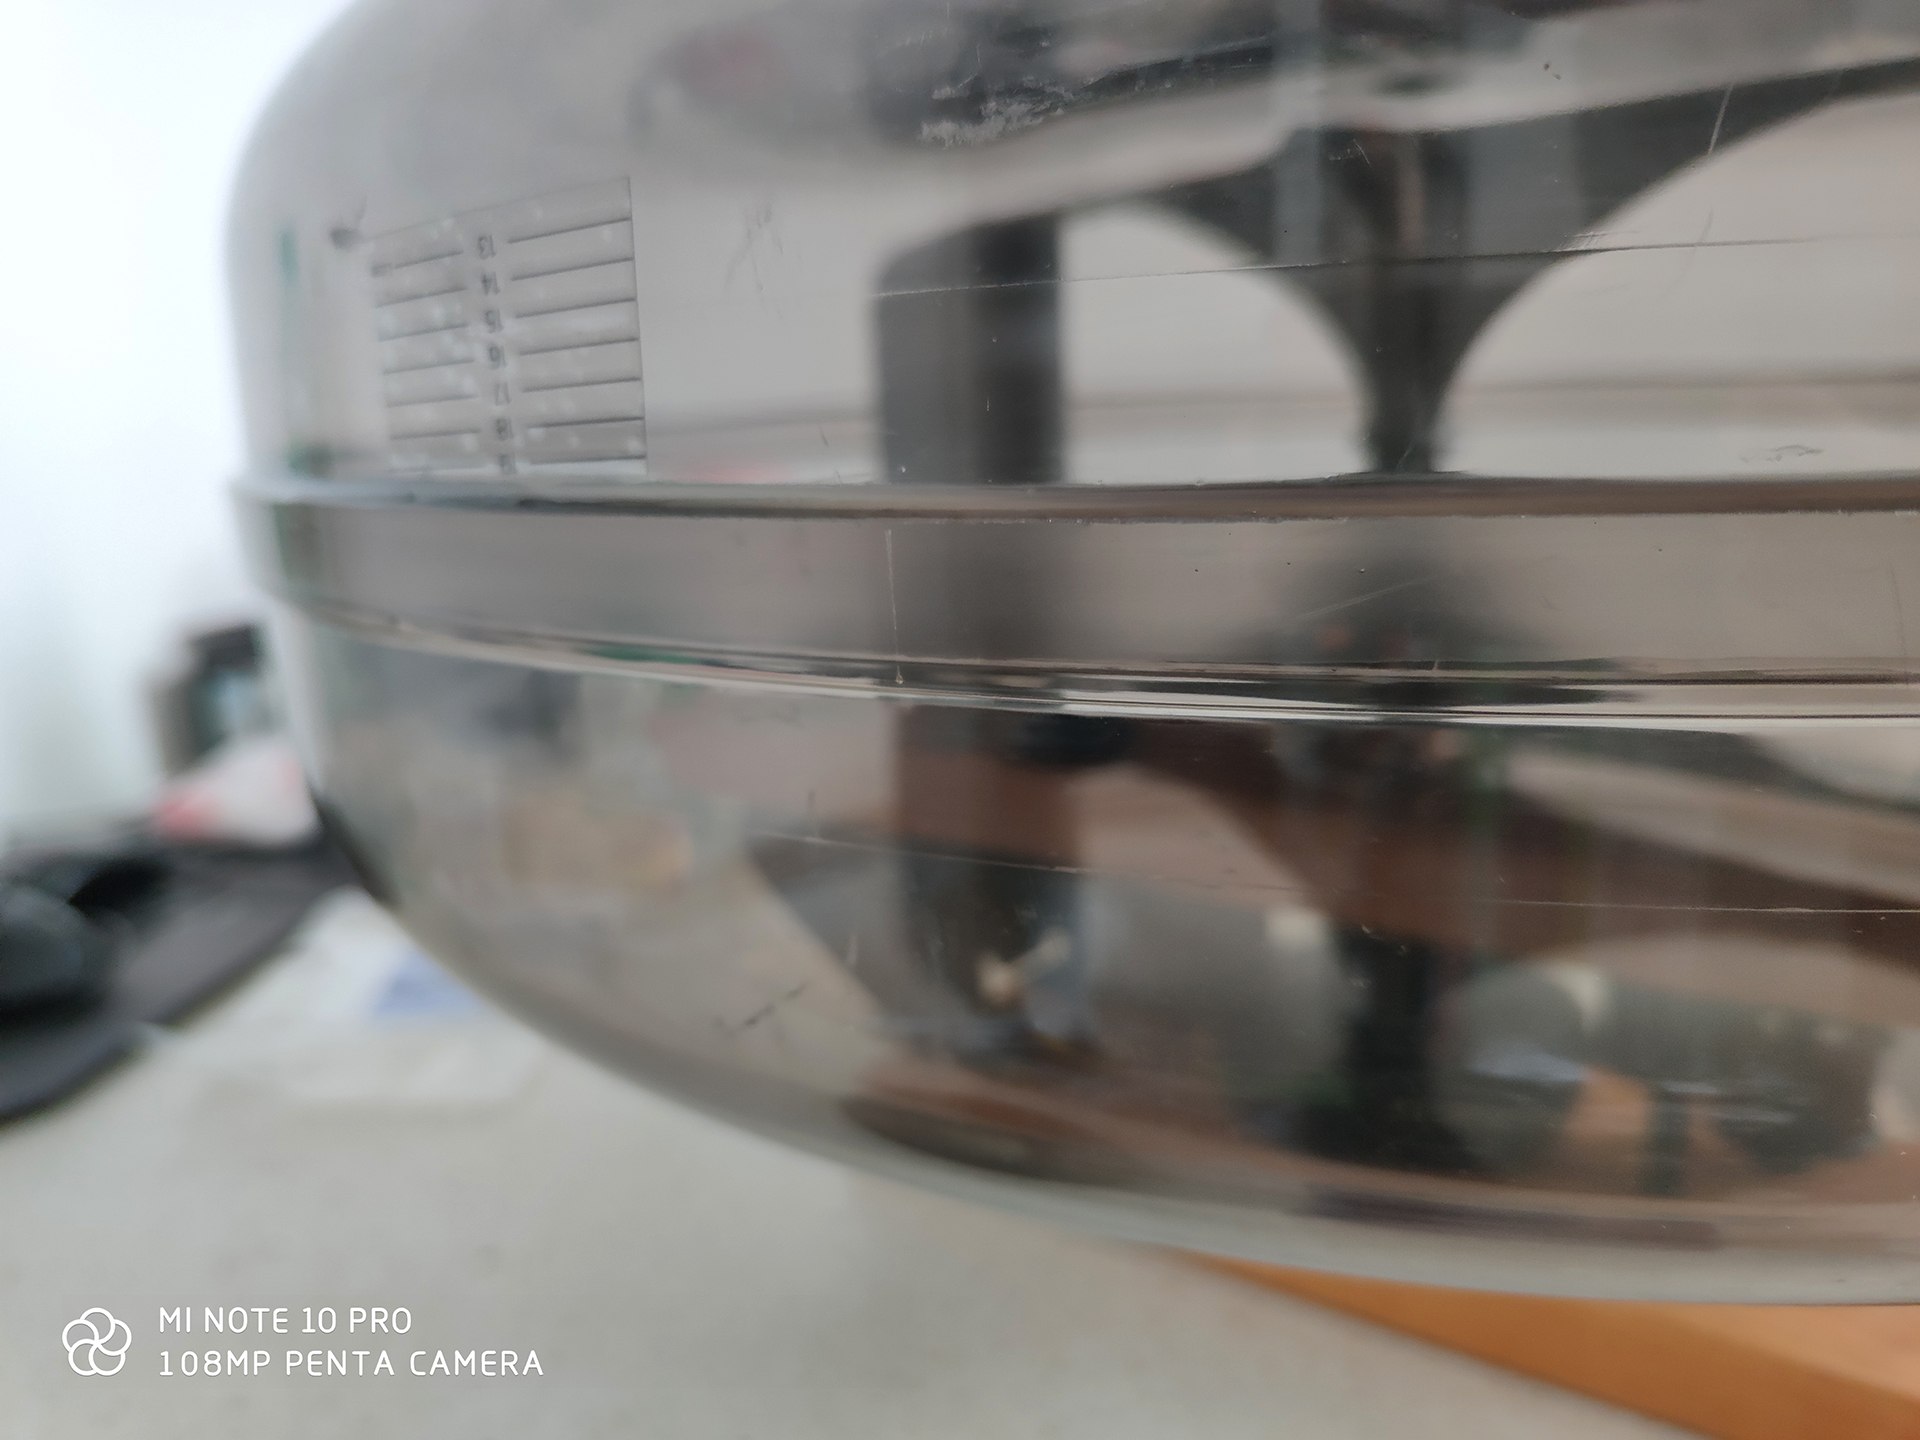
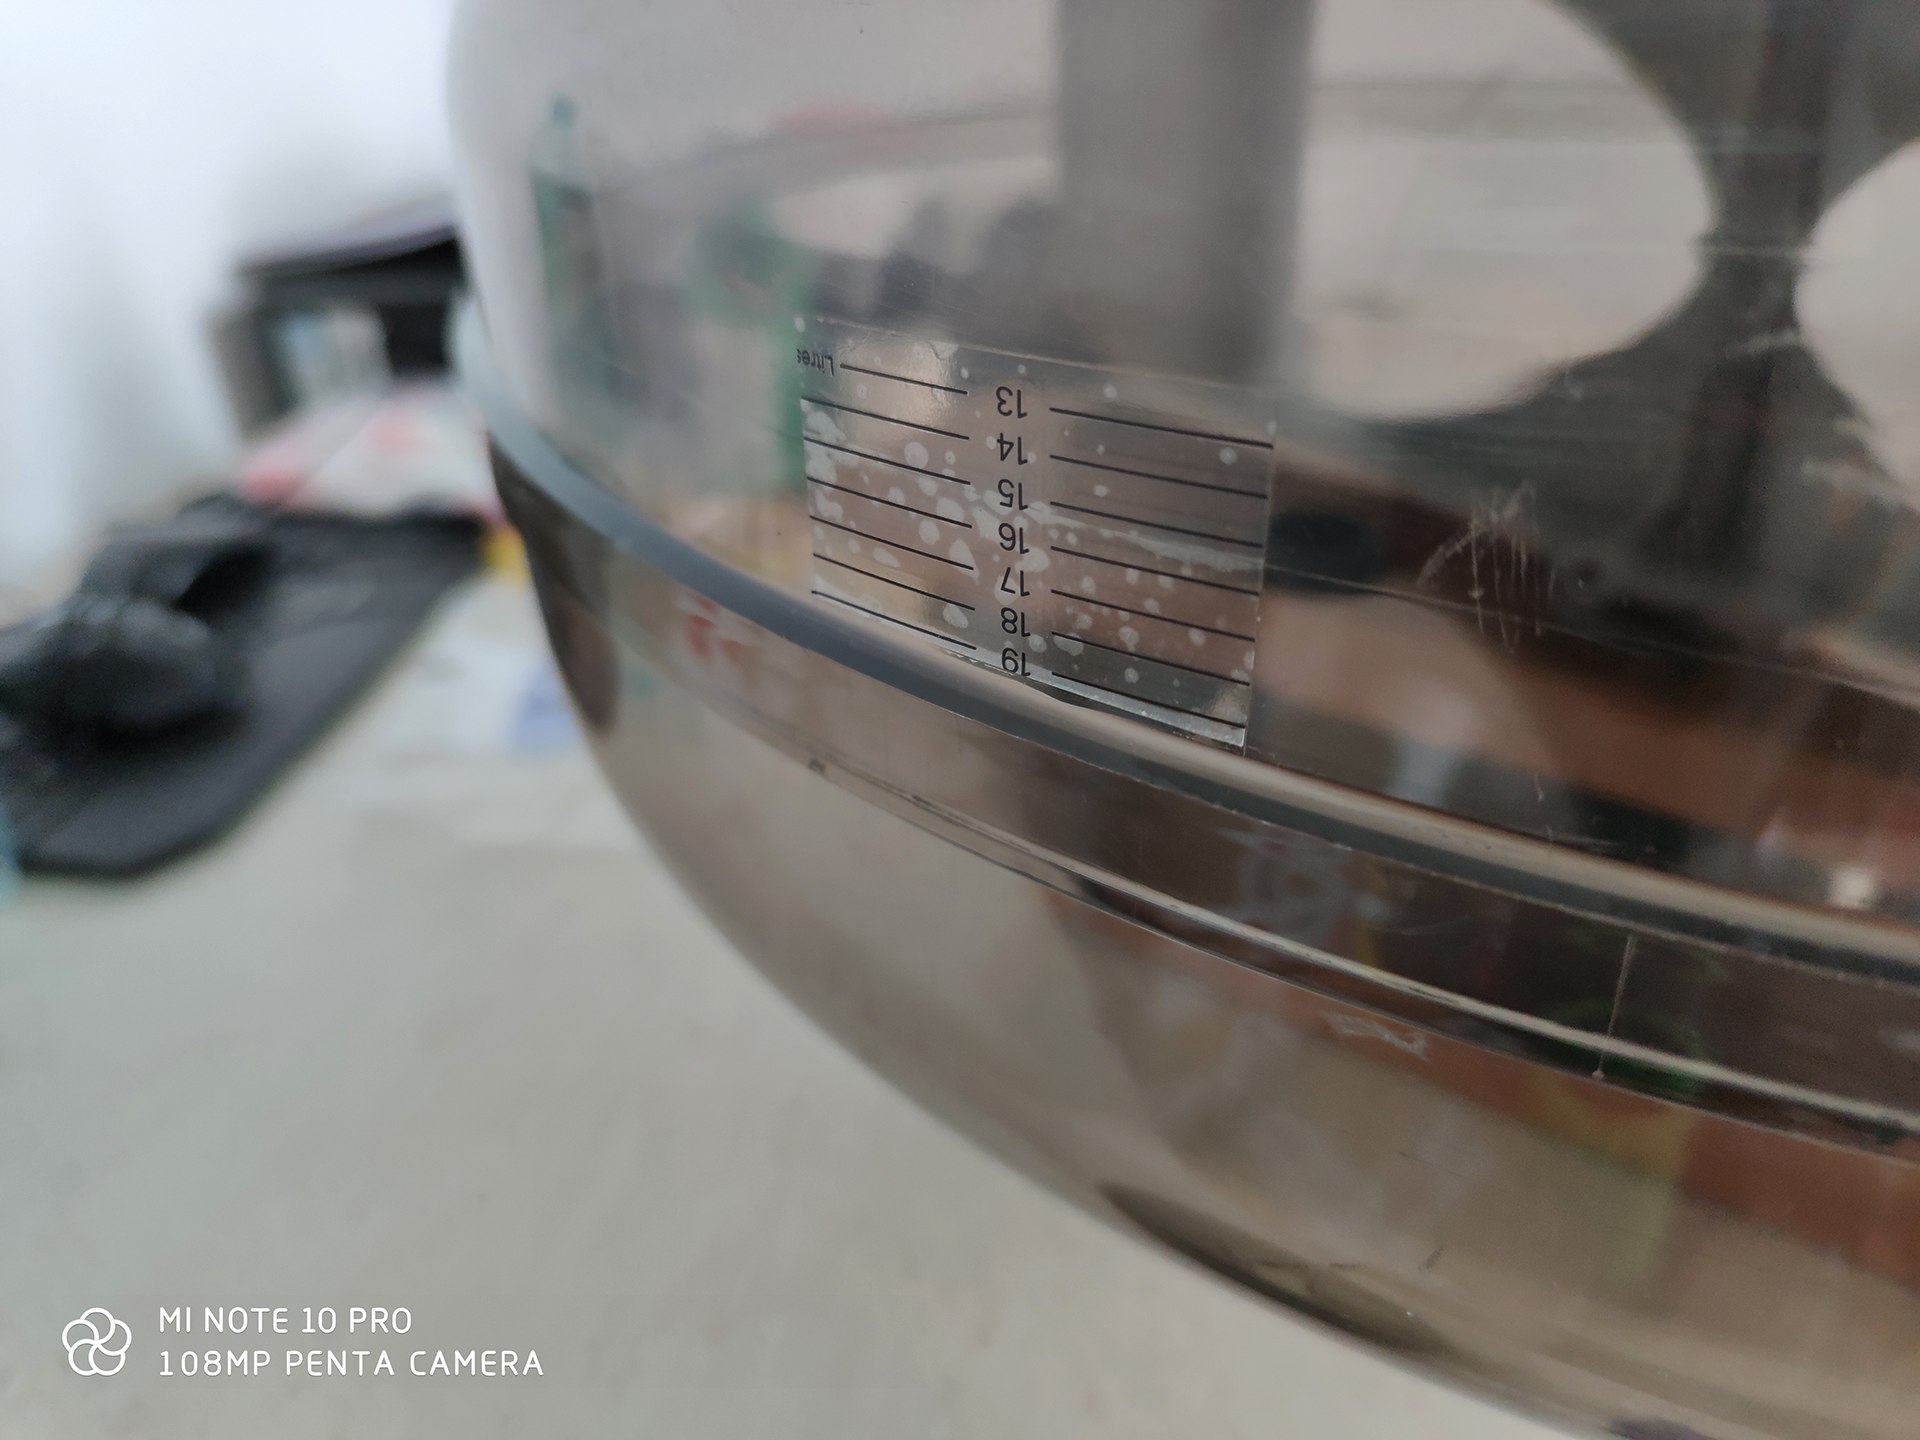
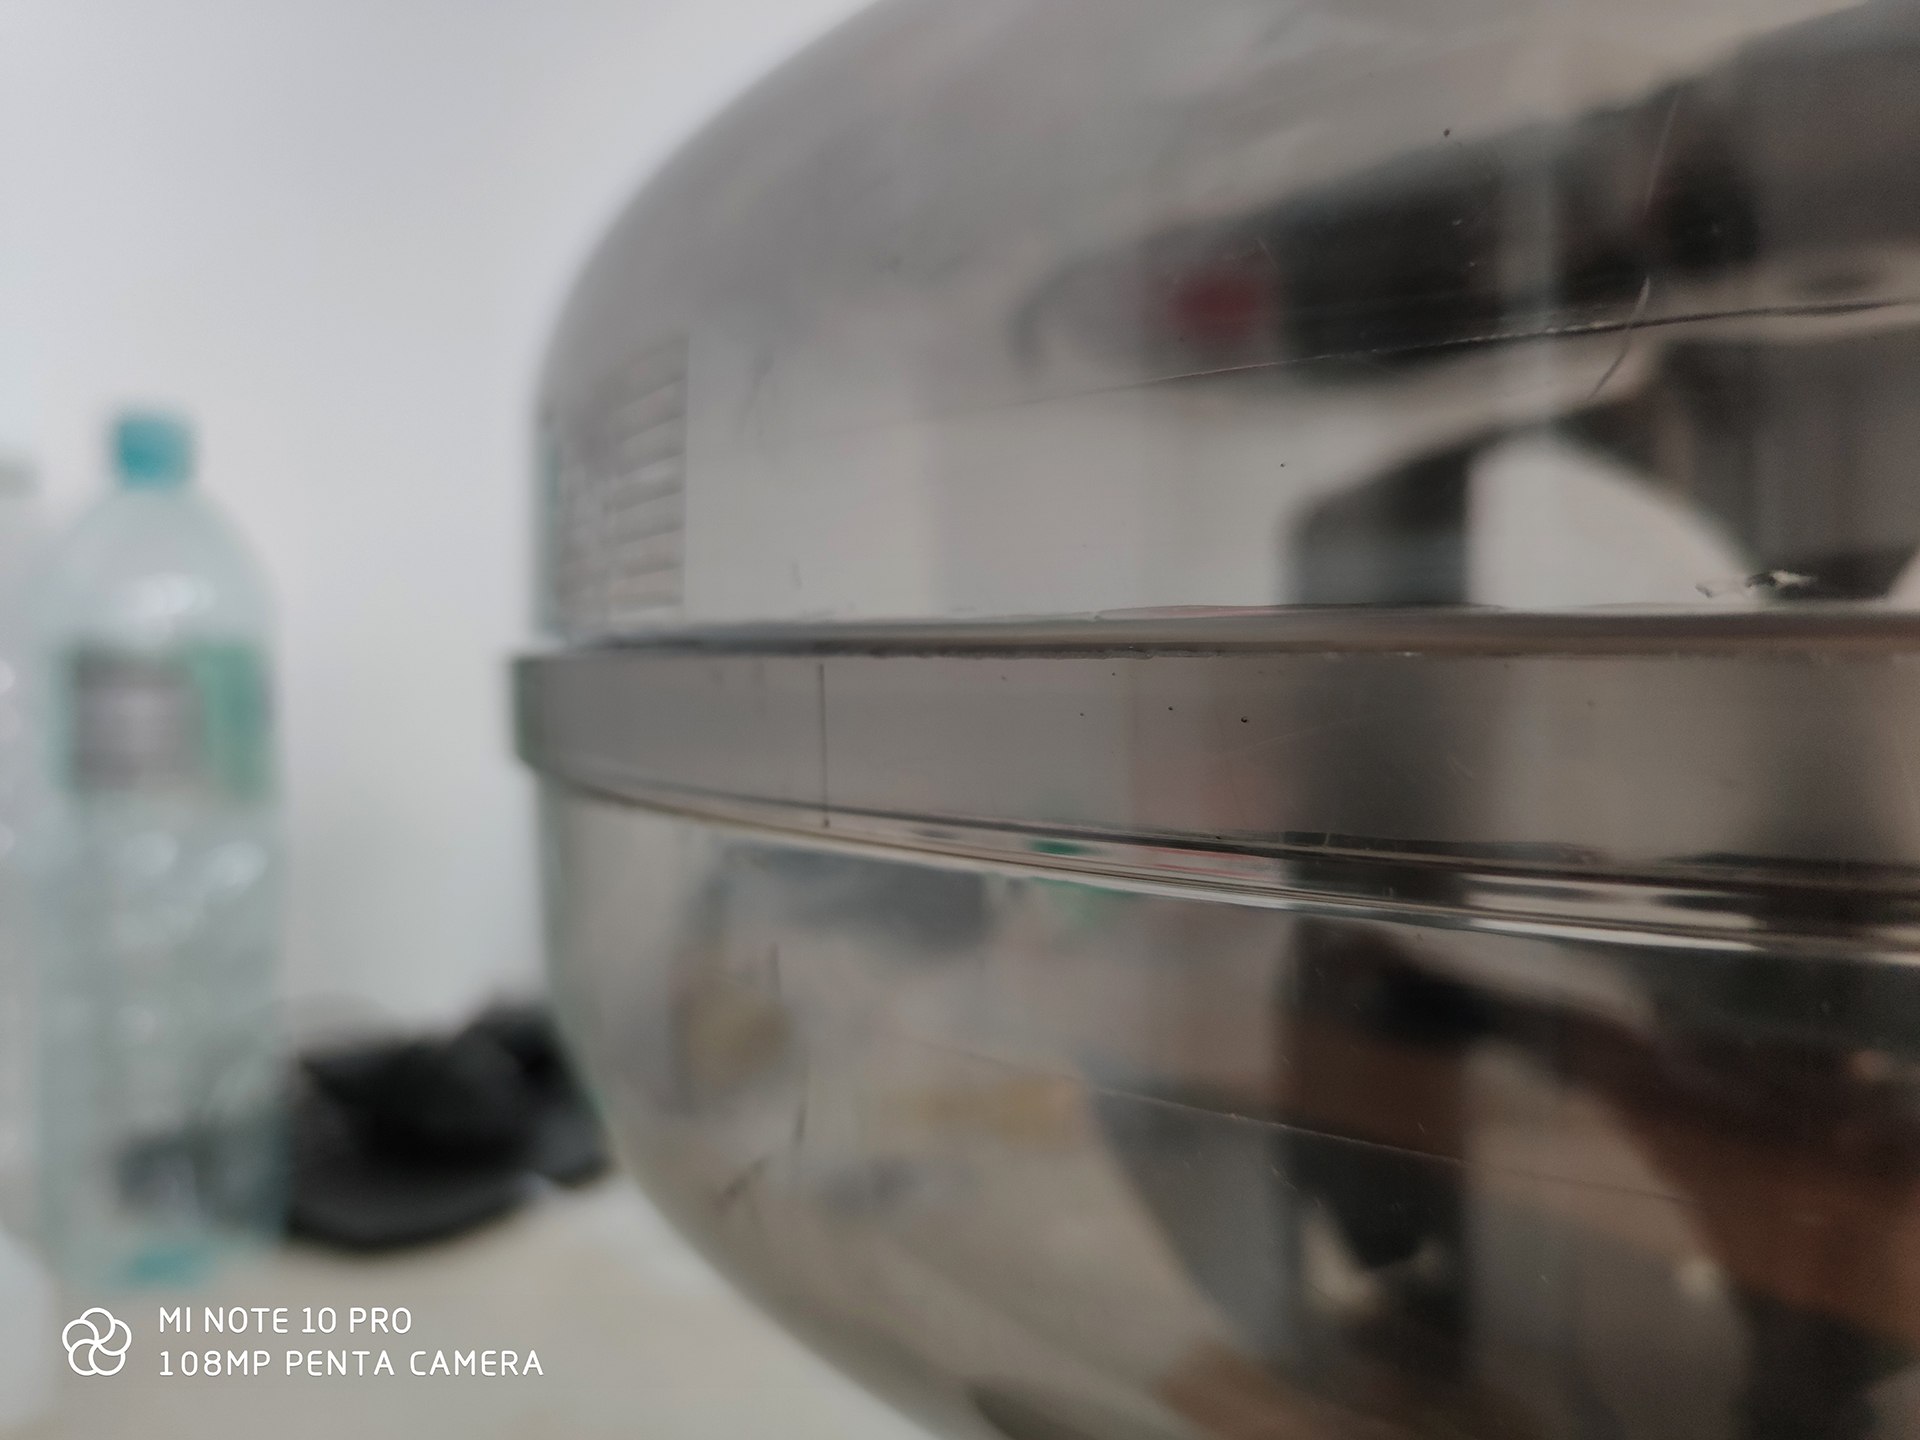
After applying the glue, leave the tank to dry completely for 24 hours and perform a leak test.
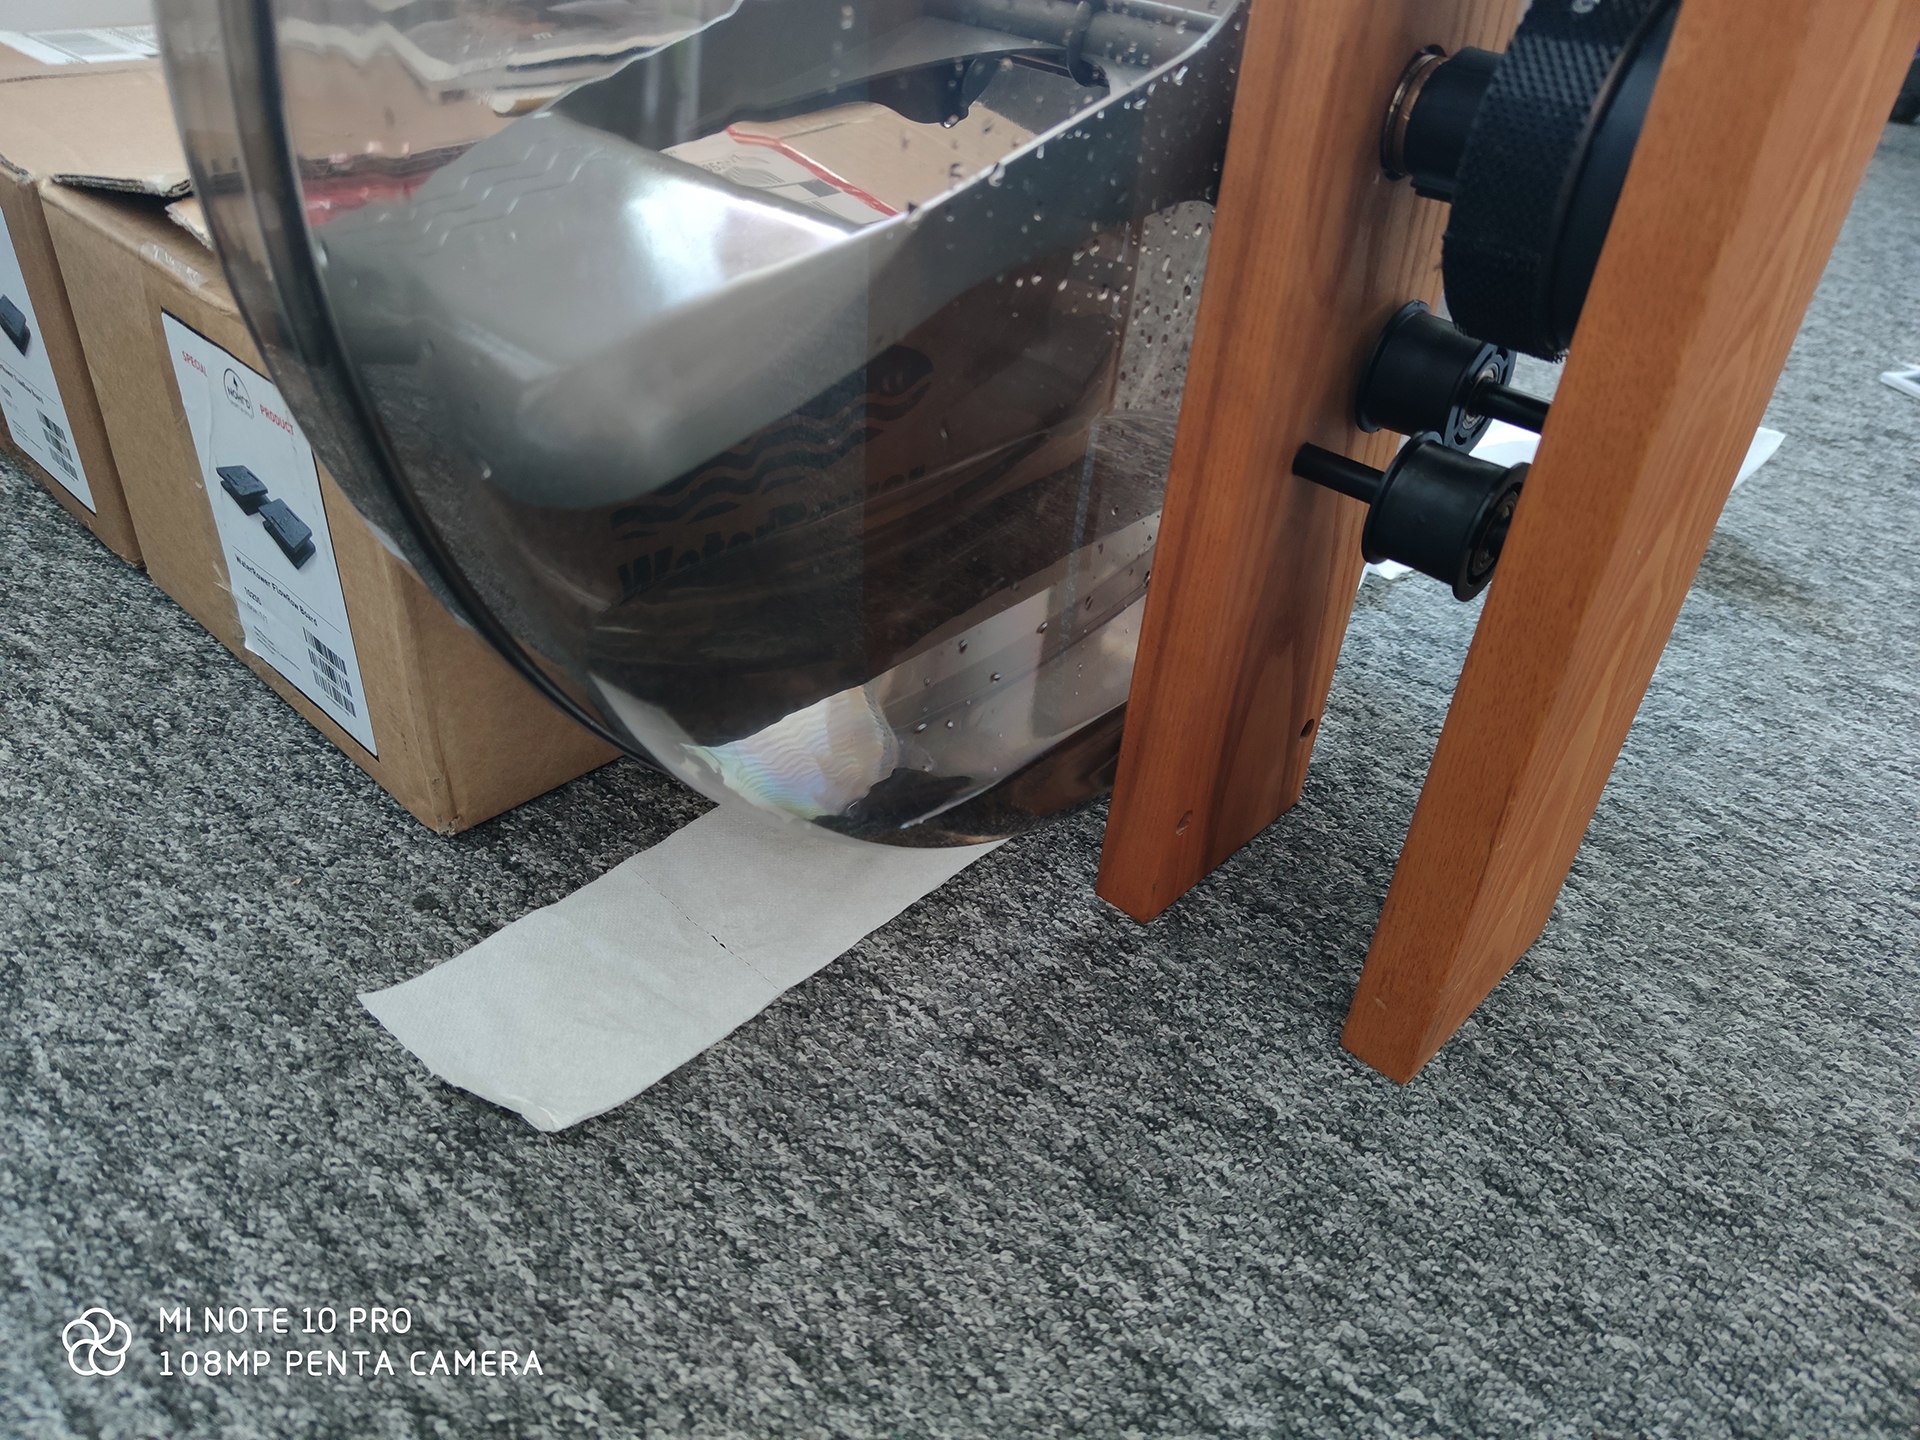
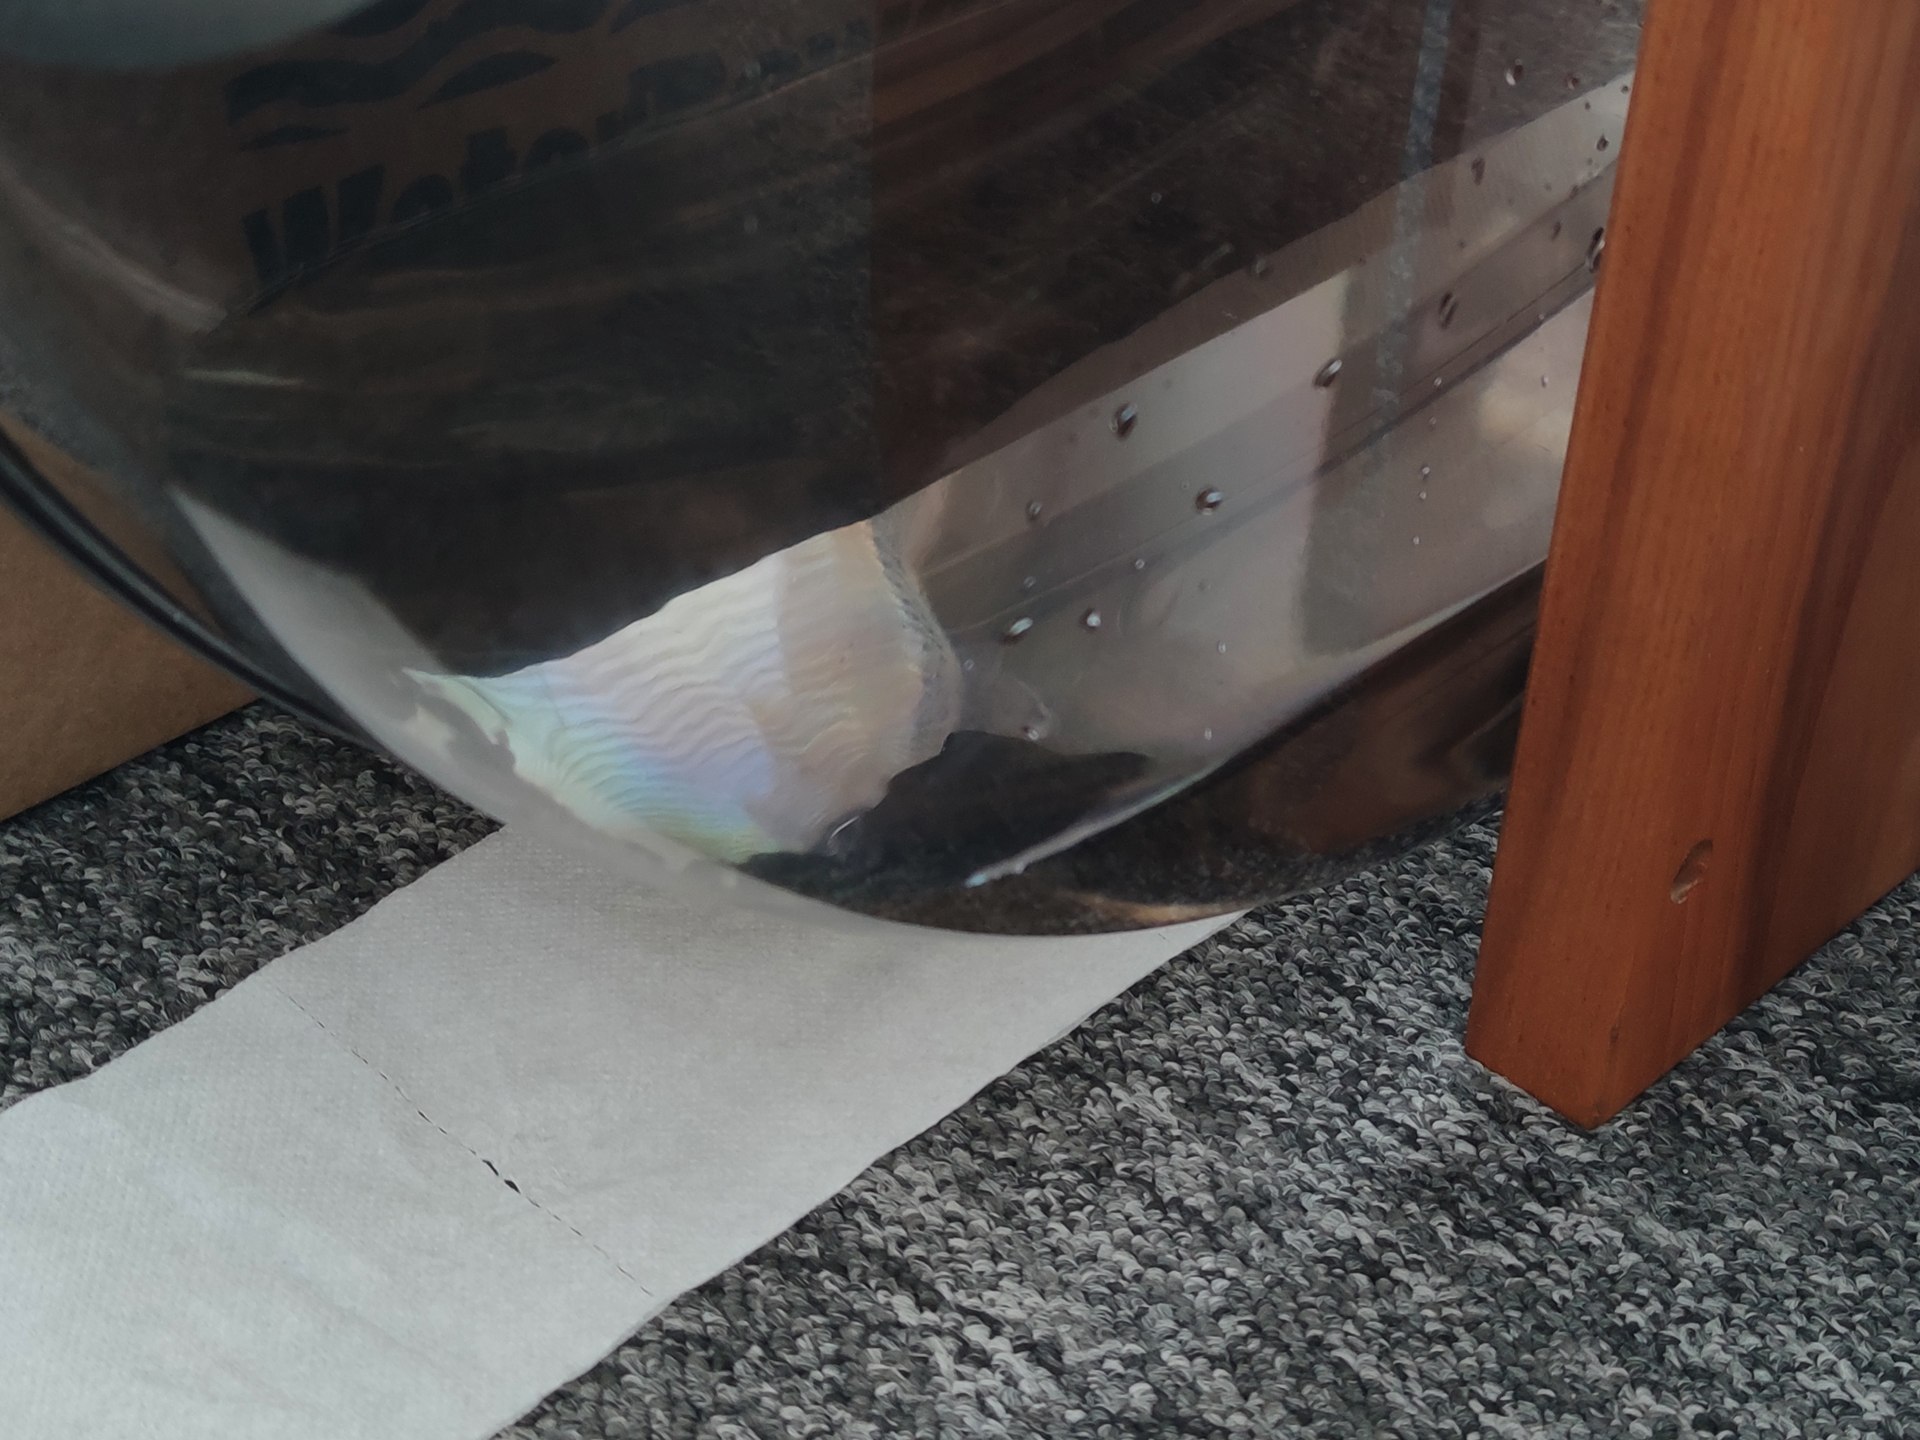
The repair is complete. We provide a 2-year warranty for all service repairs, but we hope that the rowing machine with the repaired tank will serve you without failure for the next 10 years.
IMPORTANT!
- Before gluing, place the tank upside down, we can load the lower (upper - after turning over) half (about 2-4 kg) so that both halves of the tanks join together.
- The key to the inscription is to clean and degrease the tank well, if not done correctly, the glue will not stick well to the surfaces being glued.
- We apply the glue continuously, do not stop working for more than a dozen seconds, the glue will start to dry and will not bond well with the next application.
- We do not apply the glue in several layers, the glue should be drawn at once!
- During the drying of the glue, small air bubbles may appear in the gap between the halves, if there are not many of them and the leak test is correct, leave it correctly, do not correct it, do not remove the glue, do not add a list of layers!
- If the application is carried out correctly, the glue is enough to glue two containers. Of course, the mixer and tip are disposable.

